Laravel is an open source widely used PHP Framework for web applications. It’s syntax, working principle is so much expressive and elegant. Development of web application in Laravel framework now a days very popular among developers.
Laravel is packed of strong features and/or module for the development environment. Laravel first version was released at June 2011.
Now, it’s Laravel 9 (Jan 2022). Every version of this framework brings lots of new features which reduces development effort and develop an application too much faster. In this article we will see the complete concept i.e How To Install Laravel 9 on Ubuntu.
This step by step guide helps you to understand about the Laravel system and application needed requirements before digging into application development.
Learn More –
- CakePHP 4 Custom Primary Key For Table Using Migration
- Laravel 9 One to One Eloquent Relationship Tutorial
- Laravel 9 Call MySQL Stored Procedure Tutorial
- Laravel 9 Google reCaptcha v3 Tutorial with Validation
Let’s get started.
System Requirements
While working and/or developing any application in laravel 9 version. We should have some PHP and system configuration need.
Before going to Laravel 9 Installation, we have to make sure of these following configuration.
- PHP & Server Configuration
- Composer Installation
PHP & It’s Exentions
Here are some needed PHP and it’s extension needed configuration that we must need before go with Laravel 9.
- PHP Version >= 8.0
- BCMath PHP Extension
- Ctype PHP Extension
- Fileinfo PHP extension
- JSON PHP Extension
- Mbstring PHP Extension
- OpenSSL PHP Extension
- PDO PHP Extension
- Tokenizer PHP Extension
- XML PHP Extension
Server Requirement
You should have Apache or Nginx a web server in your system. According to your available operating system you need to install Either WAMP (Windows bases OS), XAMPP (Cross platoform OS), LAMP (Linux bases OS) servers to run PHP applications.
How to Install PHP >= 8.0?
Here, inside this article topic we will see about PHP >=8.0 installation. After installing we need to install it’s need extensions as well. I am having Ubuntu OS 20.04.
I am writing the step by step command which you need to execute in terminal for installation.
Need to check Ubuntu having latest packages and it’s modules, run following commands –
$ sudo apt update

$ sudo apt upgrade
Above command will install or updates system dependencies upto mark.
We need to Add PPA for PHP, run these following commands.
$ sudo apt install software-properties-common

$ sudo add-apt-repository ppa:ondrej/php

$ sudo apt update
Once PPA has been installed, now we can install PHP >=8.0 version in any of web server either on Nginx or Apache.
Here we will discuss both.
PHP >= 8.0 FPM Installation in Nginx
To Install PHP v8.0 we need to run this given command.
$ sudo apt install php8.0-fpmTo install PHP v8.1 we need to run this command, only to change 8.0 to 8.1
$ sudo apt install php8.1-fpmInstall PHP >= 8.0 for Apache
For Apache installation, run this command to your terminal.
$ sudo apt install php8.0And for PHP 8.1 we need to execute this.
$ sudo apt install php8.1Successfully, we have installed PHP >= 8.0 version to system. Next we need to verify that.
Verification of PHP Installation
We have two options available to check PHP installation. These are the following ways to verify.
- Using Command Line
- Using PHP function
Verify by Command Line
Open terminal and type command, this command is for Apache.
$ php -vOutput
PHP 8.0.17 (cli) (built: Mar 20 2022 17:03:50) ( NTS )
Copyright (c) The PHP Group
Zend Engine v4.0.17, Copyright (c) Zend Technologies
    with Zend OPcache v8.0.17, Copyright (c), by Zend Technologies
To verify for Nginx
$ php-fpm8.0 -vVerify by PHP Function
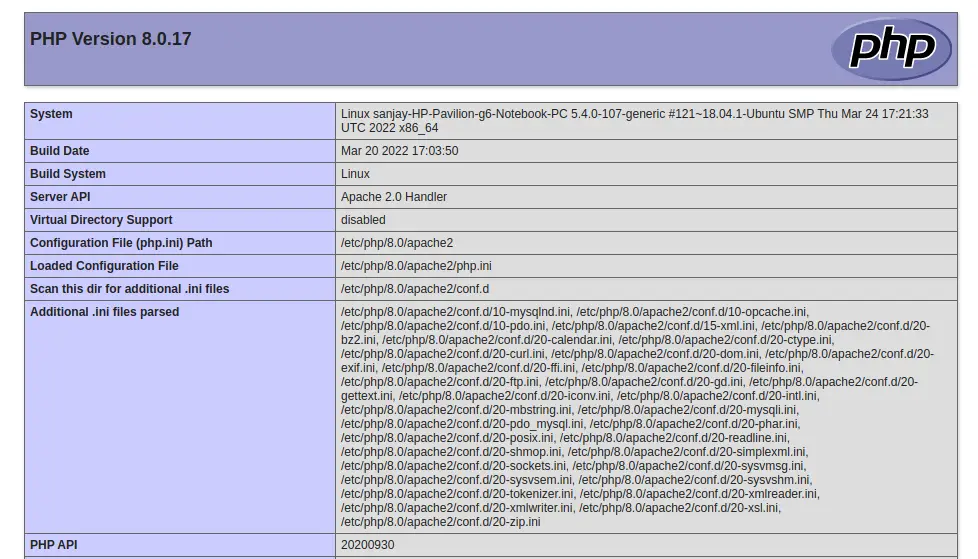
You need to go at your localhost. Create a file with a name and with .php extension. Like I have created a file at root named as info.php
<?php

  phpinfo();
We need to run this file at browser. Open browser and type URL – http://localhost/info.php
Installation of PHP Extensions & Restart
Run this given command to install PHP v8.0 extensions.
We can also run each command from this syntax one by one. But we are going to run install all modules or extensions at once.
$ sudo apt install php8.0-common php8.0-mysql php8.0-xml php8.0-xmlrpc php8.0-curl php8.0-gd php8.0-imagick php8.0-cli php8.0-dev php8.0-imap php8.0-mbstring php8.0-opcache php8.0-soap php8.0-zip php8.0-intl -y

$ sudo apt-get install libapache2-mod-php8.0
Switch PHP version
If your system has any old version of PHP say 7.2. But now, you have installed the latest version. You need to switch your PHP version from 7.2 to 8.0. To switch version
Disable old PHP version & then Enable new PHP version
To disable old version, this command will help you.
$ sudo a2dismod php7.2Enable new PHP version say 8.0
$ sudo a2enmod php8.0Next, all we need to restart application web server. This restart makes all changes to their correct settings.
Restarting Apache Server
$ sudo service apache2 restartRestarting Nginx Server
$ sudo systemctl restart nginxComposer Installation
We need to set firstly system dependencies and it’s packages at their latest version. Again same what we did above, needs to run this command.
$ sudo apt updateNext we are going to run command using cURL, you need to make sure you should curl extension enabled. Otherwise run this command to install.
$ sudo apt install curl php-cli php-mbstring git unzipBack to home directory
$ cd ~Download composer installer
$ php -r "copy('https://getcomposer.org/installer', 'composer-setup.php');"Generating hash value for composer installer
$ HASH="$(wget -q -O - https://composer.github.io/installer.sig)"Verifying hash key and installer
$ php -r "if (hash_file('SHA384', 'composer-setup.php') === '$HASH') { echo 'Installer verified'; } else { echo 'Installer corrupt'; unlink('composer-setup.php'); } echo PHP_EOL;"Installing composer
$ sudo php composer-setup.php --install-dir=/usr/local/bin --filename=composerIf suppose, you have any permission issue with composer file, assign by this
$ sudo chmod +x /usr/local/bin/composerSuccessfully, by following command Composer will be installed successfully.
To test composer, back to terminal and type command
$ composer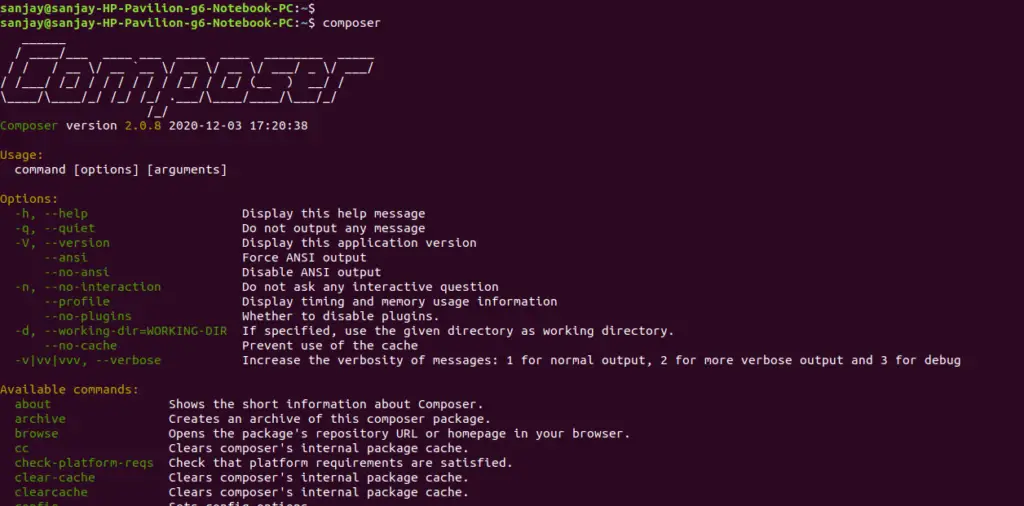
Laravel 9 Installation
As from the following above steps, we have successfully installed PHP, it’s extension and composer.
Now, we can install Laravel 9 to system. Laravel Installation can be done in two ways.
- Laravel Installer
- By using composer
Laravel Installer
To install Laravel via Laravel installer, we need to install it’s installer first. We need to make use of composer for that.
$ composer global require laravel/installerThis command will install laravel installer at system. This installation is at global scope, so you type command from any directory at terminal. To verify type the given command –
$ laravelThis command will open a command palette of Laravel Installer.
To create ad install laravel project in system,
$ laravel new myblogWith the name of myblog a laravel project will be created at your specified path.
By using composer
Alternatively, we can also install Laravel by Composer command create-project. Here is the complete command to create a laravel project-
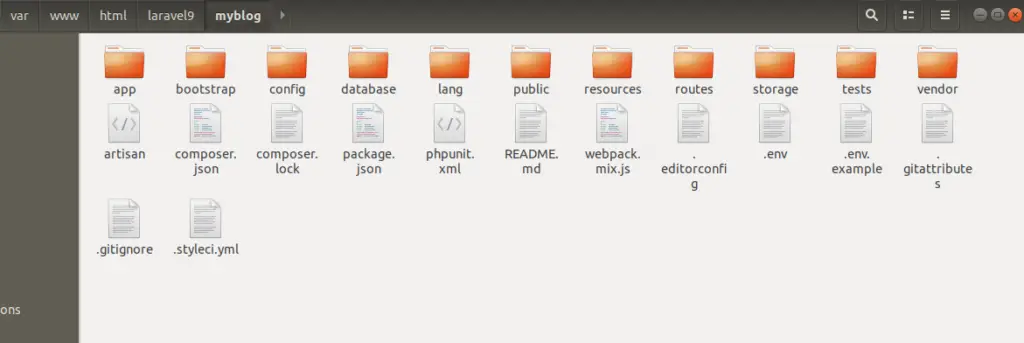
$ composer create-project laravel/laravel myblogAfter following these steps we can install a Laravel 9 applicaton into system.
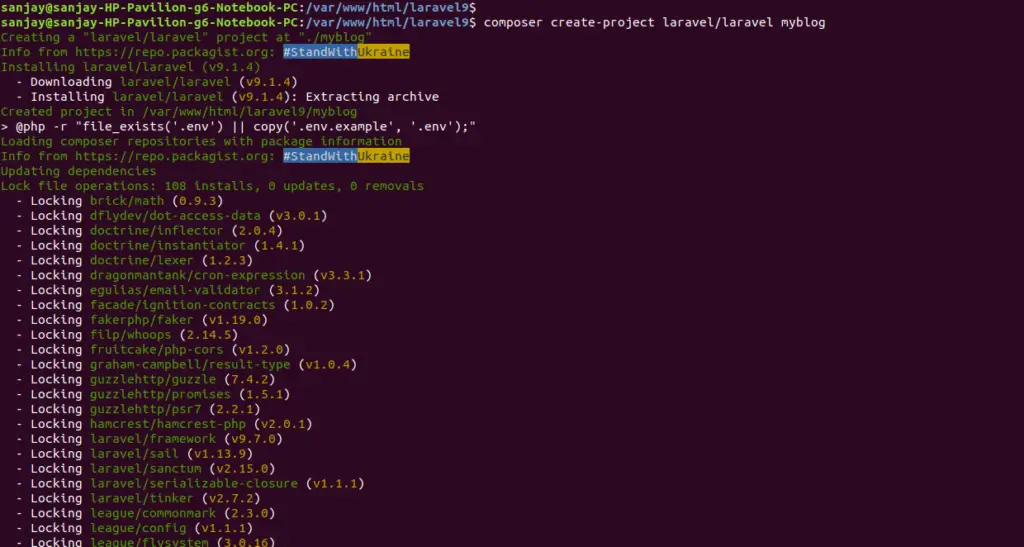
Above command will create a project setup with name myblog in your local system. You can see your folder and files as like this –
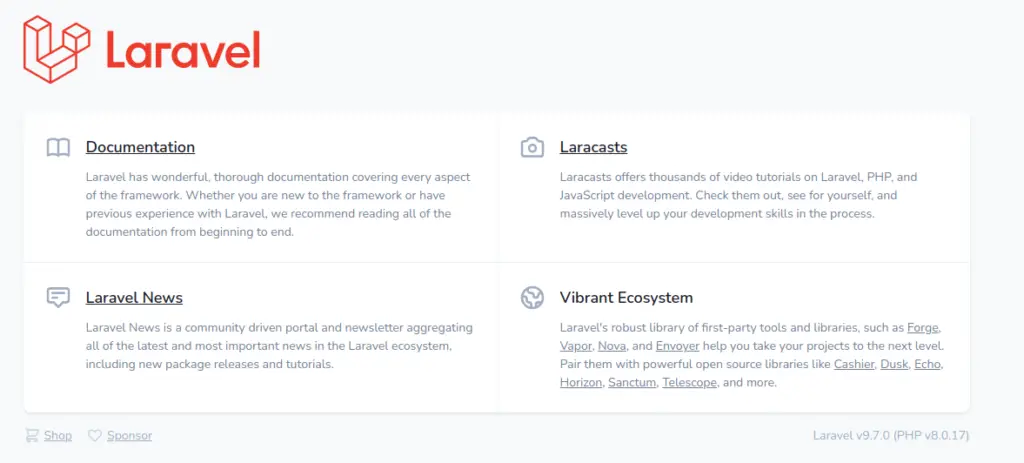
To start the development server of Laravel –
$ php artisan serveThis command outputs –
Starting Laravel development server: http://127.0.0.1:8000
We hope this article helped you to learn How To Install Laravel 9 on Ubuntu Step by Step Tutorial in a very detailed way.
If you liked this article, then please subscribe to our YouTube Channel for PHP & it’s framework, WordPress, Node Js video tutorials. You can also find us on Twitter and Facebook.
Read more