This article on sending emails with GMail SMTP and PHPMailer 6 in CodeIgniter 4 will teach you everything you need to know about working with emails.
Communication is an essential component of every web site, and the ability to send emails in a reliable and effective manner is critical for user engagement and notification systems.
We will walk you through the process of integrating GMail’s SMTP (Simple Mail Transfer Protocol) server with CodeIgniter 4 and PHPMailer 6 (a powerful email-sending tool for PHP) in this article.
Read More: How To Cache Database Query Using CodeIgniter Cache?
You may assure seamless email delivery and take use of extensive email functionality by incorporating GMail SMTP and PHPMailer 6 into your CodeIgniter 4 project.
Let’s get started.
CodeIgniter 4 Installation
To create a CodeIgniter 4 setup run this given command into your shell or terminal. Please make sure composer should be installed.
composer create-project codeigniter4/appstarter codeigniter-4Assuming you have successfully installed application into your local system.
Environment (.env) Setup
When we install CodeIgniter 4, we will have env file at root. To use the environment variables means using variables at global scope we need to do env to .env
Either we can do via renaming file as simple as that. Also we can do by terminal command.
Open project in terminal
cp env .envAbove command will create a copy of env file to .env file. Now we are ready to use environment variables.
Enable Development Mode
CodeIgniter starts up in production mode by default. You need to make it in development mode to see any error if you are working with application.
Open .env file from root.
# CI_ENVIRONMENT = production

 // Do it to

CI_ENVIRONMENT = development
Now application is in development mode.
How To Setup Google App Password?
Google App Password is a 16-digit alphanumeric number that allows you to sign in to your Google Account from apps on devices that do not support two-factor verification.
You will never have to reveal your primary account password again if you enable app password. App Passwords are only available to accounts that have activated 2-Step Verification.
Here’s how to generate an app password so you can use PHPMailer to send and receive emails on your server.
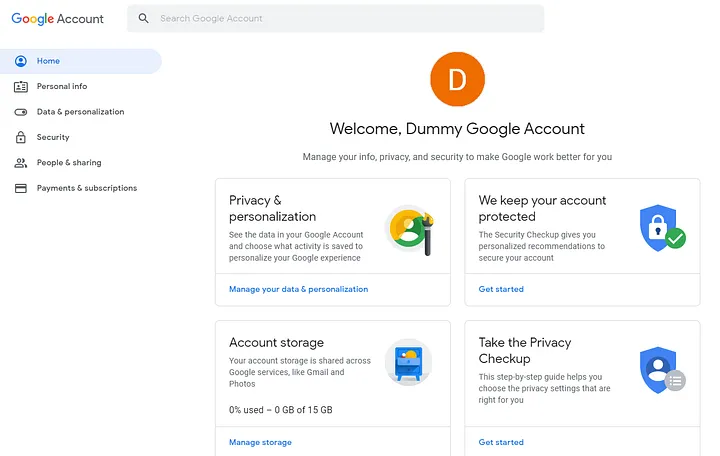
Step #1 Login to Google Account
Go to myaccount.google.com (if not signed in, you will be asked to sign-in to your account)
Read More: How To Use Limit and Offset in CodeIgniter 4 Query
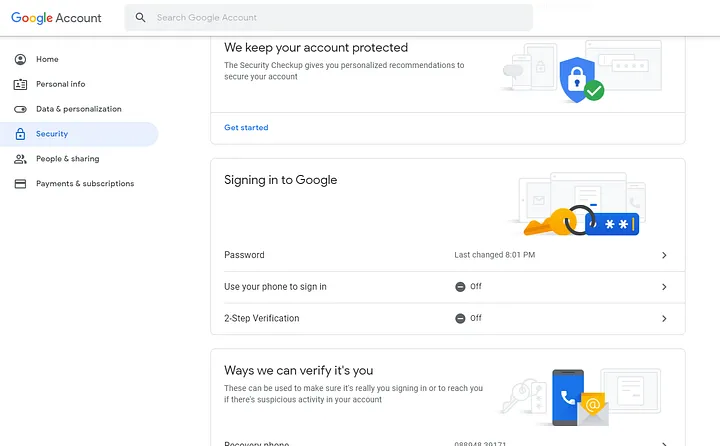
Step #2 Enable 2-Step Verification
Before you can set up the app password, you must first enable 2-Step Verification on your account.
To proceed to the Security page, click on the Security tab on the left-hand side and then on 2-Step Verification under the section Signing in to Google.
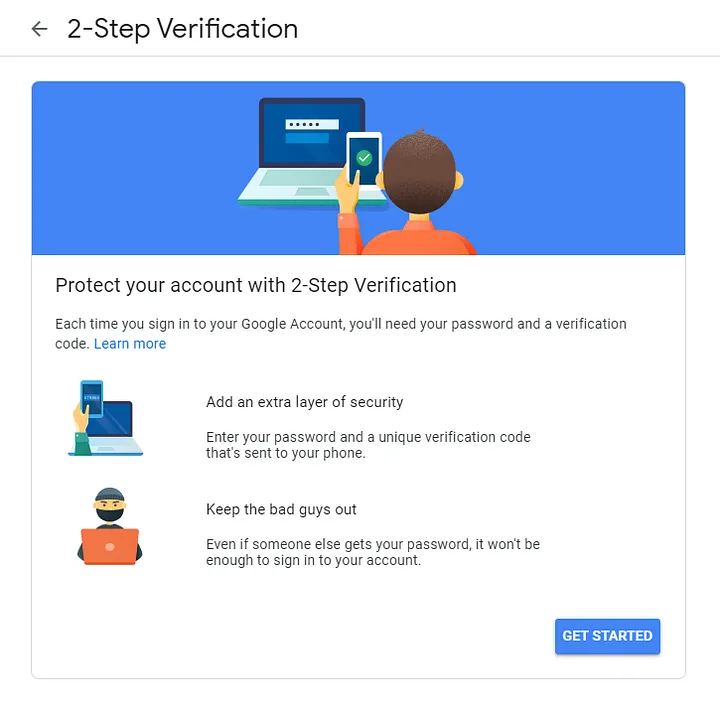
Click on Get Started and on the next page enter your password to verify your account and hit Next
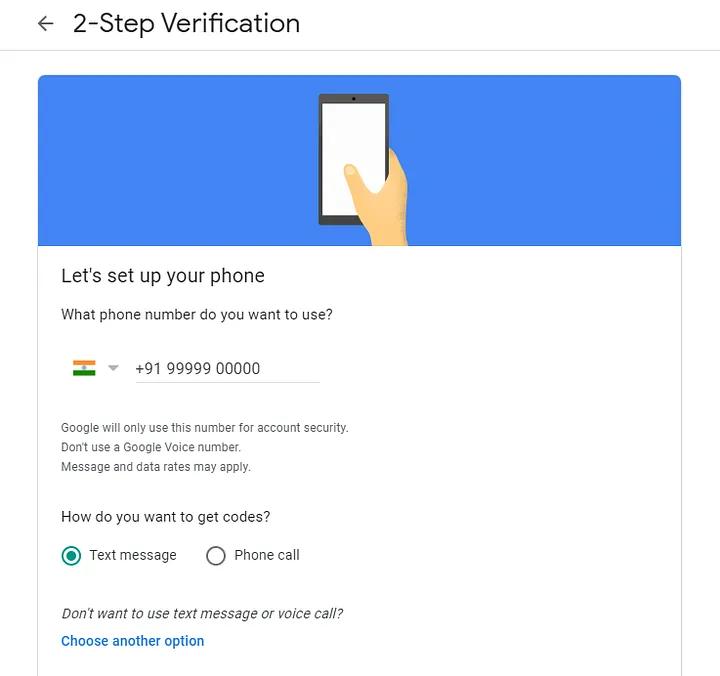
You must now configure your phone.
Enter the phone number you want to use for verification, then choose how you want to get your code. It might be a text or a phone call. I’ll keep it as a text message and press Next.
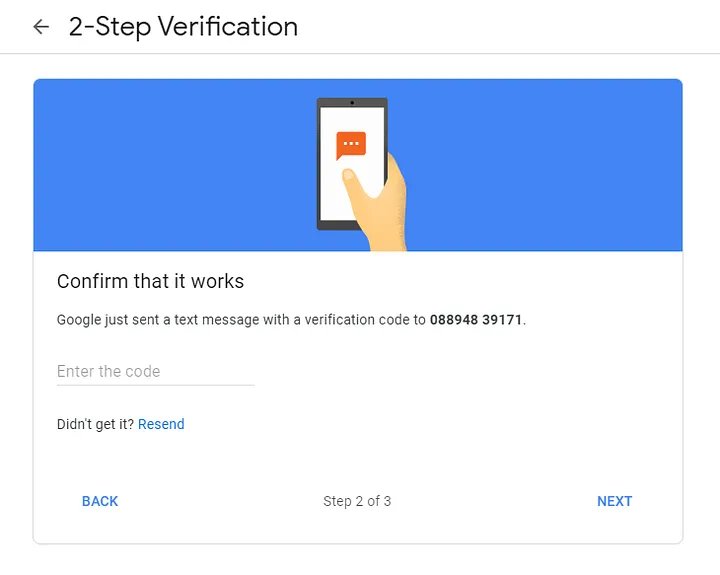
Google will give you a verification code through text message. Enter the verification code and then click Next.
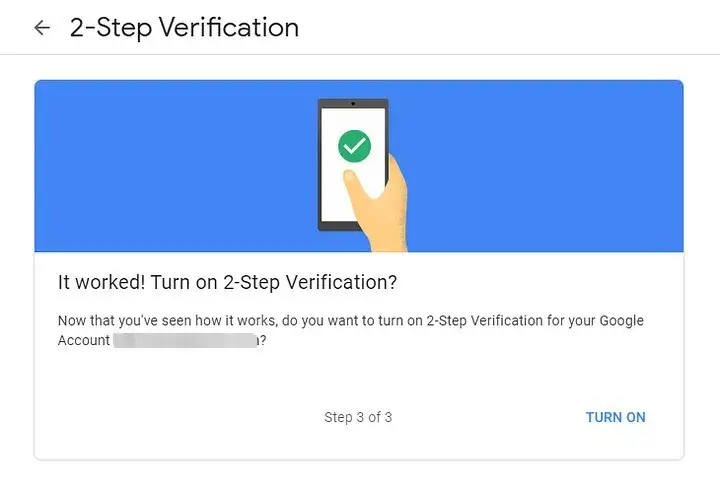
Google will confirm that 2-Step Verification is enabled on the next page.
To return to the Security page, click the back arrow next to the header.
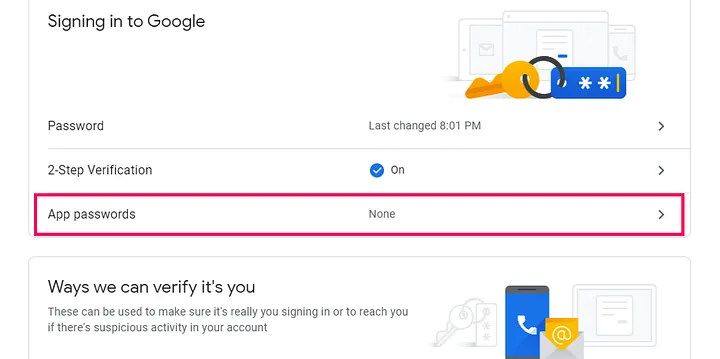
Step #3 Setup Application password
Within the section Signing in to Google, you will notice a new option that says App passwords.
Read More: CodeIgniter 4 How To Get Database Name Example Tutorial
In case, if you are not able to see this App password there. Click on 2-Step Verification.
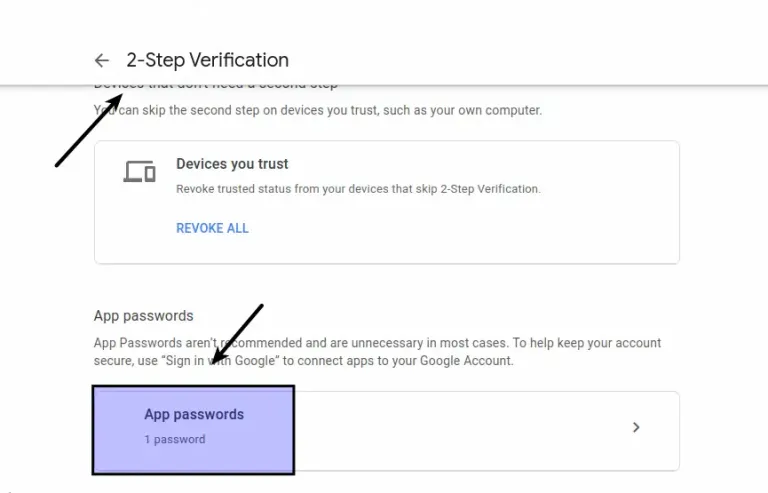
Verify your account by clicking on App passwords. You will be able to create app passwords for any app and device after verification.
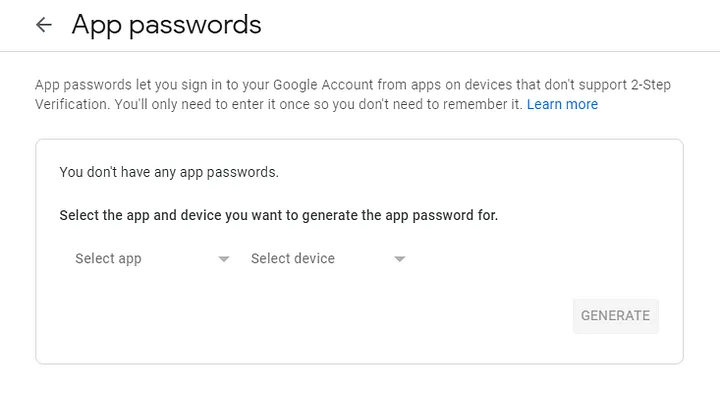
Select Mail from the Select app and Other (custom name) from the Select device, and then give it a name. You can call it whatever you want; I’ll call it PHPMailer and click Generate.

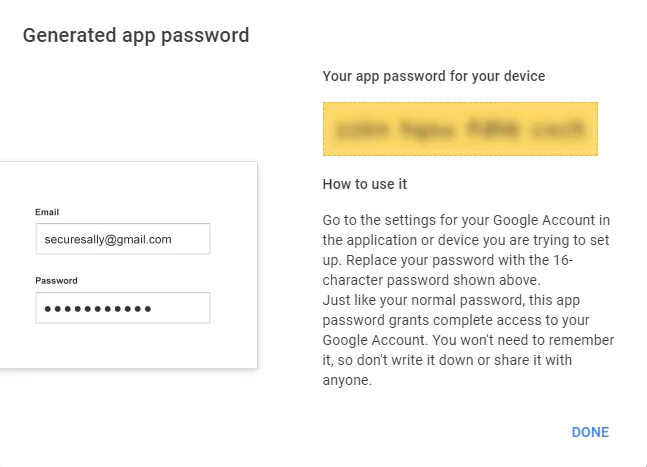
You have now successfully created your app password. Copy and paste this code somewhere safe until you’ve added it to the PHP script.
Installation of PHPMailer To Application
Open project into terminal and run this command to install PHPMailer.
composer require phpmailer/phpmailerWhile installation you will see in your terminal as
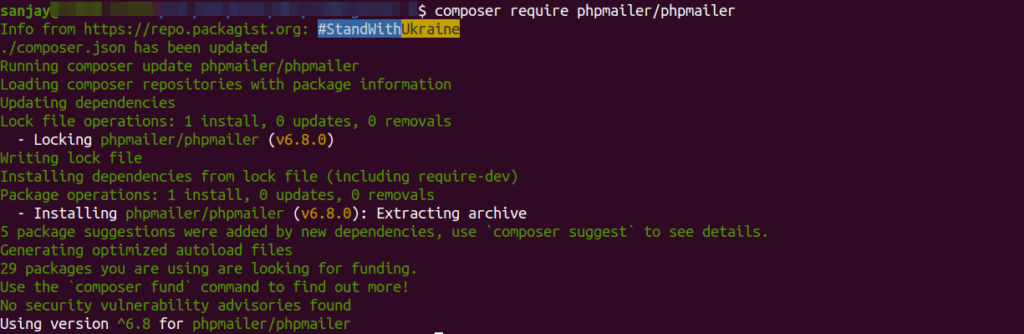
Next, we will configure this package and use it to send emails.
Email Controller Setup
Back to terminal and run this command –
php spark make:controller Email --suffixIt will create EmailController.php file inside /app/Controllers folder.
Open EmailController.php and write this complete code into it.
<?php
namespace App\Controllers;
use App\Controllers\BaseController;
use PHPMailer\PHPMailer\PHPMailer;
class EmailController extends BaseController
{
public function sendMail()
{
$mail = new PHPMailer(true);
// Server settings
$mail->isSMTP();
$mail->SMTPDebug = 0;
$mail->Debugoutput = 'html';
$mail->Host = 'smtp.gmail.com';
$mail->SMTPAuth = true;
$mail->SMTPSecure = 'tls';
$mail->Port = 587;
$mail->Username = 'ENTER YOUR GOOGLE ACCOUNT EMAIL';
$mail->Password = 'ENTER YOUR APP PASSWORD HERE';
// Sender & Recipient
$mail->From = 'ENTER YOUR GOOGLE ACCOUNT EMAIL';
$mail->FromName = 'SENDER NAME';
$mail->addAddress('RECIPIENT EMAIL');
// Content
$mail->isHTML(true);
$mail->CharSet = 'UTF-8';
$mail->Encoding = 'base64';
$mail->Subject = 'My Subject';
$body = 'This is a test message sent by <b>Online Web Tutor</b>';
$mail->Body = $body;
if ($mail->send()) {
echo 'Mail sent successfully';
exit;
} else {
echo 'Failed to send email';
exit;
}
}
}
Setup Email Route
Open Routes.php from /app/Config folder. Add this route into it –
//...

$routes->get("send-email", "EmailController::sendMail");

//...
Application Testing
Open project terminal and start development server via command:
php spark serveURL: http://localhost:8080/send-email
You will receive email as –

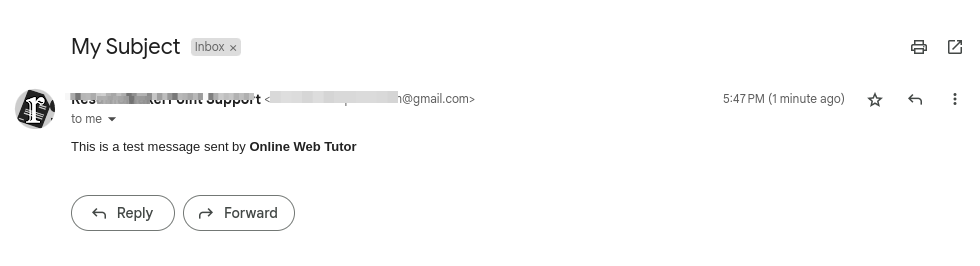
If everything went well, you should be able to send and receive emails from your website directly to your inbox. There will be no more spam emails!
That’s it.
We hope this article helped you to learn CodeIgniter 4 Send Emails via GMail SMTP and PHPMailer 6 in a very detailed way.
If you liked this article, then please subscribe to our YouTube Channel for PHP & it’s framework, WordPress, Node Js video tutorials. You can also find us on Twitter and Facebook.
Read more