Adding watermark text on images is a very interesting topic. Inside this article we will see the concept i.e How to add watermark text on images laravel 8.
This article will be step by step. Very super easy to learn and implement it in your project.
We have other articles too, please check this –
Inside laravel, we have a composer package available which helps to work with Image manipulation related work. And also before working with images related tasks, you should have these extensions enabled.
- GD Extension
- Imagick Extension
Let’s get started.
Laravel Installation
We will create laravel project using composer. So, please make sure your system should have composer installed. If not, may be this article will help you to Install composer in system.
Here is the command to create a laravel project-
composer create-project --prefer-dist laravel/laravel blog
To start the development server of Laravel –
php artisan serve
URL: http://127.0.0.1:8000
Assuming laravel already installed inside your system.
Required PHP Extensions
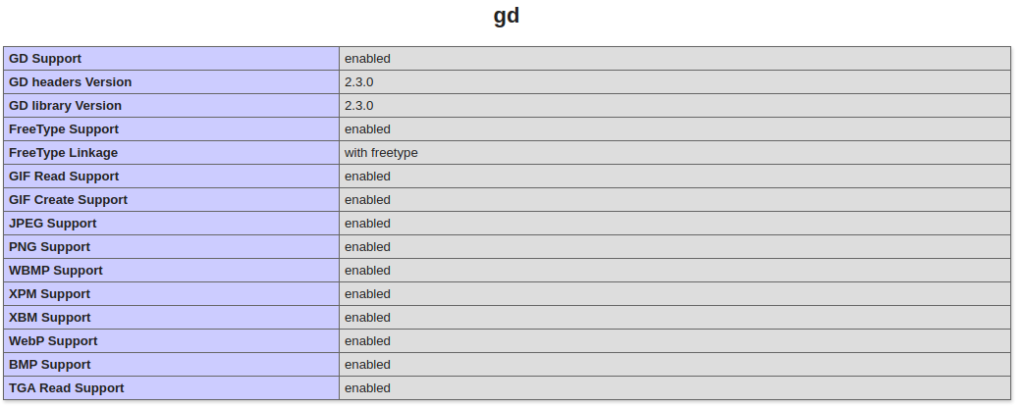
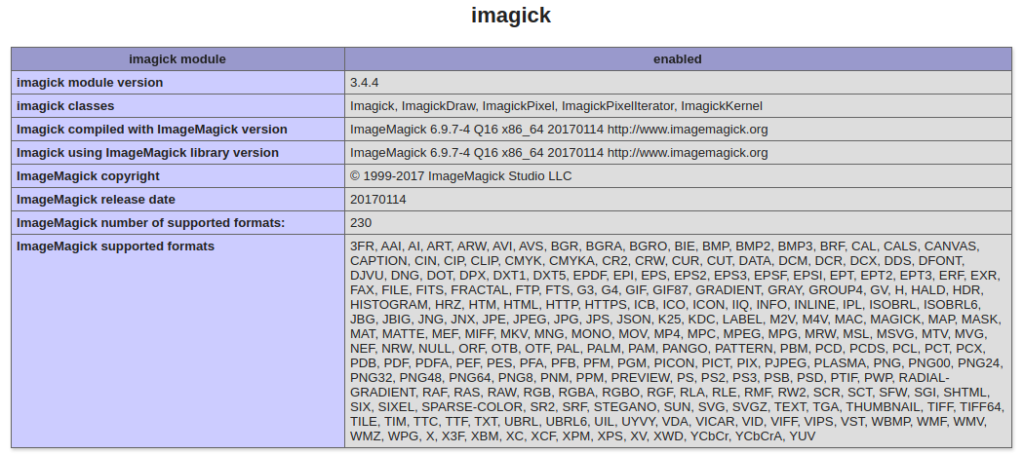
While working with image related stuff in PHP, make sure your PHP version should have these two most common image processing libraries GD Library and Imagick extensions enabled.
Whether your system already contains these extensions or not you can verify like this –
- Create info.php file at your localhost directory
- <?php phpinfo(); ?> Add this code into info.php file.
- Run this file into browser
You should see these information into php information page.
GD Extension Enabled
Imagick Extension Enabled
So, these two extensions we need, if you don’t have. Please install it first.
Install Intervention Image Package
Open project into terminal and run this given composer command. It will install the intervention image library to application.
This package helps us to create image thumbnails, watermarks, or format large image files.
$ composer require intervention/image
It will install the image package into application.
Add Package Settings to Application
Open app.php file from /config folder.
Search for providers, add this line into array.
//...

 Intervention\Image\ImageServiceProvider::class
Search for aliases, add this line into array.
//...

'Image' => Intervention\Image\Facades\Image::class
Download Font Family – WaterMark Text
You can use any font family for your text. This font family is optional. If you don’t want you can skip this step.
We will use Roboto + Mono Font, Click here to go to download.
It will download a zipped folder. Unzip that, copy .ttf file and place it into /public folder. We will use this font in code for watermark text.
Add Routes
Open web.php file from /routes folder. Add these routes into this file.
# Add this to header
use App\Http\Controllers\DataController;

//...

Route::get("image-upload", [DataController::class, "imageUpload"]);

Route::post("add-watermark", [DataController::class, "addWatermark"])->name('add-watermark');
Create Controller
Open project into terminal and run this artisan command.
$ php artisan make:controller DataController
It will create DataController.php inside /app/Http/Controllers folder.
Open DataController.php and write this complete code into it.
<?php

namespace App\Http\Controllers;

use Illuminate\Http\Request;
use Image;

class DataController extends Controller
{
    public function imageUpload()
    {
        return view('image-upload');
    }

    public function addWatermark(Request $request)
    {
        $image = $request->file('image');

        $input['image'] = time() . '.' . $image->extension();

        // Get path of images folder from /public
        $imageFilePath = public_path('images');

        $img = Image::make($image->path());

        $img->text('By Online Web Tutor', 450, 100, function ($font) {
            // Using font family here
            $font->file(public_path('RobotoMono-VariableFont_wght.ttf'));
            $font->size(40);
            $font->color('#202124');
            $font->align('center');
            $font->valign('bottom');
        });

        $img->save($imageFilePath . '/' . $input['image']);

        return back()
            ->with('success', 'Image Saved');
    }
}- Inside this text() method, we have By Online Web Tutor is text. 450 is the text position from left on image whereas 100 is position from top.
- $font->file(public_path(‘RobotoMono-VariableFont_wght.ttf’)); Inclusion of font family.
Create Image Folder
We need to create a folder inside /public folder which is at root.
- images folder inside as /public/images – It will store uploaded images
Create Blade Layout File
Go to /resources/views folder.
Create a file image-upload.blade.php into given folder.
Open image-upload.blade.php and write this complete code in it.
<!DOCTYPE html>
<html lang="en">

<head>
    <title>Add Watermark Text on Images - Laravel 8</title>
    <meta charset="utf-8">
    <meta name="viewport" content="width=device-width, initial-scale=1">
    <link rel="stylesheet" href="https://maxcdn.bootstrapcdn.com/bootstrap/3.4.1/css/bootstrap.min.css">
    <script src="https://ajax.googleapis.com/ajax/libs/jquery/3.5.1/jquery.min.js"></script>
    <script src="https://maxcdn.bootstrapcdn.com/bootstrap/3.4.1/js/bootstrap.min.js"></script>
</head>

<body>

    <div class="container">
        <h4 style="text-align: center;">Add Watermark Text on Images - Laravel 8</h4>
        <div class="panel panel-primary">
            <div class="panel-heading">Add Watermark Text on Images - Laravel 8</div>
            <div class="panel-body">
                @if (count($errors) > 0)
                <div class="alert alert-danger">
                    Error occured.<br><br>
                    <ul>
                        @foreach ($errors->all() as $error)
                        <li>{{ $error }}</li>
                        @endforeach
                    </ul>
                </div>
                @endif

                @if ($message = Session::get('success'))
                <div class="alert alert-success">
                    <strong>{{ $message }}</strong>
                </div>
                @endif

                <form action="{{ route('add-watermark') }}" enctype="multipart/form-data" method="post">
                    @csrf
                    <div class="form-group">
                        <input type="file" name="image" class="form-control" class="image">
                    </div>
                    <div class="form-group">
                        <button type="submit" class="btn btn-success">Save</button>
                    </div>
                </form>
            </div>
        </div>
    </div>

</body>

</html>
Application Testing
Run this command into project terminal to start development server,
php artisan serveURL – http://127.0.0.1:8000/image-upload
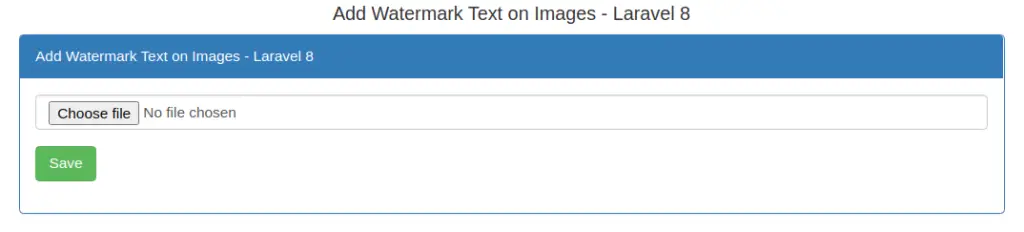
When we upload image, watermark text will be added into images as –

We hope this article helped you to learn How To Add WaterMark Text On Images Laravel 8 in a very detailed way.
If you liked this article, then please subscribe to our YouTube Channel for PHP & it’s framework, WordPress, Node Js video tutorials. You can also find us on Twitter and Facebook.
Read more