Inside this article we will see step by step guide to install composer into ubuntu operating system. Composer is a dependency manager for PHP. By the help of it we can add and remove php modules from any php related projects.
Here we will see the installation steps in Ubuntu OS of 18.04. But you can run it in any version. Hopefully it will work without any error. There are very few simple basics command which needs to be run into the shell or terminal window.
Let’s get started to see How To Install and Use Composer on Ubuntu 18.04.
Installing PHP Composer Steps
Step #1
Open terminal and type
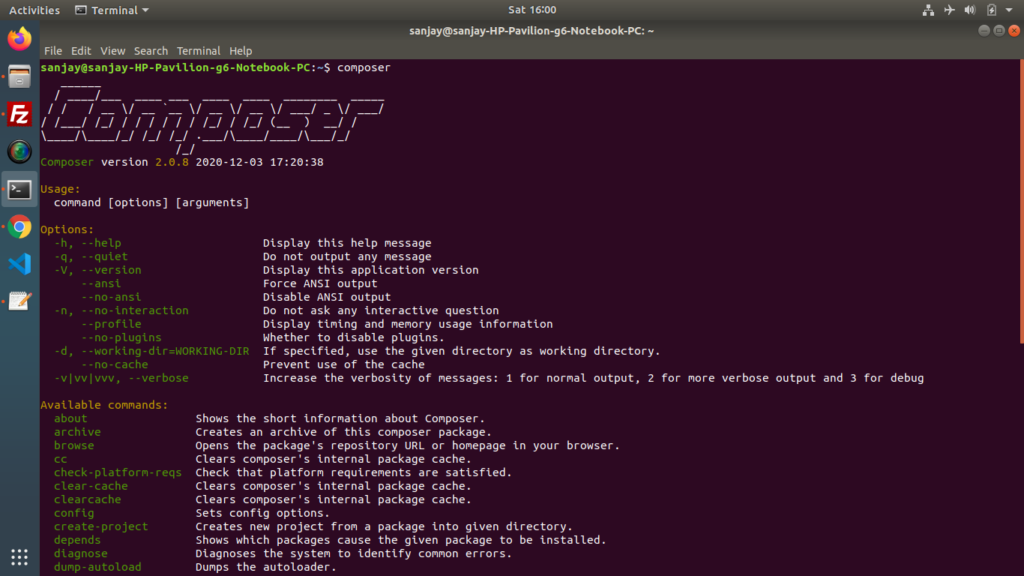
$ composer
If your system doesn’t has composer installed then you will get some message like ‘composer’ not found. Need to install by sudo apt install composer. And if your system has successfully installed then you should see the first screen image shared above.
Let’s say we don’t have composer yet.
Step #2
First let’s update the system packages and their indexes which is the basic needed requirement.
$ cd ~ $sudo apt update$ sudo apt install wget php-cli php-zip unzip
By the help of above command, we have installed now php-cli module to system. So we will use this to download composer installer.
Step #3
Here, is the command to download composer installer
$ php -r "copy('https://getcomposer.org/installer', 'composer-setup.php');"
This command will download a file composer-setup.php file into the current directory where you are.
Step #4
Next, we need to verify data integrity.
We will use the wget command to download the expected signature of the latest Composer installer from the Composer github page and store it in a variable named HASH.
$ HASH="$(wget -q -O - https://composer.github.io/installer.sig)"
Now run the following command to verify that the installation script is perfect or corrupted.
$ php -r "if (hash_file('SHA384', 'composer-setup.php') === '$HASH') { echo 'Installer verified'; } else { echo 'Installer corrupt'; unlink('composer-setup.php'); } echo PHP_EOL;"
If the HASH matches, then we will see the following output:
OutputInstaller verified
Step #5
Next to run the give command which installs Composer in the /usr/local/bin directory.
$ sudo php composer-setup.php --install-dir=/usr/local/bin --filename=composer
After running this command, if everything is ok so far. We will get this output message.
OutputAll settings correct for using ComposerDownloading...Composer (version 2.0.8) successfully installed to: /usr/local/bin/composer Use it: php /usr/local/bin/composer
Successfully, the composer is now installed as a system-wide command and it will be available for all users.
Step #6
Finally we need the same command again to verify composer installation at system.
$ composer
This time it will show the output screen as above shared image.
We hope this article helped you to learn about i.e How To Install and Use Composer on Ubuntu 18.04 Tutorial in a very detailed way.
If you liked this article, then please subscribe to our YouTube Channel for PHP & it’s framework, WordPress, Node Js video tutorials. You can also find us on Twitter and Facebook.
Read more
Very clear and concise instructions
Thanks