Sending an email in web application is very common. Laravel provides the predefined Mail class used to send mail. We only need to use & configure it. The content of this article is very useful to understand the things that we need to send a email using SMTP.
Inside this article we will Send an Email with custom email template in Laravel 9 by Gmail SMTP Server. We will use Gmail server and it’s SMTP details.
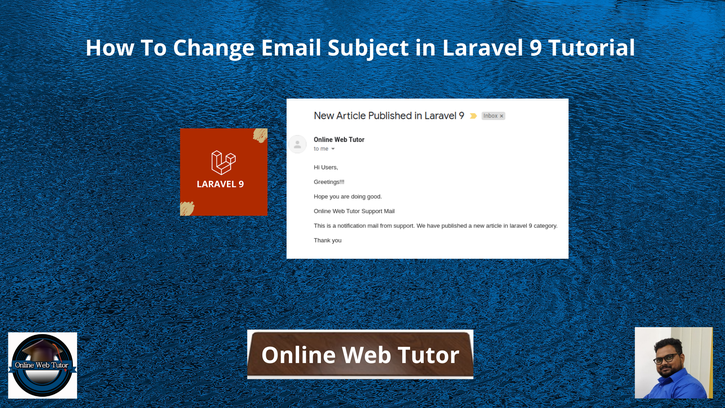
To set subject for emails, we use subject() method. We will understand about the concept i.e How to change email subject in laravel 9.
To get the complete concept of this article you need SMTP details.
Learn More –
- Laravel 9 Has Many Through Eloquent Relationship Tutorial
- Laravel 9 Has One Through Eloquent Relationship Tutorial
- Laravel 9 Many to Many Eloquent Relationship Tutorial
- Laravel 9 One to Many Eloquent Relationship Tutorial
Let’s get started.
Laravel Installation
Open terminal and run this command to create a laravel project.
composer create-project laravel/laravel myblogIt will create a project folder with name myblog inside your local system.
To start the development server of laravel –
php artisan serveURL: http://127.0.0.1:8000
Assuming laravel already installed inside your system.
SMTP Configuration
To configure SMTP details, open up the file .env from application root.
We will pass mail driver as gmail server, mail host, mail port, mail username, mail password.
//..

MAIL_MAILER=smtp
MAIL_HOST=smtp.gmail.com
MAIL_PORT=465
MAIL_USERNAME="xxxyyyzzz@gmail.com"
MAIL_PASSWORD="your_password"
MAIL_ENCRYPTION=null
MAIL_FROM_ADDRESS="xxxyyyzzz@gmail.com"
MAIL_FROM_NAME="Online Web Tutor"

//...
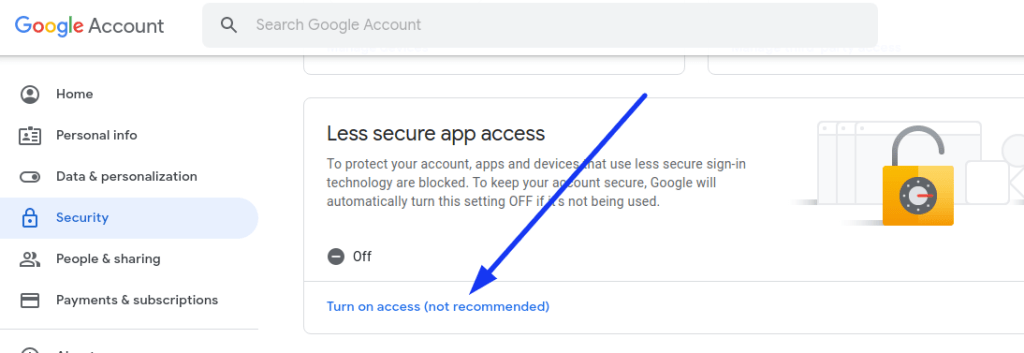
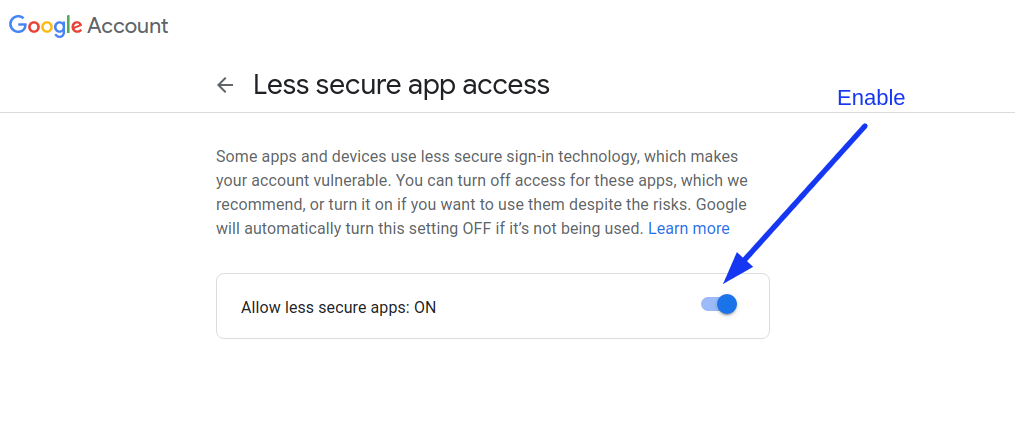
Make sure you have enabled google security setting form your gmail. go to Google account and click on “Account”. Once you are on the “Account” page, click on “Security“. Scroll down to the bottom and you will find “Less secure app access” settings. Set as ON.
Have a look into these images.
Create Mail Class
Inside this we will create mail class via artisan command which will be responsible for sending emails.
$ php artisan make:mail MyTestMailApplication will creates a folder with the name of Mail inside /app folder. You should see a file MyTestMail.php inside /app/Mail folder.
Open file MyTestMail.php and write this code into it.
<?php

namespace App\Mail;

use Illuminate\Bus\Queueable;
use Illuminate\Contracts\Queue\ShouldQueue;
use Illuminate\Mail\Mailable;
use Illuminate\Queue\SerializesModels;

class MyTestMail extends Mailable
{
    use Queueable, SerializesModels;

    public $details;

    /**
     * Create a new message instance.
     *
     * @return void
     */
    public function __construct($details)
    {
        $this->details = $details;
    }

    /**
     * Build the message.
     *
     * @return $this
     */
    public function build()
    {
        return $this->subject('New Article Published in Laravel 9')
                    ->view('emails.custom_template');
    }
}
Create Mail Template
Let’s create a folder emails inside /resources/views folder. Inside this folder we will create a simple blade template file with following content.
Create a fie custom_template.blade.php inside /resources/views/emails folder. Open file and write this code into it.
<!DOCTYPE html>
<html>

<head>
    <title>Mail From Online Web Tutor</title>
</head>

<body>
    <p>Hi Users,</p>
    <p>Greetings!!!</p>
    <p>Hope you are doing good.</p>
    <p>{{ $details['title'] }}</p>
    <p>{{ $details['body'] }}</p>

    <p>Thank you</p>
</body>

</html>
Add Route
Open web.php file from /routes folder. Add this route and code into it.
//...

use Illuminate\Support\Facades\Mail;

Route::get('send-mail', function () {

  $details = [
      'title' => 'Online Web Tutor Support Mail',
      'body' => 'This is a notification mail from support. We have published a new article in laravel 9 category.'
  ];

  Mail::to('send_to_email@gmail.com')->send(new \App\Mail\MyTestMail($details));

  dd("Email is Sent, please check your inbox.");
});

//...
Application Testing
Run this command into project terminal to start development server,
php artisan serveURL – http://127.0.0.1:8000/send-mail


We hope this article helped you to learn about How To Change Email Subject in Laravel 9 Tutorial in a very detailed way.
If you liked this article, then please subscribe to our YouTube Channel for PHP & it’s framework, WordPress, Node Js video tutorials. You can also find us on Twitter and Facebook.
Read more