Authentication is an essential part of every web site, ensuring that users have a safe and personalised experience. We will walk you through the process of creating authentication in Laravel 10 using Laravel UI in this article.
Laravel UI is a powerful package that simplifies authentication setup, allowing you to add user registration, login, and password reset functionality into your Laravel 10 applications quickly. It simplifies scaffolding for front-end frameworks such as Bootstrap, Vue, and React. It is built to integrate with Laravel apps and includes pre-made authentication views and routes.
Read More: Use Laravel 10 To Get Files Information From Directory
Let’s get started.
Laravel Installation
Open terminal and run this command to create a laravel project.
composer create-project laravel/laravel myblogIt will create a project folder with name myblog inside your local system.
To start the development server of laravel –
php artisan serveURL: http://127.0.0.1:8000
Assuming laravel already installed inside your system.
Create Database & Connect
To create a database, either we can create via Manual tool of PhpMyadmin or by means of a mysql command.
CREATE DATABASE laravel_app;
To connect database with application, Open .env file from application root. Search for DB_ and update your details.
DB_CONNECTION=mysql
DB_HOST=127.0.0.1
DB_PORT=3306
DB_DATABASE=laravel_app
DB_USERNAME=root
DB_PASSWORD=root
Read More: How To Clear Complete Application Caches in Laravel 10
Laravel UI Installation
We are using here Laravel UI to create application authentication section like login, registration, etc.
Steps To Install Laravel UI
Open Laravel project to terminal and type the given command.
$ composer require laravel/ui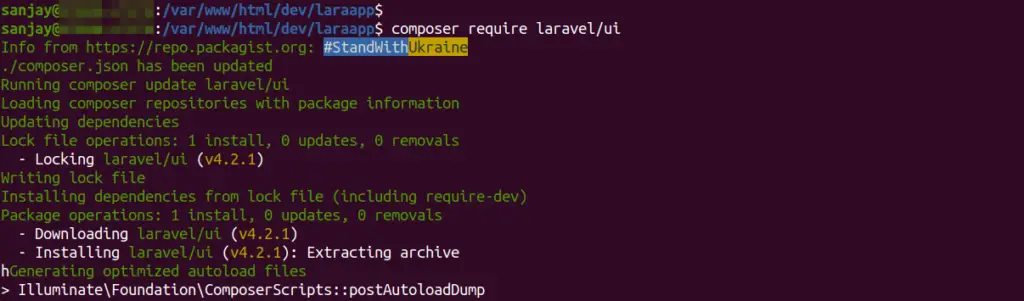
Next,
We can generate Login, Registration, etc scaffolding from different different front-end technologies in laravel.
Generate Basic Scaffolding & with Authentication Using Bootstrap
$ php artisan ui bootstrap

$ php artisan ui bootstrap --auth
Generate Basic Scaffolding & with Authentication Using Vue
$ php artisan ui vue

$ php artisan ui vue --auth
Read More: How To Create and Download Zip File in Laravel 10 Tutorial
Generate Basic Scaffolding & with Authentication Using React
$ php artisan ui react

$ php artisan ui react --auth
Now,
Successfully, you have installed a scaffolding setup to your laravel application. Next, you need to install NPM dependencies.
Install NPM dependencies
Run this following command to install node dependency and compile CSS and js files:
$ npm install && npm run devRun Migration
Next, we need to run migration command to generate tables in database. Open terminal and run this artisan command.
It will run all pending migrations of your application.
$ php artisan migrateApplication Testing
Run this command into project terminal to start development server,
php artisan serveURL: http://127.0.0.1:8000/
We will get Login and Register Link at landing page.
Read More: How To Query To Get Single Row Data in Laravel 10 Tutorial
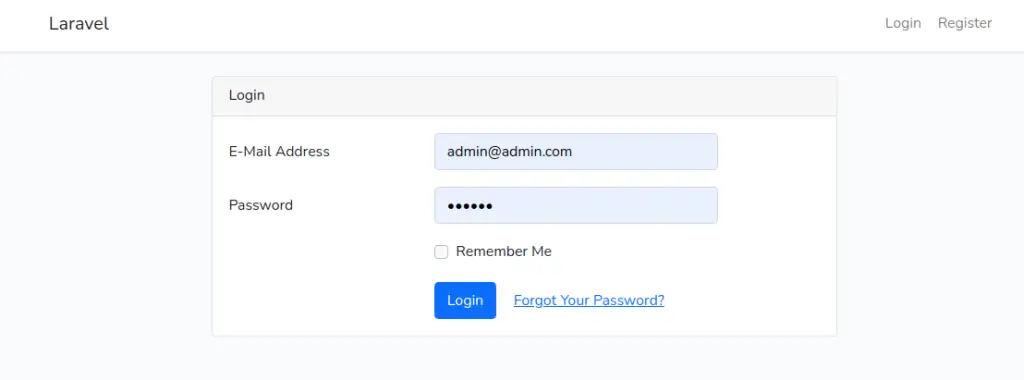
When you click on Log in link, you will see this login page.
Login
You need to provide email address and password for login to dashboard.
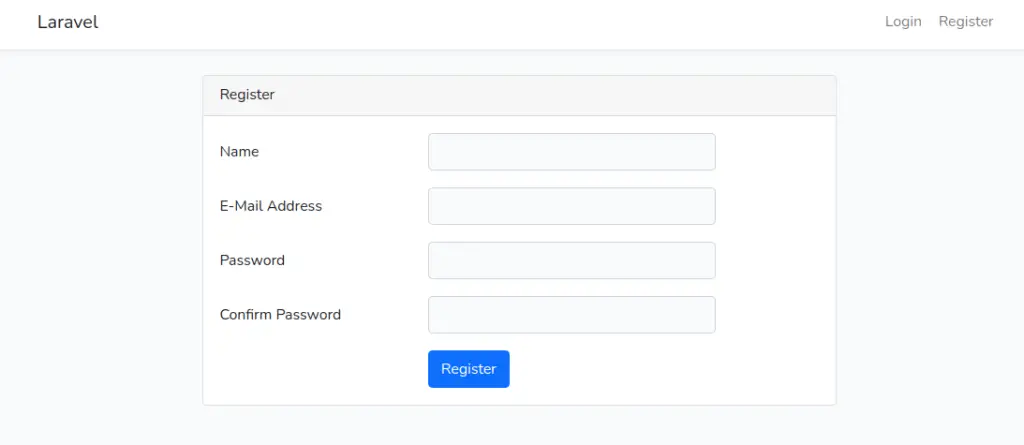
Register
To register a new user, you need to provide name, email address, password, confirm password.
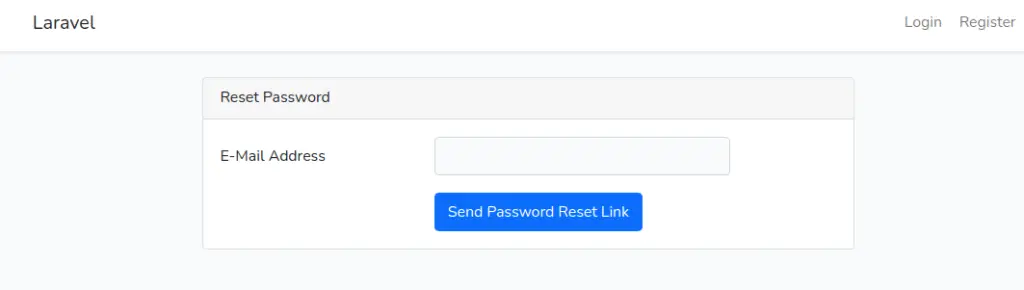
Reset Password
When you forgot your password, click on the link given at Log in page.
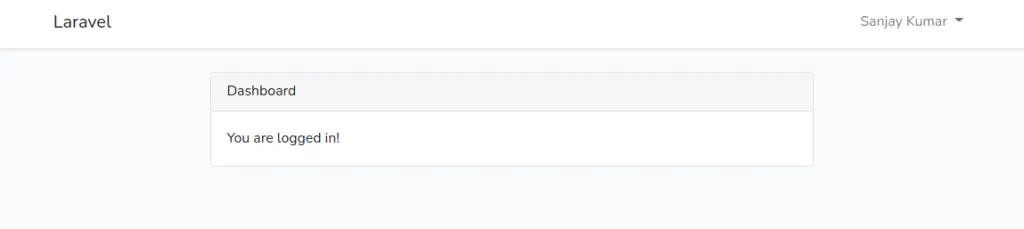
User Dashboard
Once user will login into application, redirected to dashboard page.
We hope this article helped you to learn Laravel 10 Authentication with Laravel UI Tutorial in a very detailed way.
If you liked this article, then please subscribe to our YouTube Channel for PHP & it’s framework, WordPress, Node Js video tutorials. You can also find us on Twitter and Facebook.
Read more