Capturing website screenshots is a useful talent in the digital age, with numerous uses in web development, design, and diverse online projects. Laravel, a sturdy and versatile PHP framework, can be a valuable ally in the process of swiftly and effectively capturing website screenshots.
In this article, we will walk you through the process of capturing website screenshots with Laravel 10, allowing you to use this feature for a variety of practical purposes.
We will look at ways and best practises for setting up a Laravel project to take website screenshots throughout this article. We’ll also go through how to leverage necessary packages and libraries to easily incorporate this functionality in your web applications.
Read More: Laravel 10 How To Create Multi Language Website Tutorial
Let’s get started.
Laravel Installation
Open terminal and run this command to create a laravel project.
composer create-project laravel/laravel myblogIt will create a project folder with name myblog inside your local system.
To start the development server of laravel –
php artisan serveURL: http://127.0.0.1:8000
Assuming laravel already installed inside your system.
Install Laravel “spatie/browsershot” Package
Here, you have to install spatie/browsershot package which will be responsible to provide functions and methods for taking screenshots from URL in laravel.
Open project terminal and run this command,
composer require spatie/browsershot
Next, you need a node package for your laravel application via NPM.
Install Node Package “puppeteer”
This is also a working partner for last installed composer package when you work of taking screenshots from URL. This is a node package, you must install it via NPM.
Run this command into project terminal,
npm install puppeteer --globalNow, everything is ready.
Setup Application Controller
Open project terminal and run this command,
php artisan make:controller SiteControllerIt will create a SiteController.php file inside /app/Http/Controllers folder.
Read More: Laravel 10 Language Translation Methods Tutorial
Open file and write this code into it,
<?php

namespace App\Http\Controllers;

use Illuminate\Http\Request;
use Spatie\Browsershot\Browsershot;

class SiteController extends Controller
{
    public function index()
    {
        Browsershot::url('https://onlinewebtutorblog.com/')
            ->setOption('landscape', true)
            ->windowSize(3840, 2160)
            ->waitUntilNetworkIdle()
            ->save('onlinewebtutorblog.jpg');

        dd("Done");
    }
}
Add Route
Open web.php file from /routes folder. Add this route into it.
//...
use App\Http\Controllers\SiteController;

Route::get('capture', [SiteController::class,'index']);

//...
Application Testing
Run this command into project terminal to start development server,
php artisan serveURL: http://127.0.0.1:8000/capture
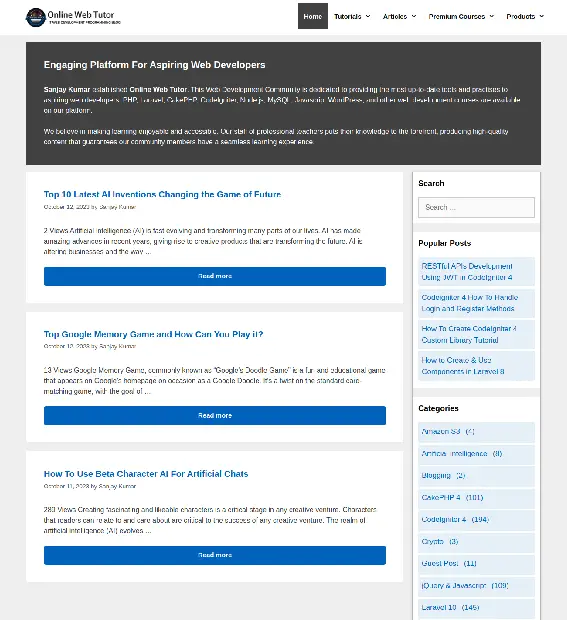
When you open this URL, it will capture a screenshot of entire website i.e of “onlinewebtutorblog.com“.

That’s it.
We hope this article helped you to learn about Laravel 10 How To Capture Website Screenshot Tutorial in a very detailed way.
Online Web Tutor invites you to try Skillshike! Learn CakePHP, Laravel, CodeIgniter, Node Js, MySQL, Authentication, RESTful Web Services, etc into a depth level. Master the Coding Skills to Become an Expert in PHP Web Development. So, Search your favourite course and enroll now.
If you liked this article, then please subscribe to our YouTube Channel for PHP & it’s framework, WordPress, Node Js video tutorials. You can also find us on Twitter and Facebook.
