
Inside this article we will see the concept i.e Laravel 10 Step By Step Stub Customization Tutorial. Article contains the classified information i.e Concept of Laravel stubs.
When we use Laravel artisan command to generate controller, model, factory, migration etc then we can see we get a code skeleton of each associated class or file. That well written code skeleton called as Laravel stub.
Laravel stub are the core template files which laravel uses to generate classes skeletons.
Laravel stub feature is included from laravel 7 version. Inside this article we will see Laravel 10 stub customization tutorial. We can generate Stub and publish it inside application.
When we write any code in stub files then it will come with generated file. For example, if we add few methods in controller stub file, then whenever we generate controller file from php artisan command. Those added methods by default will come with file.
Read More: How To Work with Laravel 10 Model Events Tutorial
Let’s get started.
Laravel Installation
Open terminal and run this command to create a laravel project.
composer create-project laravel/laravel myblogIt will create a project folder with name myblog inside your local system.
To start the development server of laravel –
php artisan serveURL: http://127.0.0.1:8000
Assuming laravel already installed inside your system.
What are Laravel Stub?
In Laravel, stubs are templates used for generating code files. When you create a new class, controller, migration, or other type of file in Laravel using the <strong>php artisan</strong> command-line tool, Laravel generates a new file based on a stub template.
The Laravel framework comes with a set of default stubs for generating common types of files. These stubs are stored in the <strong>resources/stubs</strong> directory of your Laravel application and can be customized to fit your specific project needs.
So, Stub are nothing, these are predefined core templates for classes. These files provide a predefined skeleton for controller, model etc.
Example:
<?php

namespace {{ namespace }};

use {{ rootNamespace }}Http\Controllers\Controller;
use Illuminate\Http\Request;

class {{ class }} extends Controller
{
    //
}
{{ namespace }}, {{ rootNamespace }}, {{ class }} These are placeholders which will replaces when we pass class name, namespace into artisan command to generate controllers.
Read More: Laravel 10 How To Connect with Multiple Database Tutorial
When we run the command
$ php artisan make:controller TestControllerController stub file will execute, replace all placeholders in a dynamic way and generate controller.
Laravel Stub Publish
To work with laravel stub files, first we need to publish it. When we publish stub then all files of stub will be located within a <strong>stubs</strong> directory in the root of your application.
By default you will not see this folder (stubs) into application root.
Publish Stubs
$ php artisan stub:publish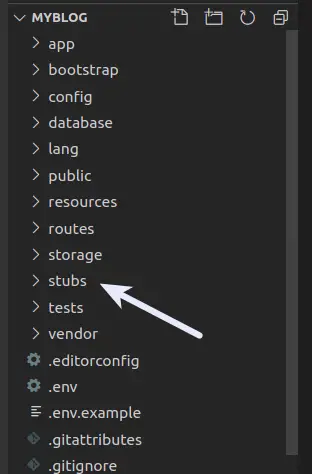
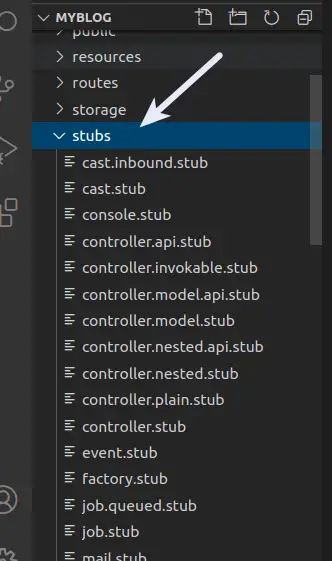
Laravel Stub Files
Above image indicates the stubs folder inside project root. When we open, we can see we have several files which is basically a skeleton file for migration, controller, model etc.
These stub files should have .stub extension.
Notes*:
Here, we have few files explanation from this stubs directory.
- controller.stub -> To generate resource controller $ php artisan make:controller ProductController –resource
- controller.plain.stub -> To generate plain controller without any methods $ php artisan make:controller ProductController
- factory.stub -> To generate a factory file $ php artisan make:factory ProductFactory
Read More: Laravel 10 Generate PDF and Attach To GMail Email Tutorial
Stub File Customization
We will understand how we use these stub files and change the skeleton of laravel classes.
Let’s open controller.plain.stub from stubs directory.
<?php

namespace {{ namespace }};

use {{ rootNamespace }}Http\Controllers\Controller;
use Illuminate\Http\Request;

class {{ class }} extends Controller
{
    //

    //.. first method
    public function method1(){
        return 'First Method';
    }

    //.. second method
    public function method2(){
        return 'Second Method';
    }
}
Above is the updated code we have written inside plain controller stub file.
Next,
Whenever we generate controller, this updated code will be used.
$ php artisan make:controller ProductControllerFollowing command will generate ProductController.php a controller file inside /app/Http/Controllers
Open ProductController.php File,
<?php

namespace App\Http\Controllers;

use Illuminate\Http\Request;

class ProductController extends Controller
{
    //

    //.. first method
    public function method1(){

        return 'First Method';
    }

    //.. second method
    public function method2(){

        return 'Second Method';
    }
}
Now, we are getting 2 default methods with this default controller file.
This laravel stub customization is useful in those cases where we want some global methods or variables to each generated files of laravel application.
Note*: Work with stub files very carefully otherwise a wrong step in customization will break application flow.
We hope this article helped you to Learn Laravel 10 Stub Customization Step By Step Tutorial in a very detailed way.
Read More: Step-by-Step JSON Data Seeding with Laravel 10 Tutorial
If you liked this article, then please subscribe to our YouTube Channel for PHP & it’s framework, WordPress, Node Js video tutorials. You can also find us on Twitter and Facebook.
Read more