Now a days, Adding Background process is common to applications. Background process is termed as Cron jobs of any application.
Few examples like for sending an email to all subscribed users, running database queries to take backups etc. There are lots of example you will find in daily life which handle by application’s back face.
Background process is termed as Cron Jobs. Cron jobs needs to specified with trigger time. Here trigger time means when it has to start it’s execution. It can be like every minute, every hour, a day etc. Inside this article we will see the concept of Laravel 8 Cron Job Task Scheduling.
This tutorial is going to be quite interesting to learn and see the concept of Cron job task scheduler methods and step by step procedure.
Let’s get started.
Laravel Installation
We will create laravel project using composer. So, please make sure your system should have composer installed. If not, may be this article will help you to Install composer in system.
Here is the command to create a laravel project-
composer create-project --prefer-dist laravel/laravel blog
To start the development server of Laravel –
php artisan serve
URL: http://127.0.0.1:8000
Assuming laravel already installed inside your system.
Create New Command
In the very first step of this Cron scheduling task, we are going to create a Laravel custom command. This custom command will help us to run our background tasks.
So to create custom command, we have a artisan command.
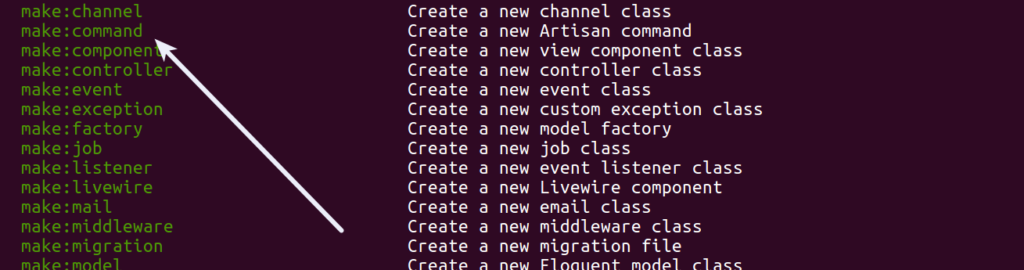
$ php artisan make:command TestCron --command=test:cron
When we run this command, it will create a Commands folder inside /app/Console if it doesn’t exists. Inside this folder we will have a file with the name called /app/Console/Commands/TestCron.php
Settings Cron Task
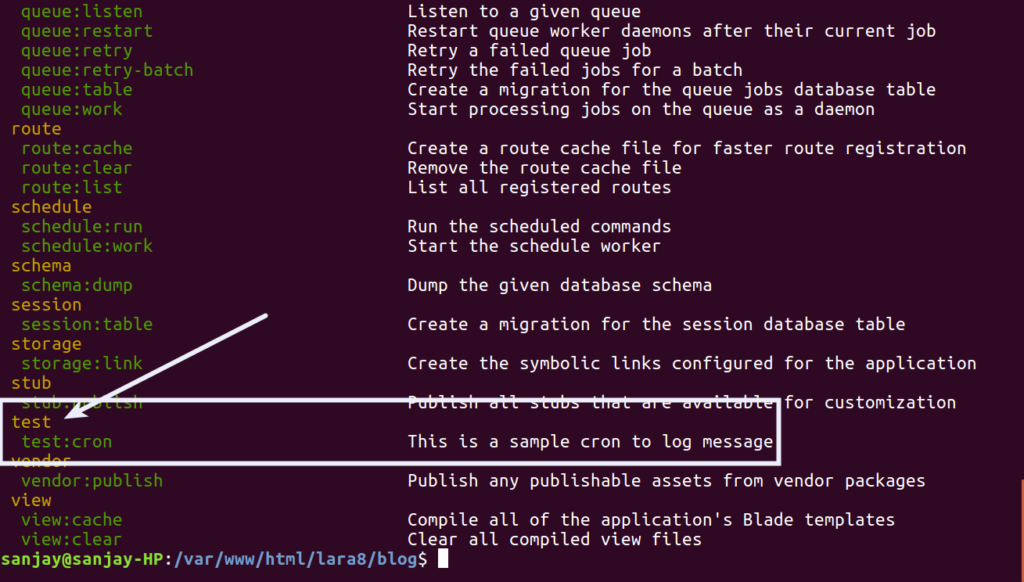
When you open TestCron.php file, you will find few protected variables which actually introduce you command to laravel artisan panel.
protected $signature = 'test:cron';

protected $description = 'This is a sample cron to log message';
In that file, most important method is handle(). This method runs when cron triggers. Here, we have the updated code. Copy and paste the given code into your TestCron.php file.
<?php

namespace App\Console\Commands;

use Illuminate\Console\Command;
use Illuminate\Support\Facades\Log;
//use App\Models\Student;

class TestCron extends Command
{
    /**
     * The name and signature of the console command.
     *
     * @var string
     */
    protected $signature = 'test:cron';

    /**
     * The console command description.
     *
     * @var string
     */
    protected $description = 'This is a sample cron to log message';

    /**
     * Create a new command instance.
     *
     * @return void
     */
    public function __construct()
    {
        parent::__construct();
    }

    /**
     * Execute the console command.
     *
     * @return int
     */
    public function handle()
    {
        // Simple Cron to log message
        Log::info("Successfully, cron is running");

        // Also we can database stuff here

        // Student::create([
        //     "name" => "Sample",
        //     "email" => "sample@gmail.com",
        //     "mobile" => "8529630147"
        // ]);

        //return 0;
    }
}
Inside this handle() method, you can add any type of your job task as Sending an email, Data insert into database, taking data dumps etc.
Let’s schedule this cron to task scheduler.
Register as Task Scheduler
Next, to register Cron jobs go to /app/Console and find a file called Kernel.php. We need to register our created cron command here with any time when we want to trigger.
Here, are the list of trigger time (scheduling frequencies) what we have available for task scheduling.
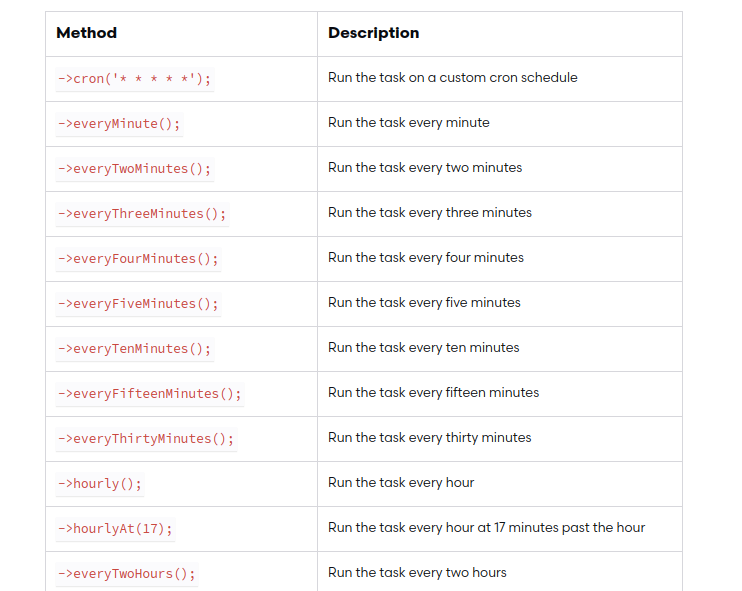
For complete list Click here for the documentation.
Here is the updated code of Kernel.php file.
<?php

namespace App\Console;

use Illuminate\Console\Scheduling\Schedule;
use Illuminate\Foundation\Console\Kernel as ConsoleKernel;

class Kernel extends ConsoleKernel
{
    /**
     * The Artisan commands provided by your application.
     *
     * @var array
     */
    protected $commands = [
        Commands\TestCron::class,
    ];

    /**
     * Define the application's command schedule.
     *
     * @param  \Illuminate\Console\Scheduling\Schedule  $schedule
     * @return void
     */
    protected function schedule(Schedule $schedule)
    {
        // $schedule->command('inspire')->hourly();
        $schedule->command('test:cron')
                 ->everyMinute();
    }

    /**
     * Register the commands for the application.
     *
     * @return void
     */
    protected function commands()
    {
        $this->load(__DIR__.'/Commands');

        require base_path('routes/console.php');
    }
}
Successfully, we have registered Cron command to Kernel.php
Testing Job Scheduling Task
Open terminal and type this command
$ php artisan schedule:run
When we run then it executes the commands what we have added into Kernel.php file. So here we have one. That cron will add some log into the log file.
Log file you will find at /storage/logs/laravel.log Inside this file cron will add the statement Successfully, cron is running.
When run the artisan schedule command again and again it will go and add into the file. Now let’s set it as on permanent basis by using crontab console command.
Settings Cron Task at Crontab
Open terminal and type the command
$ crontab -l
This command will list all crons that you have added. Now to add new cron tasks, again back to terminal and type the command
$ crontab -e
It will open an interface to your terminal to register or add new tasks. So let’s add our created cron
* * * * * cd /path-to-your-project && php artisan schedule:run >> /dev/null 2>&1
- * * * * * It indicates our task will run every minute
- /path-to-your-project This is path of laravel application project
- php artisan schedule:run Here we are running our cron
We hope this article helped you to learn about Laravel 8 Cron Job Task Scheduling Tutorial in a very detailed way.
If you liked this article, then please subscribe to our YouTube Channel for PHP & it’s framework, WordPress, Node Js video tutorials. You can also find us on Twitter and Facebook.
Read more