Inside this article we will see how to install Authentication with laravel ui package. laravel ui package provides the simple steps for authentication scaffolding. It is simple in ui, easy to install.
Laravel/ui package is a composer package for laravel which needs to be install first using composer before working with it.
If you are looking for an article which gives you the understanding of Laravel 9 authentication with laravel ui then this article will help you a lot. Article contains only classified information about laravel 9 authentication with laravel ui.
Laravel ui generates it’s own scaffolding files for authentication pages – Login, Register, etc.
Learn More –
- Laravel 9 Cron Job Task Schedule Tutorial
- Laravel 9 Crop Image Before Upload Using Croppie.js
- Laravel 9 CRUD Application with Image Upload Tutorial
- Laravel 9 Database Seeding from CSV File Tutorial
Let’s get started.
Laravel Installation
Open terminal and run this command to create a laravel project.
composer create-project laravel/laravel myblogIt will create a project folder with name myblog inside your local system.
To start the development server of laravel –
php artisan serveURL: http://127.0.0.1:8000
Assuming laravel already installed inside your system.
Create Database & Connect
To create a database, either we can create via Manual tool of PhpMyadmin or by means of a mysql command.
CREATE DATABASE laravel_app;
To connect database with application, Open .env file from application root. Search for DB_ and update your details.
DB_CONNECTION=mysql
DB_HOST=127.0.0.1
DB_PORT=3306
DB_DATABASE=laravel_app
DB_USERNAME=root
DB_PASSWORD=root
Laravel 9 Authentication with Laravel UI
We are using here Laravel UI to create application authentication section like login, registration, etc.
Install Laravel UI
Open Laravel project to terminal and type the given command.
$ composer require laravel/ui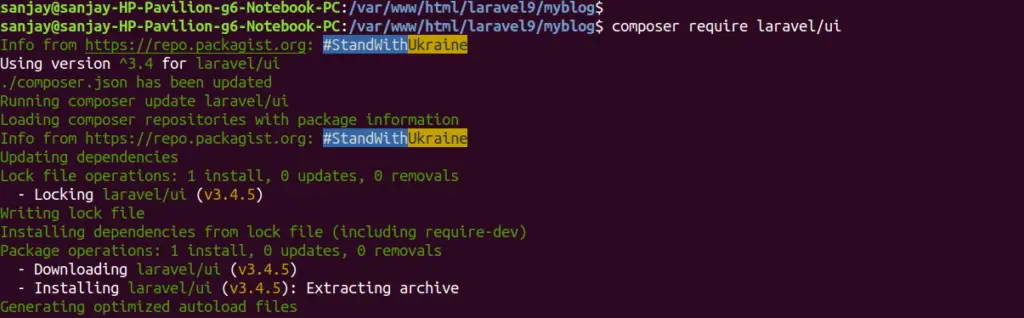
Once the <strong>laravel/ui</strong> package has been installed, you need to install the frontend scaffolding using the ui artisan command:
$ php artisan ui bootstrap --authThis command generates – login, register, app, etc layout scaffolding files.
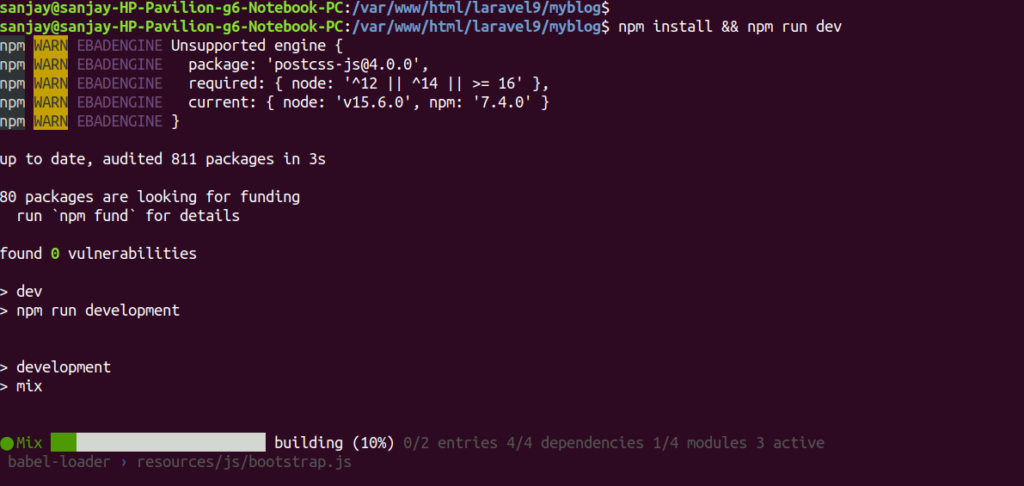
After this command need to run the command
$ npm install && npm run devIt will generate CSS and JS compiled files for authentication system.
Run Migration
Next, we need to run migration command to generate tables in database. Open terminal and run this artisan command.
It will run all pending migrations of your application.
$ php artisan migrateApplication Testing
Run this command into project terminal to start development server,
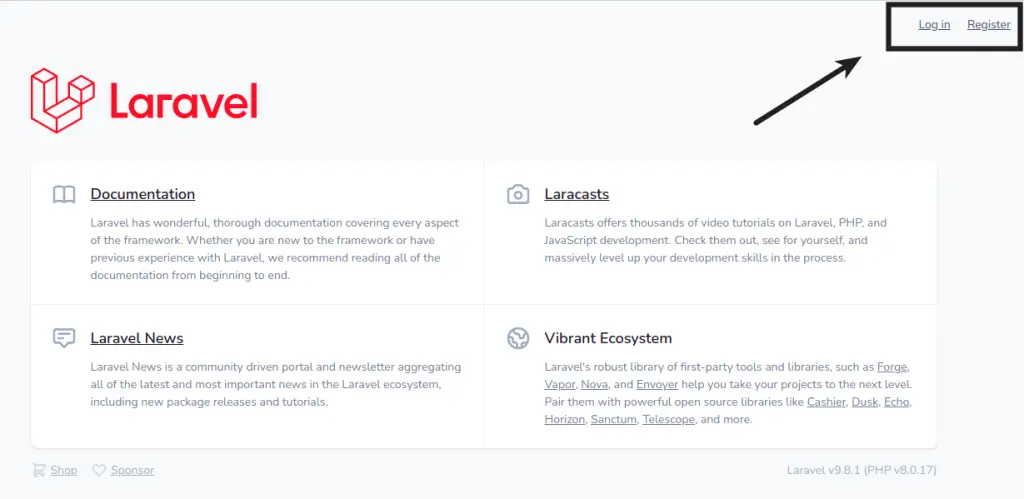
php artisan serveURL – http://127.0.0.1:8000/
We will get Login and Register Link at landing page.
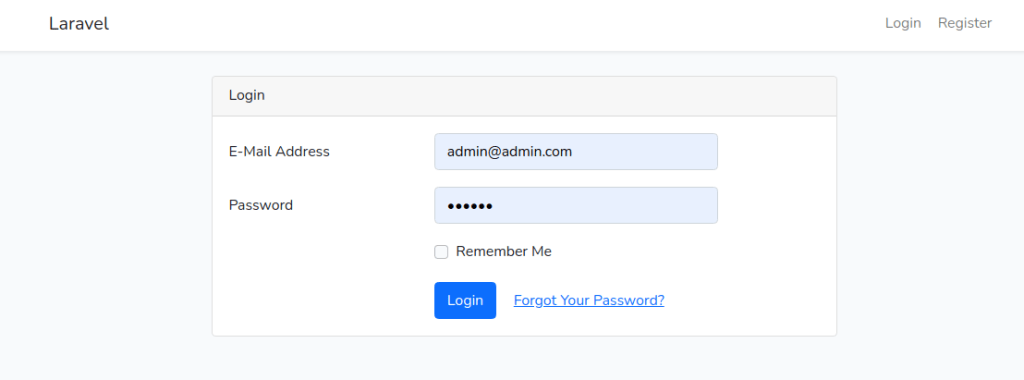
When you click on Log in link, you will see this login page.
Login
You need to provide email address and password for login to dashboard.
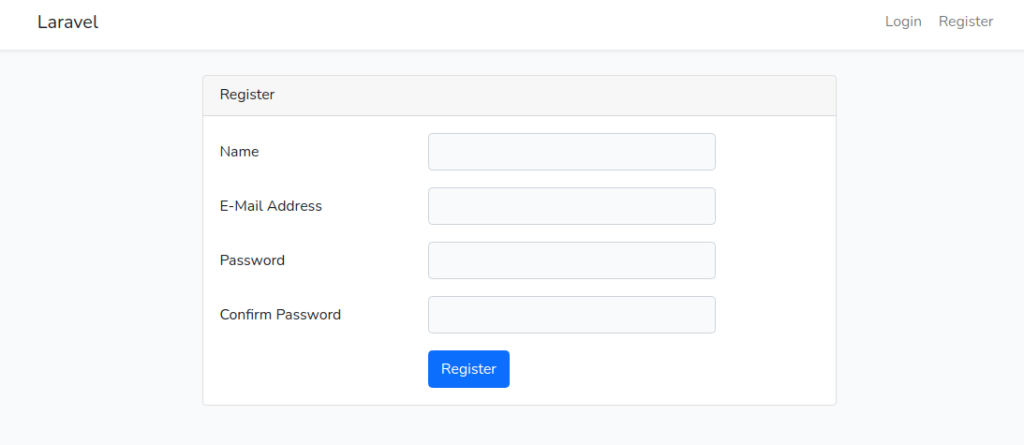
Register
To register a new user, you need to provide name, email address, password, confirm password.
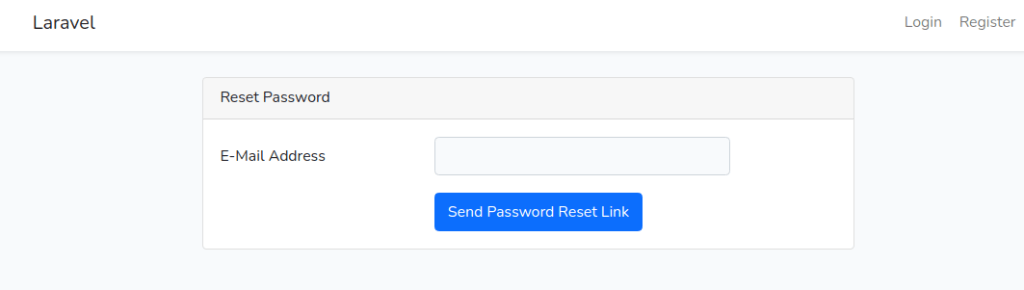
Reset Password
When you forgot your password, click on the link given at Log in page.
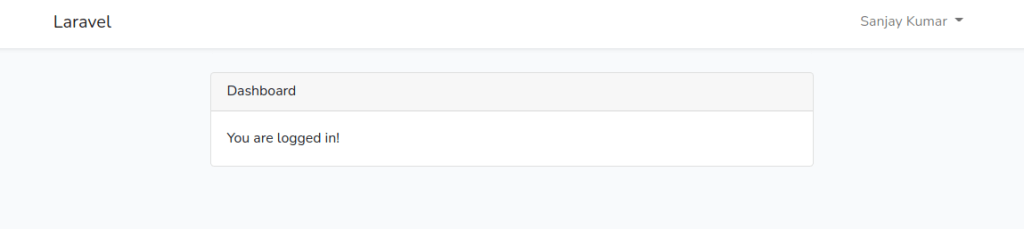
User Dashboard
Once user will login into application, redirected to dashboard page.
We hope this article helped you to learn Laravel 9 Authentication with Laravel UI Tutorial in a very detailed way.
If you liked this article, then please subscribe to our YouTube Channel for PHP & it’s framework, WordPress, Node Js video tutorials. You can also find us on Twitter and Facebook.
Read more