For every web application – login & registration must be a needed part. Inside this article we will see Laravel 9 Authentication using Jetstream with Inertia Js. We will use Inertia Js in this tutorial for laravel 9 authentication which provides auth pages and is more comfortable with Vue Js.
Laravel founder Taylor Otwell released laravel jetstream with Livewire & inertia Js with simple authentication scaffolding but powerful to use. Livewire is for Web and Inertia Js used to Vue Js. It was initially released with laravel v8. Also we have other packages for authentication as well.
Inside this we will see composer package for jetstream. Laravel 9 jetstream designed by Tailwind CSS. It publishes controllers for authentication system, views and routes to laravel application.
Learn More –
- JQuery Ajax Form Validation in Laravel 9 Tutorial
- Laravel 9 Add Social Media Share Buttons Tutorial
- Laravel 9 Authentication Scaffolding with Breeze Tutorial
- Laravel 9 Authentication with Laravel UI Tutorial
Let’s get started.
Laravel Installation
Open terminal and run this command to create a laravel project.
composer create-project laravel/laravel myblogIt will create a project folder with name myblog inside your local system.
To start the development server of laravel –
php artisan serveURL: http://127.0.0.1:8000
Assuming laravel already installed inside your system.
Create Database & Connect
To create a database, either we can create via Manual tool of PhpMyadmin or by means of a mysql command.
CREATE DATABASE laravel_app;
To connect database with application, Open .env file from application root. Search for DB_ and update your details.
DB_CONNECTION=mysql
DB_HOST=127.0.0.1
DB_PORT=3306
DB_DATABASE=laravel_app
DB_USERNAME=root
DB_PASSWORD=root
Install Jetstream
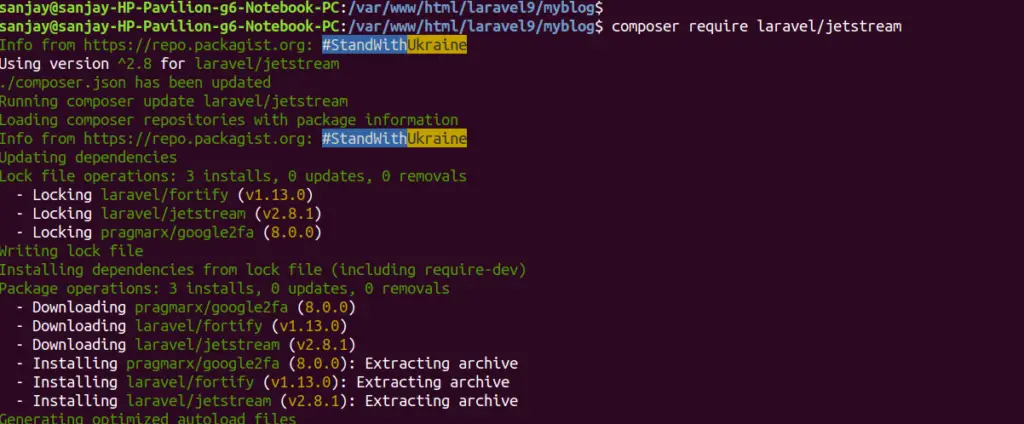
We will use composer command to install jetstream library. Open project to terminal and hit this command into it.
$ composer require laravel/jetstreamWhile Installation you should see console screen like this.
Create Auth with Inertia Js
Now,
We are going to install inertia via jetstream which will create authentication system for application. It consists of Login, Registration, Forgot Password, Profile, Dashboard, Two Setup authentication, Email verification etc.
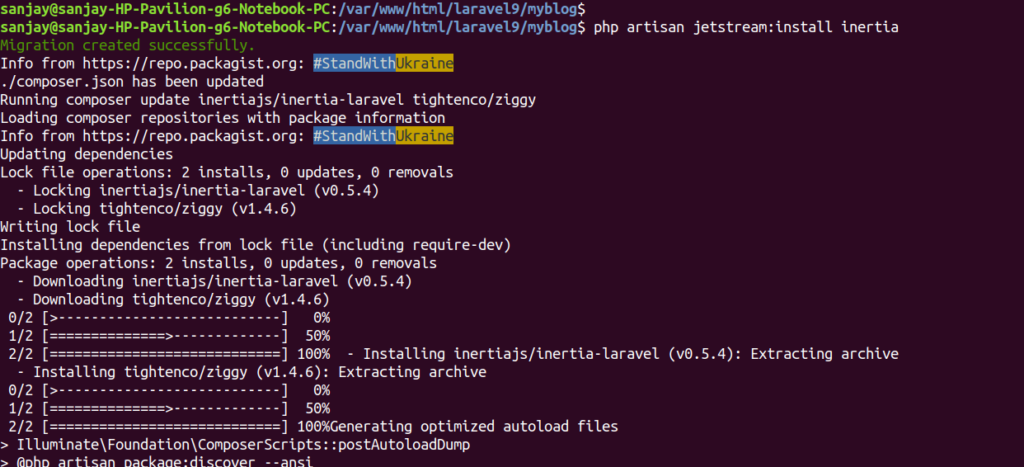
To install Inertia –
$ php artisan jetstream:install inertiaWhen we install we should see console screen like in this way –
Next, we need to run command to install node js packages.
Installing Node Js Packages
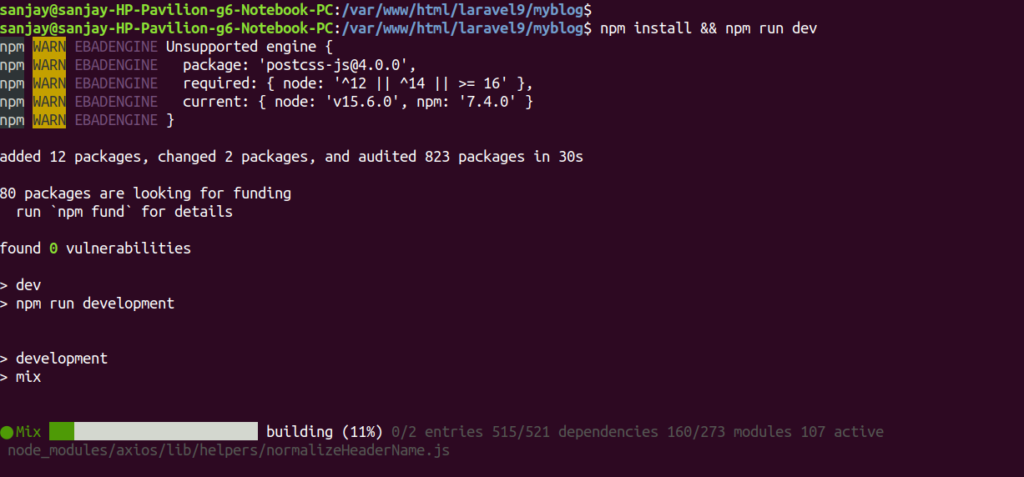
Back to terminal and type this command and run.
$ npm install && npm run devThis will give a screen view as –
Laravel Migration
Next, we need to migrate tables into database.
$ php artisan migrateGenerated Scaffolding Files
When we open jetsream.php file, we will see ‘stack’ => ‘inertia’, because we are using inertia as stack.
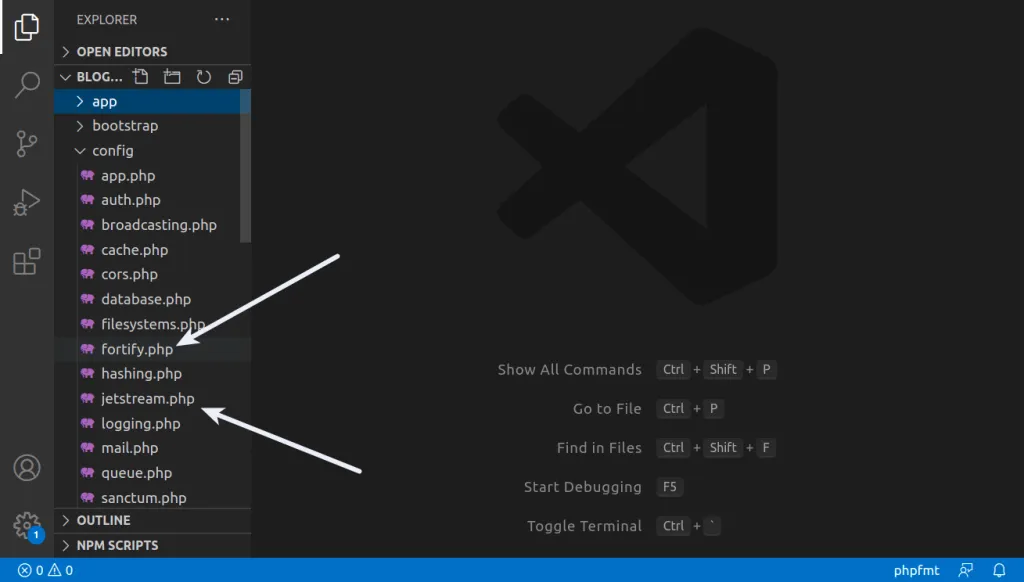
Configuration Files inside /config folder
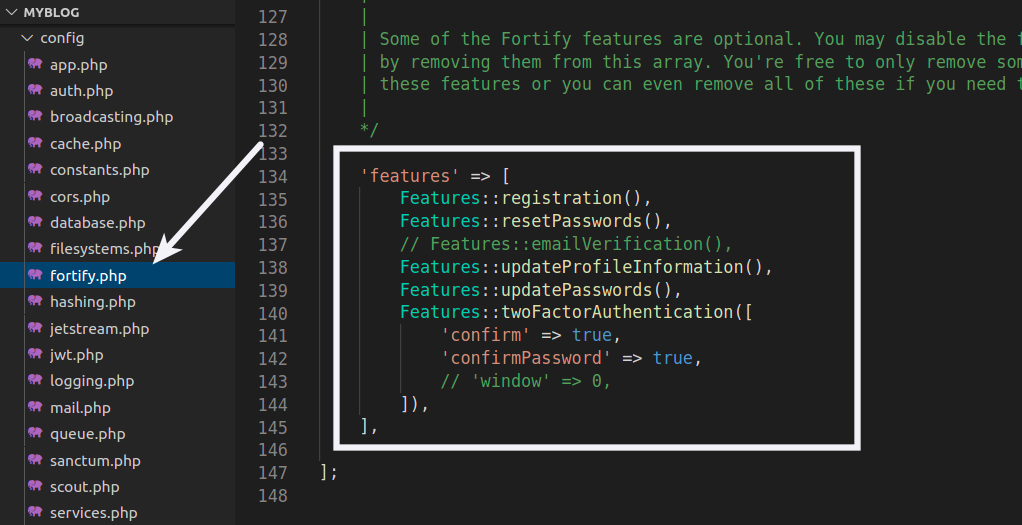
Feature List of authentication module
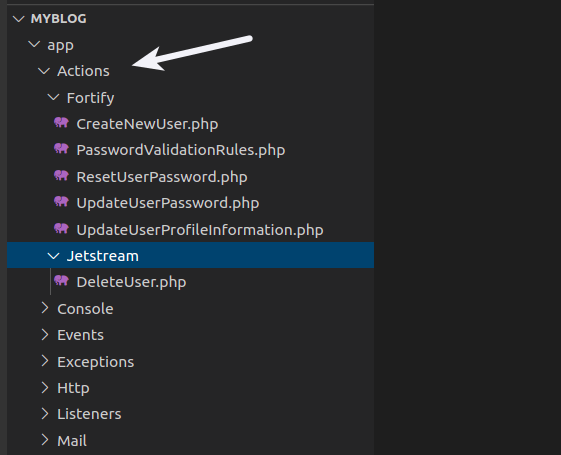
Action Files inside /app/Actions folder
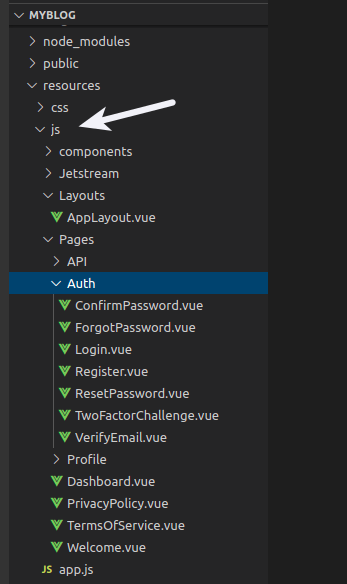
Blade Template Files or scaffolding files inside /resources/js folder
Application Testing
Run this command into project terminal to start development server,
php artisan serveURL- 127.0.0.1:8000
Authentication Links: Login & Register
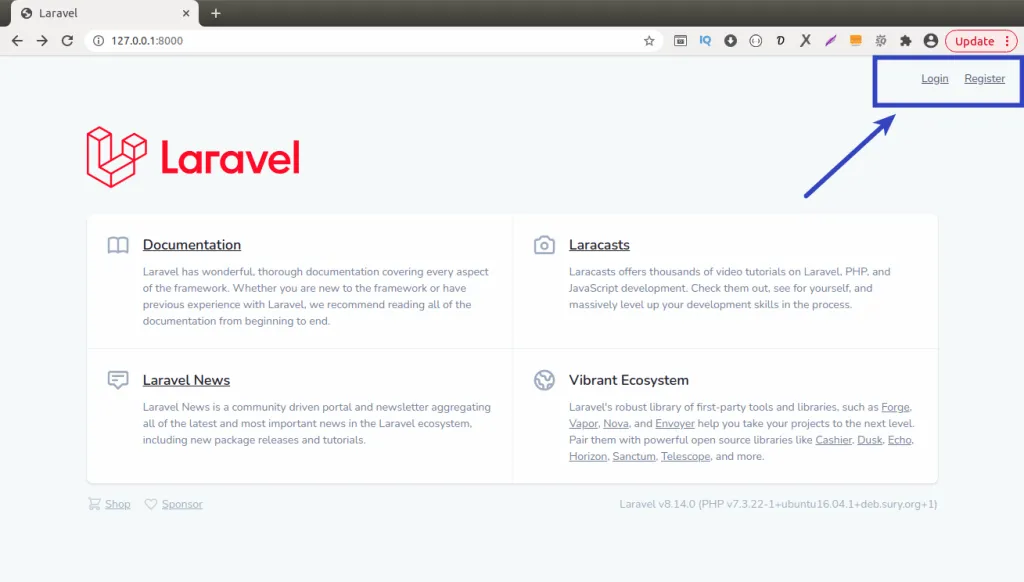
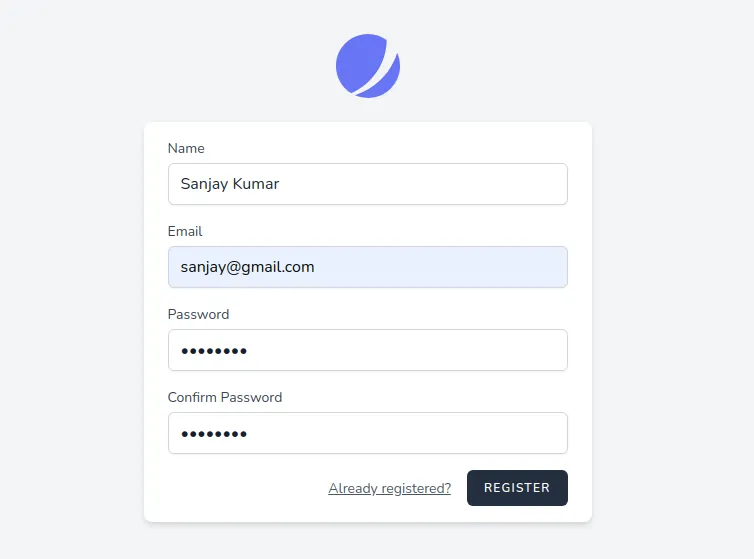
Register Link
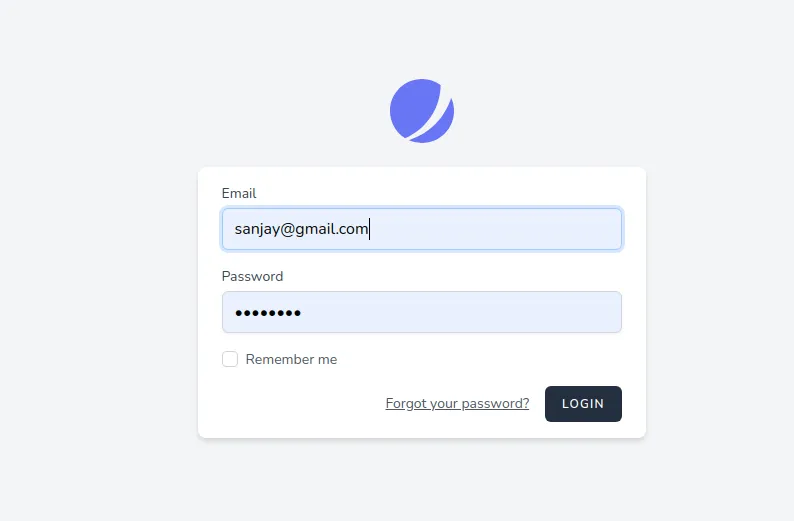
Login Link
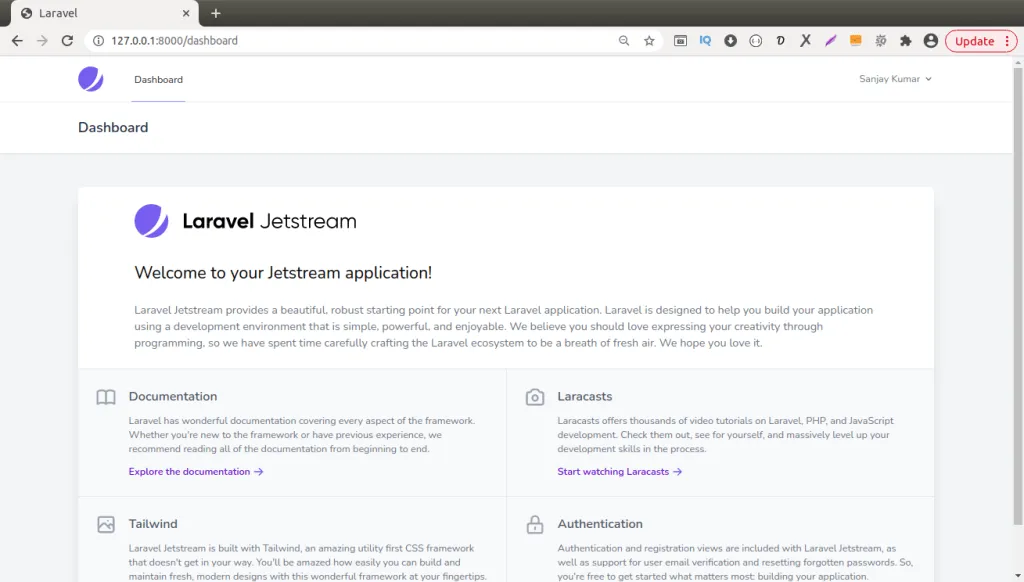
Dashboard Page
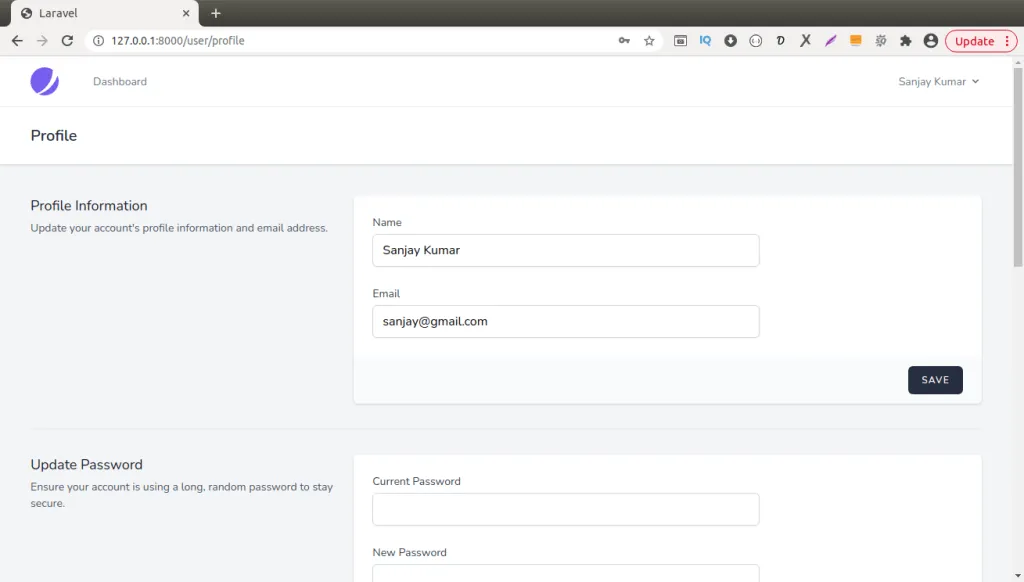
Profile Page
We hope this article helped you to learn about Laravel 9 Authentication using Jetstream with Inertia Js in a very detailed way.
If you liked this article, then please subscribe to our YouTube Channel for PHP & it’s framework, WordPress, Node Js video tutorials. You can also find us on Twitter and Facebook.
Read more