Inside this article we will see the concept of set up SMTP using the WP Mail SMTP plugin. This will contain classfied information about plugin installation as well as about SMTP configuration via google console developer keys.
We will see each step about SMTP configuration through google account. If you are looking for an article which help you to make you understand about each steps for SMTP configuration from WP Mail SMTP plugin, this article will be best for you.
Plugin provides many options as SMTP mailer, but we will see the whole concept of use Gmail Mailer to send mails.
There are many free plugins available at wordpress repository which helps to do the same task. Inside this we will use a free plugin to configure SMTP.
Learn More –
- How To Add Countdown Timer To WordPress Page or Post
- How to Change Return to Shop Link in Woocommerce
- How to Change Return to Shop Text in Woocommerce
- How to Change Shop Page Title in Woocommerce
Let’s get started.
Install WP Mail SMTP Plugin
If you are new to wordpress and don’t know about How to install a plugin into wordpress, Click here.
Assuming you have a wordpress website.
Click on Plugins >> Add New
Installation
Search for “wp mail smtp”
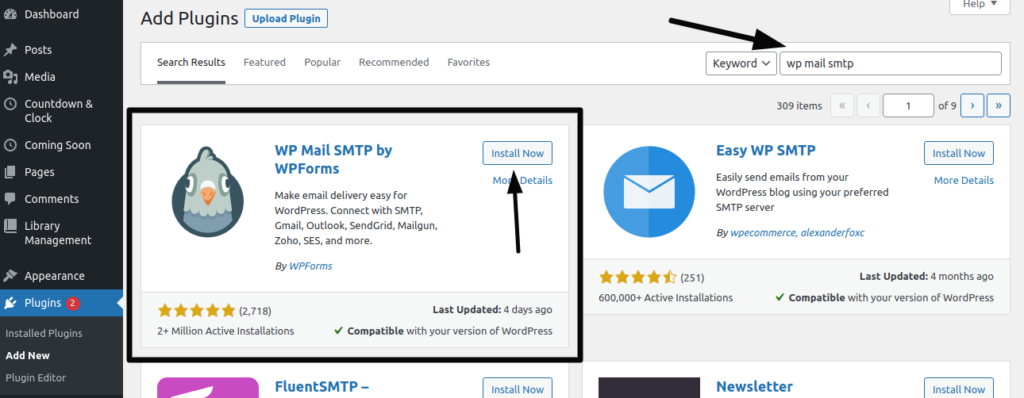
Click on Install Now and then Activate.
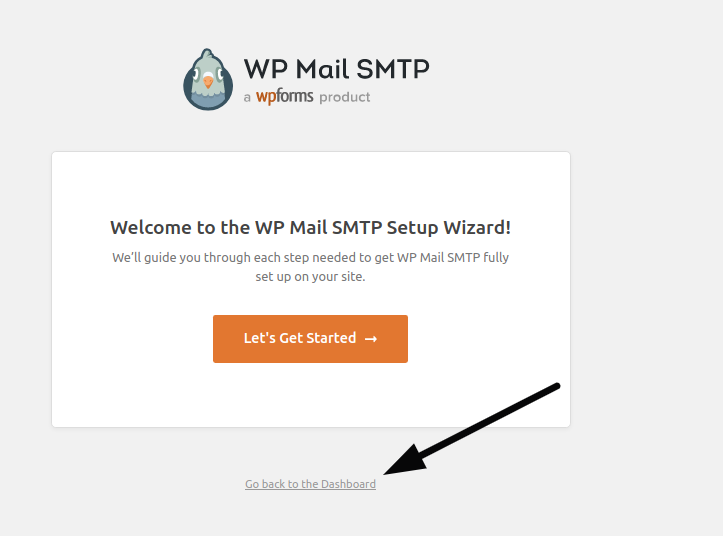
Once you will install this plugin, plugin will be added to your Installed plugins list.
It will take you to the setup wizard, skip for now from those.
Now, you should see the general settings of WP Mail SMTP plugin inside wordpress admin dashboard.
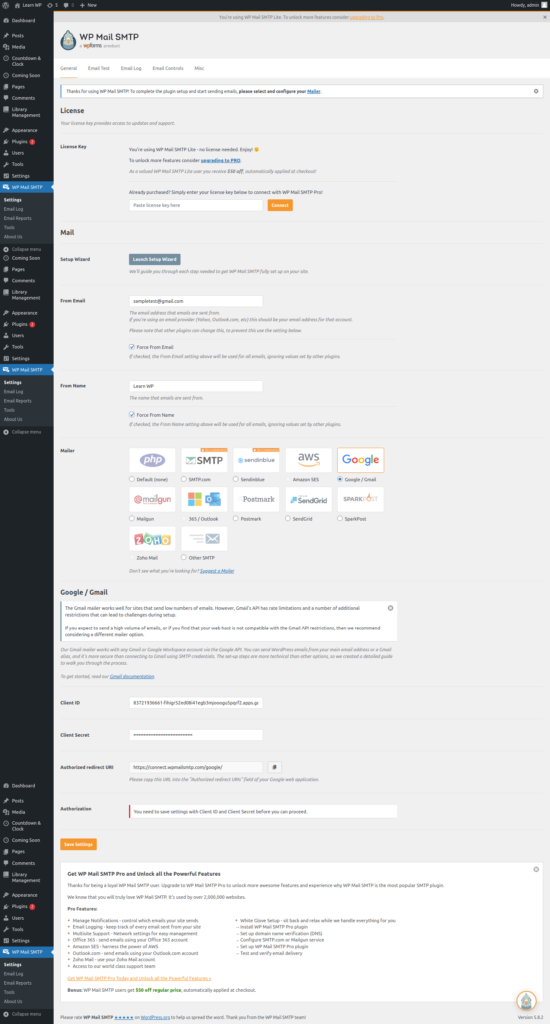
You need to select Google from Mailer list.
Copy the redirect URI what plugin given you.
GMAIL: Less Secure Apps
Login to your gmail account. Click on your profile icon at top right corner.
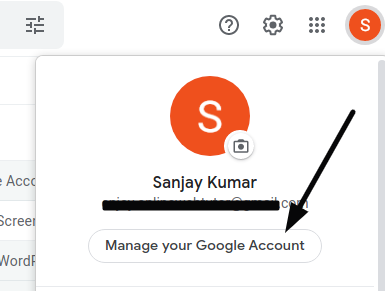
Redirect to your google profile –
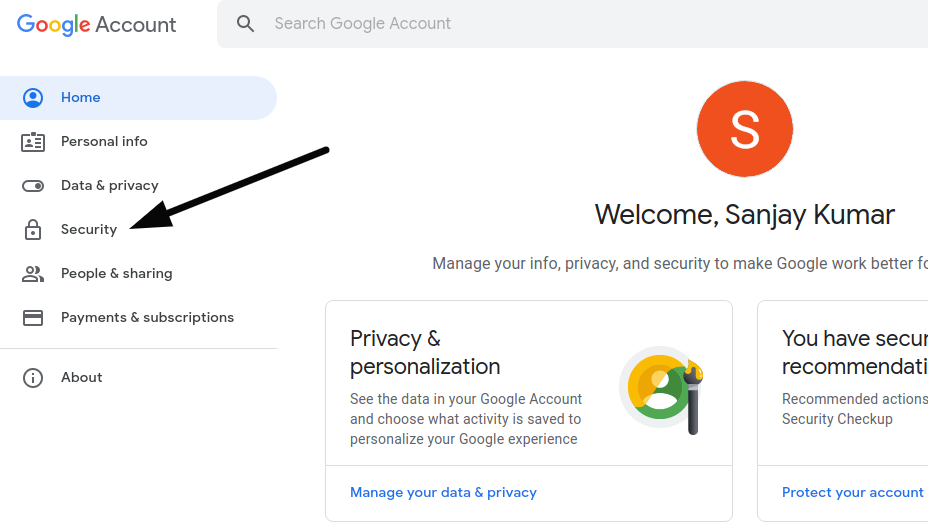
Click on Security Tab.
Scroll down to Less secure apps section.
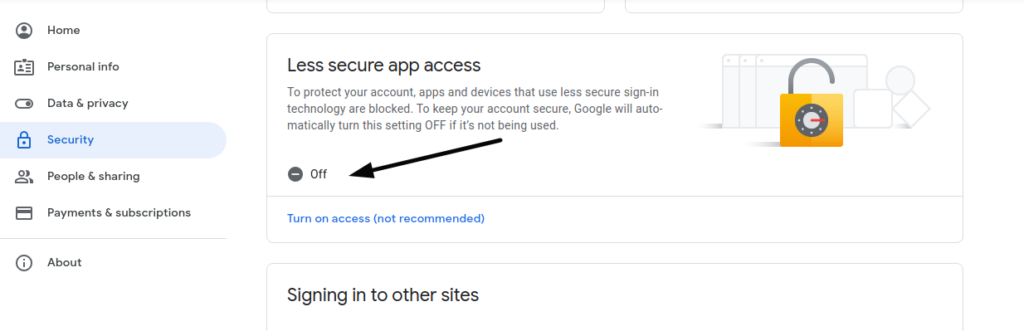
Option should off to use SMTP in a proper way.
Successfully, we did the first step.
Next,
Next, we need to generate Client ID & Client secret.
For these values open Google Console Developers.
Project Setup – Google Console Developer
When you login through Gmail account, it will take you to the developers dashboard.

Click on Select a project, in the internal modal page you will get an option to create a project.

Click on New Project.
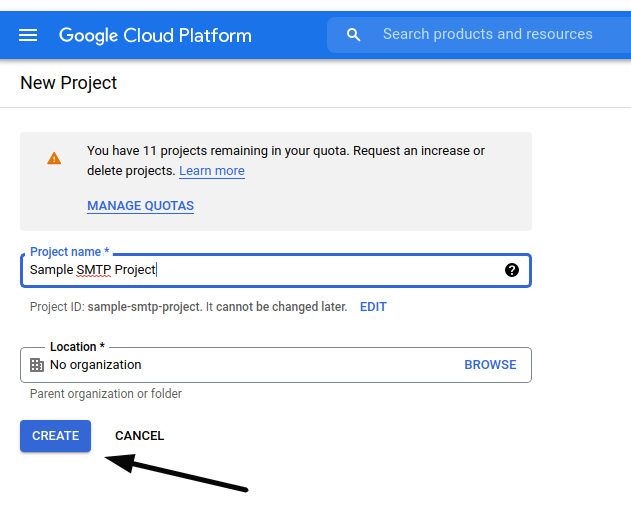
Click on Create.
Once you create, you will get a notification as given inside this image.
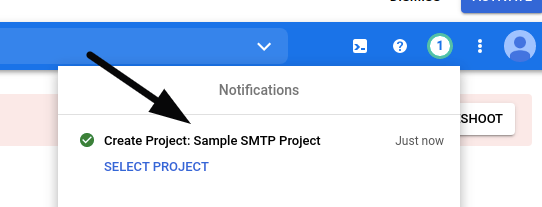
Click on the notification. It will give the complete overview of created project.
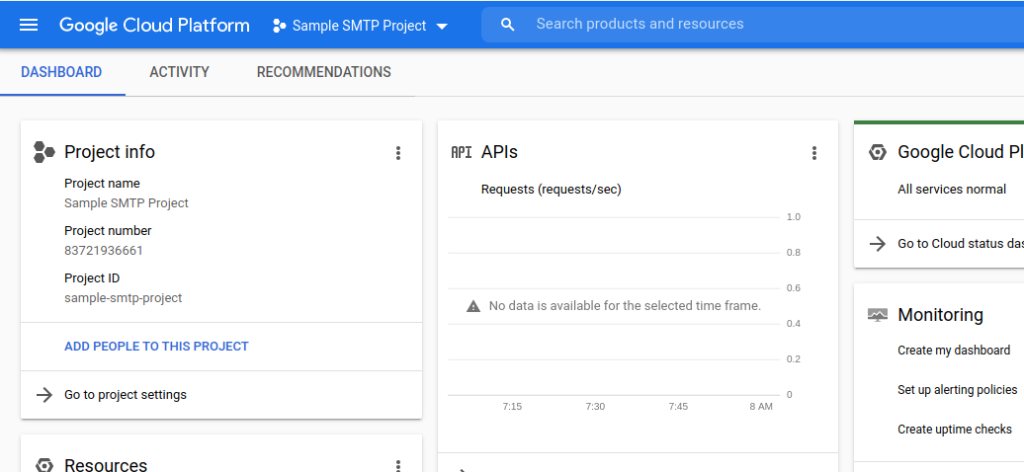
Click on Top Left Side three lines.
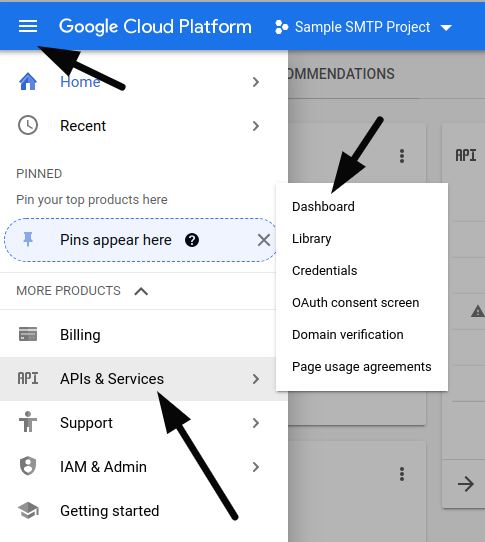
Click to Dashboard.
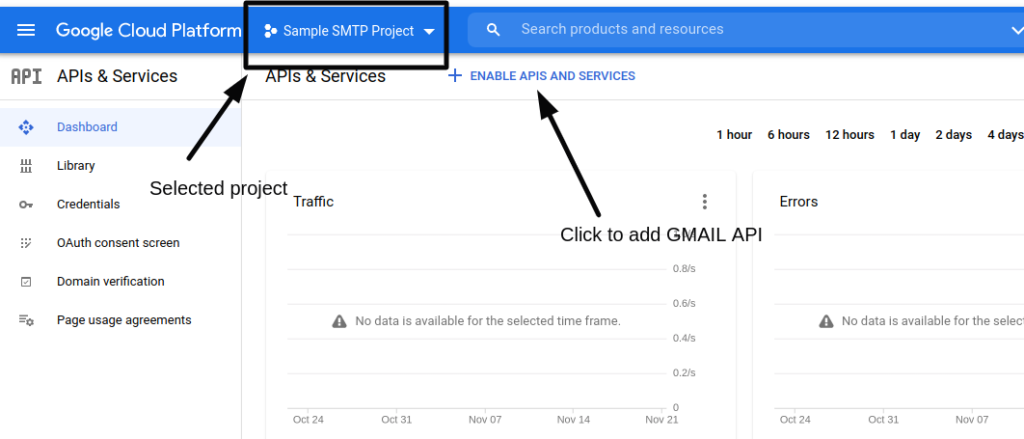
Next, we need to enable library to use GMAIL API.
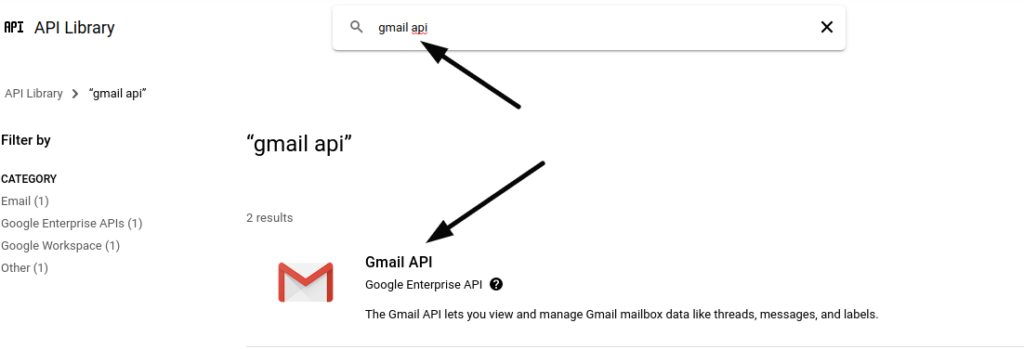
Click on Gmail API and enable it.
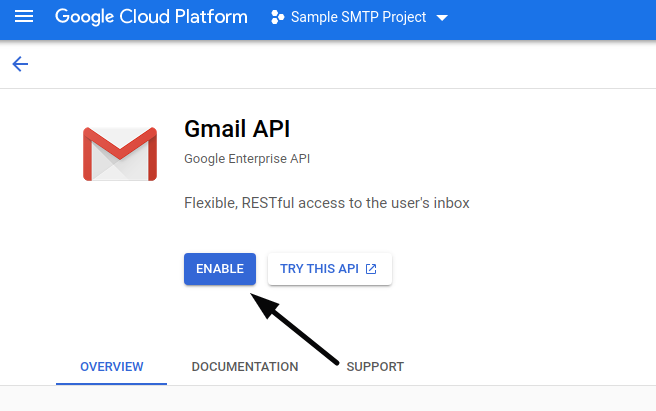
Once you enable, you will be redirected to Gmail Api details page.
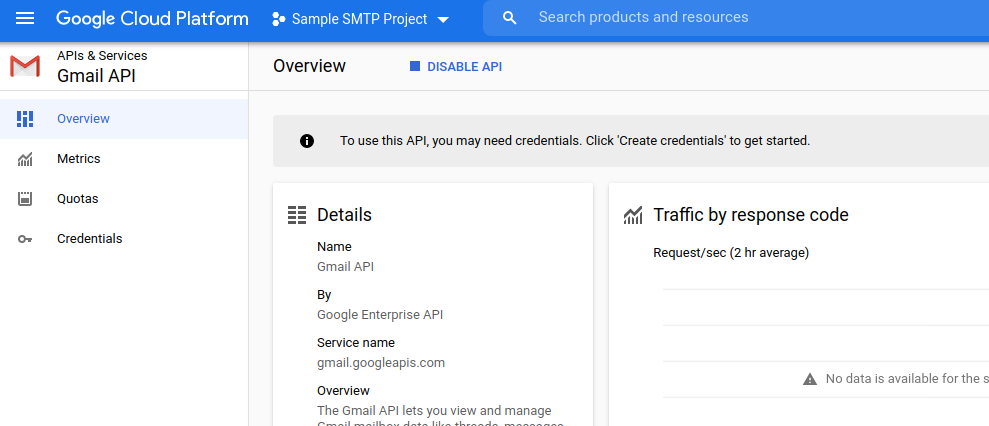
Next,
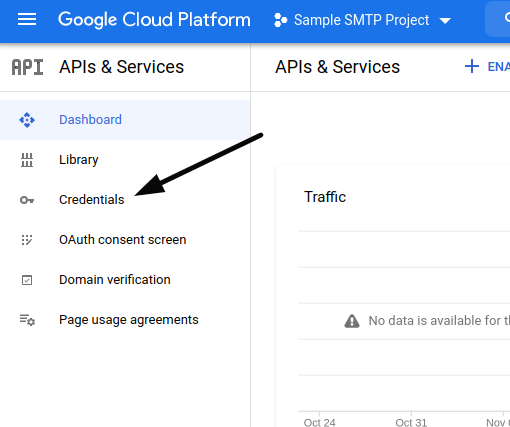
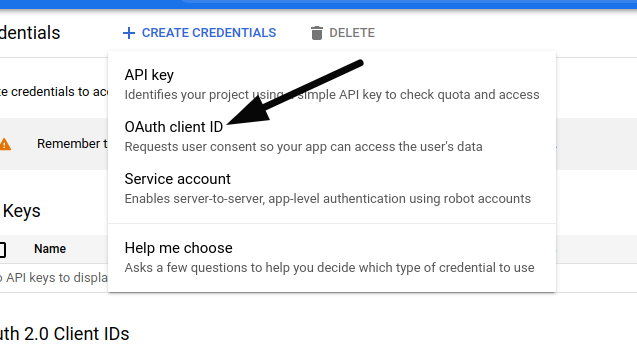
Click on Credentials to generate Client ID & Client Secret.
Click on Create Credentials. Select OAuth Client ID.
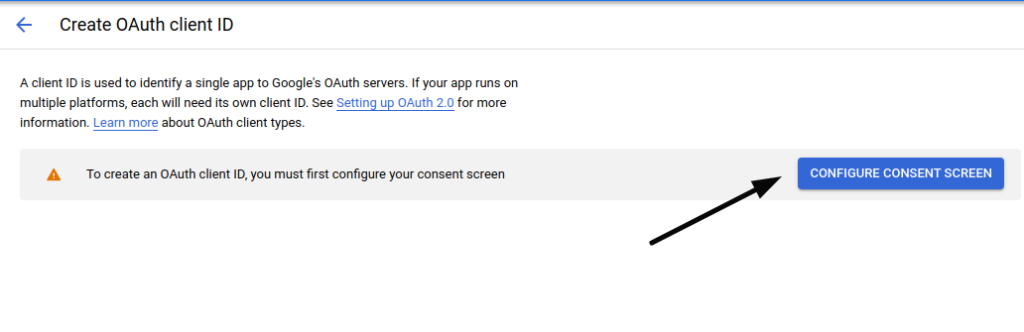
You need to configure consent screen first for your application.
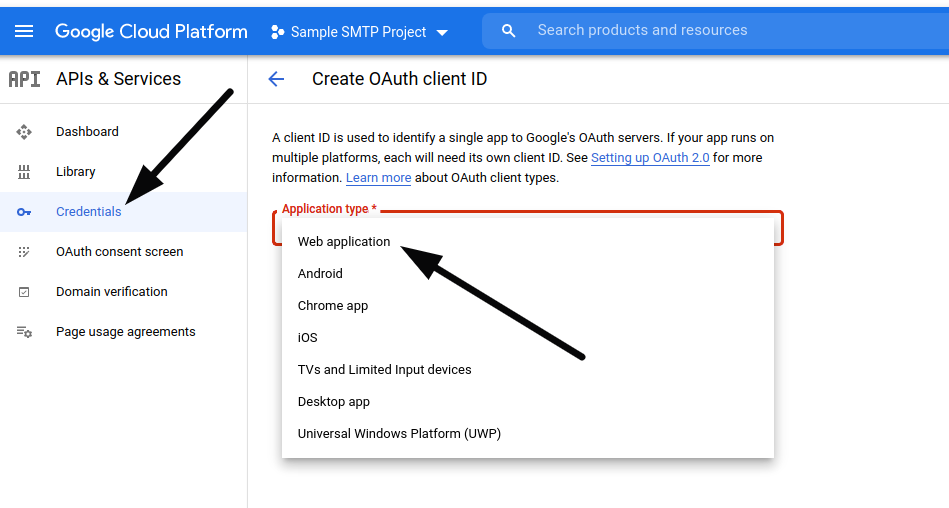
Next, you need to pass some basic settings details.
Finally you will have these basic settings as –
Click on Back to Dashboard.
Next, again click on Credentials.
Next step
Once you click to Create.
Client ID & Client Secret will be created.
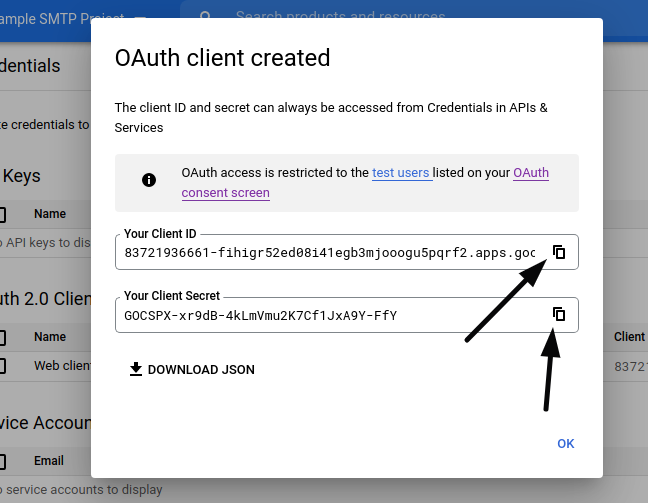
Copy these keys.
WP Mail SMTP – Google Keys Settings
Open wp mail basic settings page.
Provide your google keys there and Save.
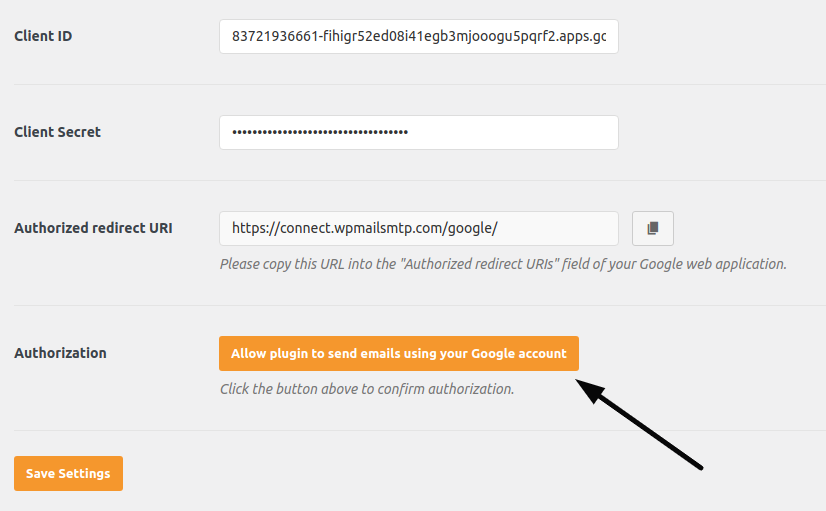
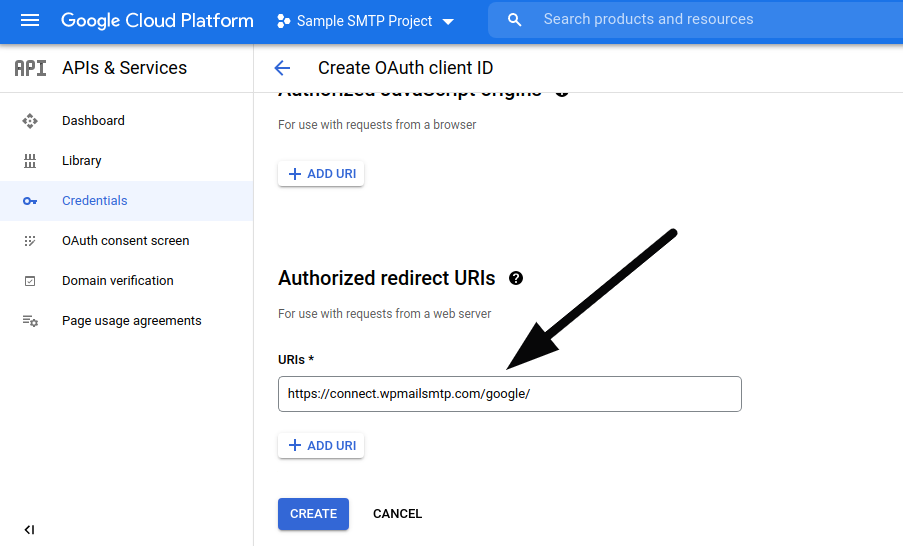
Authorized redirect URI and Redirect URIs of google project should be same.
Next,
Click on Allow plugin (yellow color) button to authorize your plugin to send emails using your SMTP.
It will open google allow permission page and you need to allow from there.
Successfully, you have configured your Google SMTP with your WP Mail SMTP wordpress plugin.
Let’s test that.
Test Email – WP Mail SMTP
Click on Email Test tab of WP Mail SMTP plugin.
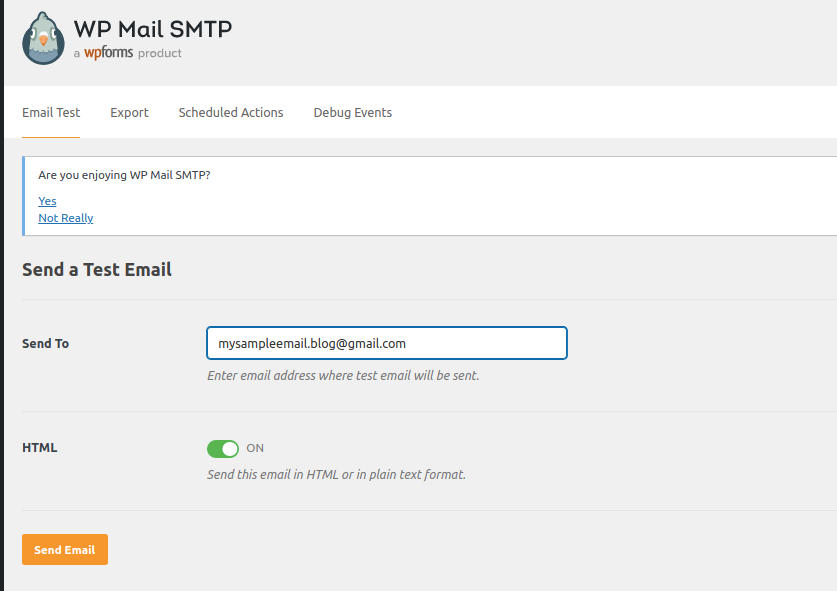
When you click on Send Email button, you will get a test mail at your given email address.
We hope this article helped you to Learn How to Set Up SMTP Using the WP Mail SMTP Plugin in a very detailed way.
If you liked this article, then please subscribe to our YouTube Channel for PHP & it’s framework, WordPress, Node Js video tutorials. You can also find us on Twitter and Facebook.
Read more