
Integrating Vue 3, a progressive JavaScript framework, with Laravel 10, a powerful PHP framework, allows developers to create dynamic and responsive web applications. Leveraging Axios, a promise-based HTTP client, within Vue 3 to make GET requests to Laravel 10 APIs enables seamless data retrieval and interaction between frontend and backend.
In this tutorial, we’ll explore the comprehensive process of performing Axios GET requests in Vue 3 within a Laravel 10 application. This functionality empowers developers to fetch data from Laravel APIs using Axios within Vue components, facilitating dynamic content rendering and interaction.
Read More: How To Use Laravel 10 Blade Components Example
Let’s get started.
Laravel Installation
Open terminal and run this command to create a laravel project.
composer create-project laravel/laravel myblogIt will create a project folder with name myblog inside your local system.
To start the development server of laravel –
php artisan serveURL: http://127.0.0.1:8000
Assuming laravel already installed inside your system.
Step #1: Setup Api Controller
Open project terminal and run this command,
php artisan make:controller ApiControllerIt will create a controller class with name ApiController.php inside app/Http/Controllers folder.
Open controller class and write this complete code into it,
<?php

namespace App\Http\Controllers;

use Illuminate\Http\Request;
use Illuminate\Support\Facades\Http;

class ApiController extends Controller
{
    public function getData()
    {
        $data = [
            'message' => 'Hello, This is from Laravel API!',
            'data' => Http::get("https://jsonplaceholder.typicode.com/posts")->json()
        ];

        return response()->json($data);
    }
}
Step #2: Install “laravel/ui” and “Vue”
Go to your project terminal and run this command,
composer require laravel/uiIt will install laravel/ui.
Read More: How To Generate Test Users in Laravel 10 Tutorial
Next,
php artisan ui vueInstall npm,
npm install && npm run devStep #3: Add Api Route
Open routes/web.php and add this route into it,
//
use App\Http\Controllers\ApiController;

//
Route::get('api/data', [APIController::class, 'getData']);
Step #4: Update “ExampleComponent.vue” file
Once you installed vue from above step, you will get a file with name “ExampleComponent.vue” file inside resources/js/components folder.
Open file and update with this code,
<template>
<div class="container" style="margin-top:50px;">
<div class="row justify-content-center">
<div class="col-md-10">
<div class="card">
<div class="card-header">
<h3>Work with VUE 3 Axios Get Request in Laravel 10 Example</h3>
</div>
<div class="card-body">
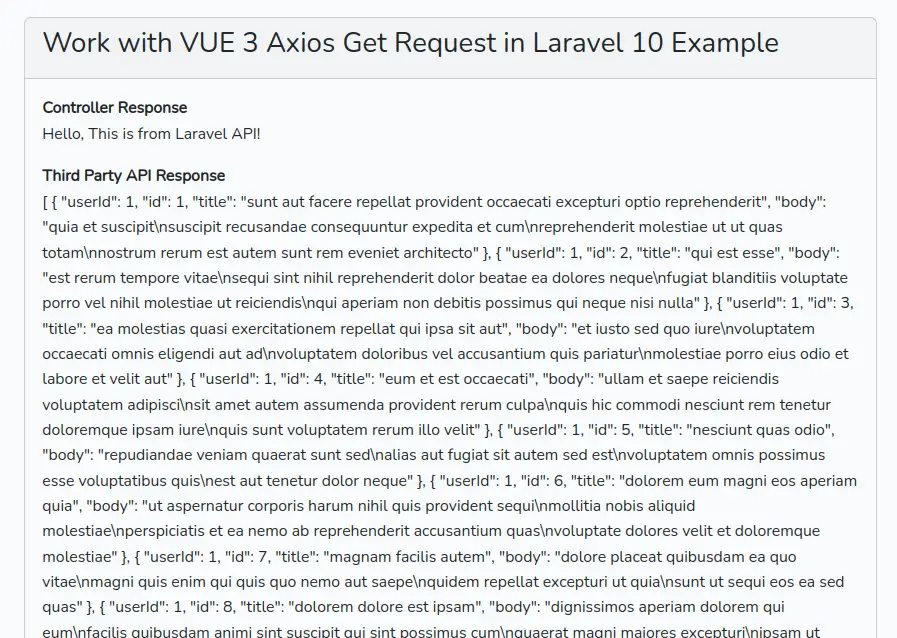
<strong>Controller Response</strong>
<p>{{ message }}</p>
<strong>Third Party API Response</strong>
<p>{{ apidata }}</p>
</div>
</div>
</div>
</div>
</div>
</template>
<script>
export default {
data() {
return {
message: '',
apidata: ''
};
},
mounted() {
this.fetchData();
},
methods: {
fetchData() {
axios.get('/api/data')
.then(response => {
this.message = response.data.message;
this.apidata = response.data.data;
})
.catch(error => {
console.error('Error fetching data:', error);
});
},
},
};
</script>Code of resources/js/app.js as,
import './bootstrap';

import { createApp } from 'vue';
const app = createApp({});

import ExampleComponent from './components/ExampleComponent.vue';
app.component('example-component', ExampleComponent);
app.mount('#app');
Read More: How to Paginate Laravel 10 API Resources Tutorial
Step #5: Update Blade File
Open resources/views/welcome.blade.php file and update with this code.
The code will call and execute vue compoment,
<!doctype html>
<html lang="{{ str_replace('_', '-', app()->getLocale()) }}">

<head>
    <meta charset="utf-8">
    <meta name="viewport" content="width=device-width, initial-scale=1">

    <!-- CSRF Token -->
    <meta name="csrf-token" content="{{ csrf_token() }}">

    <title>{{ config('app.name', 'Laravel') }}</title>

    <!-- Fonts -->
    <link rel="dns-prefetch" href="//fonts.bunny.net">
    <link href="https://fonts.bunny.net/css?family=Nunito" rel="stylesheet">

    <!-- Scripts -->
    @vite(['resources/sass/app.scss', 'resources/js/app.js'])
</head>

<body>
    <div id="app">
        <example-component></example-component>
    </div>
</body>

</html>
Application Testing
Run this command into project terminal to start development server,
php artisan serveURL: http://127.0.0.1:8000/
If you will’get “Vite Manifest Not Found” Error
If you are getting such type of error “Vite Manifest Not Found”, follow this article to fix that.
Hopefully, issue has been fixed now.
That’s it.
We hope this article helped you to learn about Work with VUE 3 Axios Get Request in Laravel 10 Example in a very detailed way.
If you liked this article, then please subscribe to our YouTube Channel for PHP & it’s framework, WordPress, Node Js video tutorials. You can also find us on Twitter and Facebook.
Read more