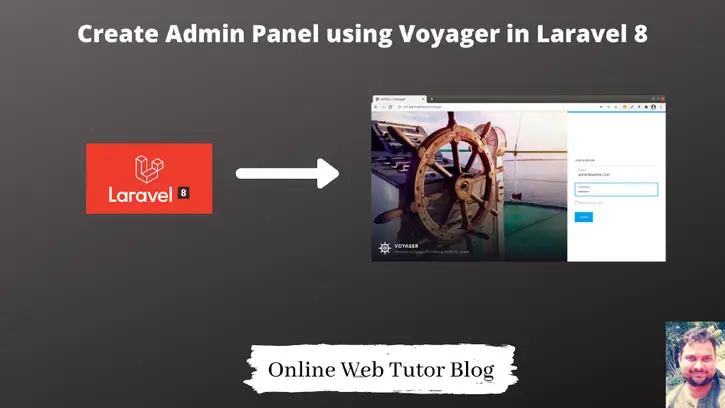
Inside this tutorial, we will create an admin panel in a very short time. Admin panel using Voyager composer package. This article is very interesting to learn admin panel development step by step.
Voyager provides the complete package of an admin panel in laravel. So inside this article we will create admin panel using voyager in laravel 8. Voyager for Laravel gives a modern and responsive PhpMyAdmin like admin panel with CRUD support and precise users’ access control for your Laravel API.
Very few simple steps we need to install and configure admin panel.
Let’s get started.
Laravel Installation
We will create laravel project using composer. So, please make sure your system should have composer installed. If not, may be this article will help you to Install composer in system.
Here is the command to create a laravel project-
composer create-project --prefer-dist laravel/laravel blog
To start the development server of Laravel –
php artisan serve
URL: http://127.0.0.1:8000
Assuming laravel already installed inside your system.
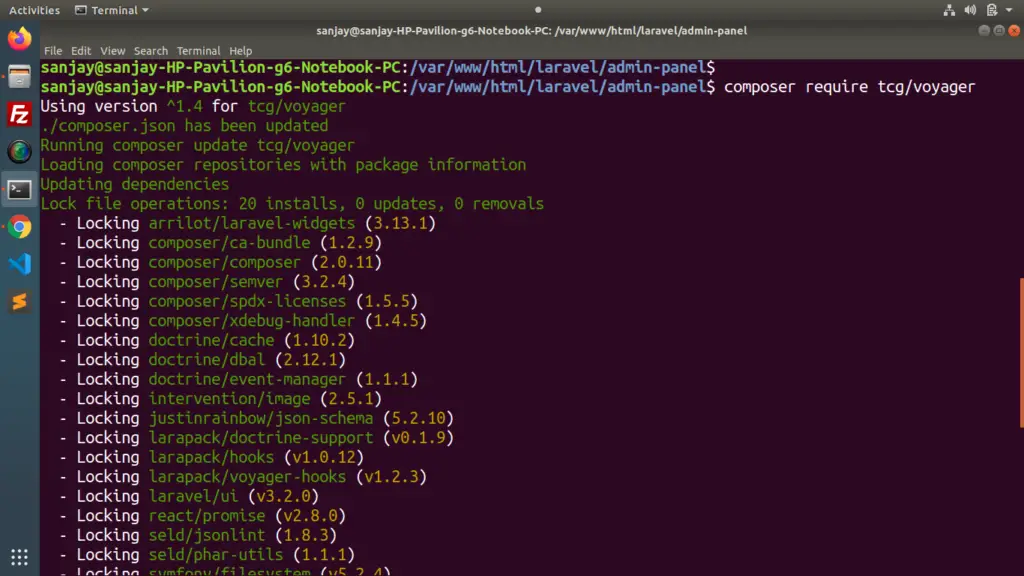
Install Voyager for Laravel
By using composer we will install voyager. Open project into terminal and run this command.
$ composer require tcg/voyager
Create Database & Application Connectivity
We need to create a database. For database we will use MySQL. We have 2 options available to create database. Either we can use PhpMyAdmin Manual interface Or we can use command to create.
CREATE DATABASE voyager_admin_panel;Open .env file for application connectivity.
DB_CONNECTION=mysql
DB_HOST=127.0.0.1
DB_PORT=3306
DB_DATABASE=voyager_admin_panel
DB_USERNAME=admin
DB_PASSWORD=Admin@123
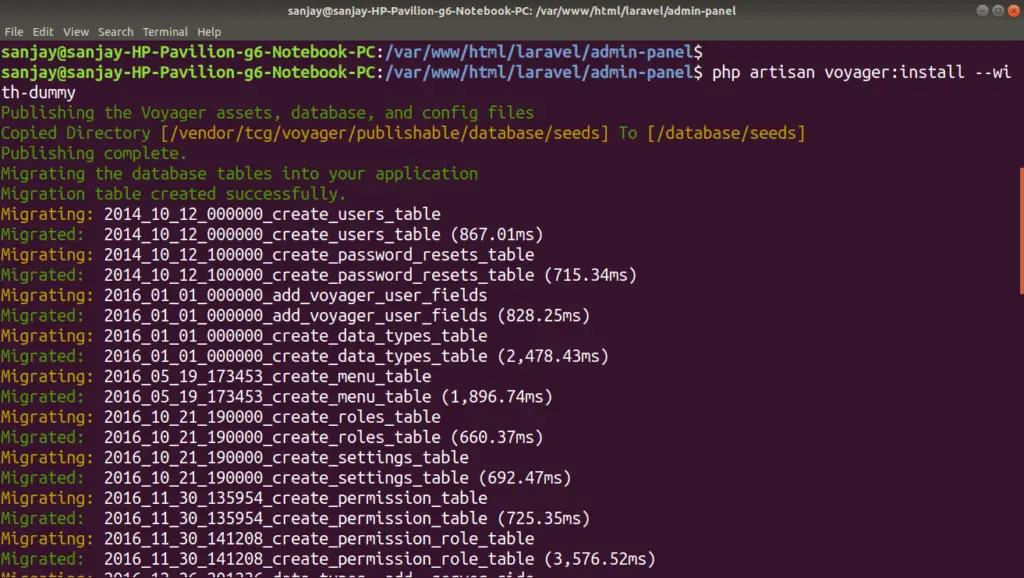
Run Voyager installer Laravel
There are two options to create the admin panel either with a dummy data or without.
To install Voyager without dummy data
$ php artisan voyager:install
To install Voyager with the dummy data
$ php artisan voyager:install --with-dummy
It is preferable to run the command using the dummy data and delete it after admin panel testing.
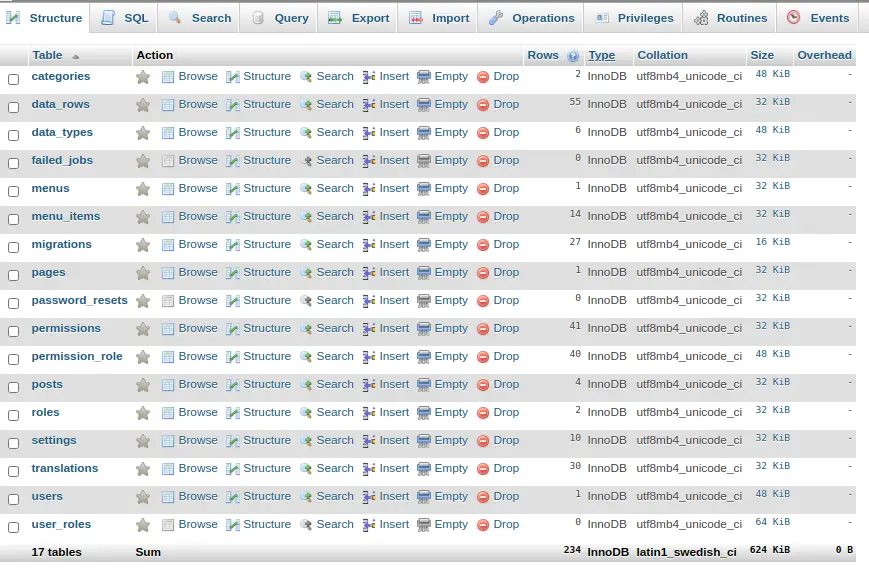
If we go inside database to see the tables and dummy data what we have installed. Total 17 tables created.
Application Testing
Run this command into project terminal to start development server,
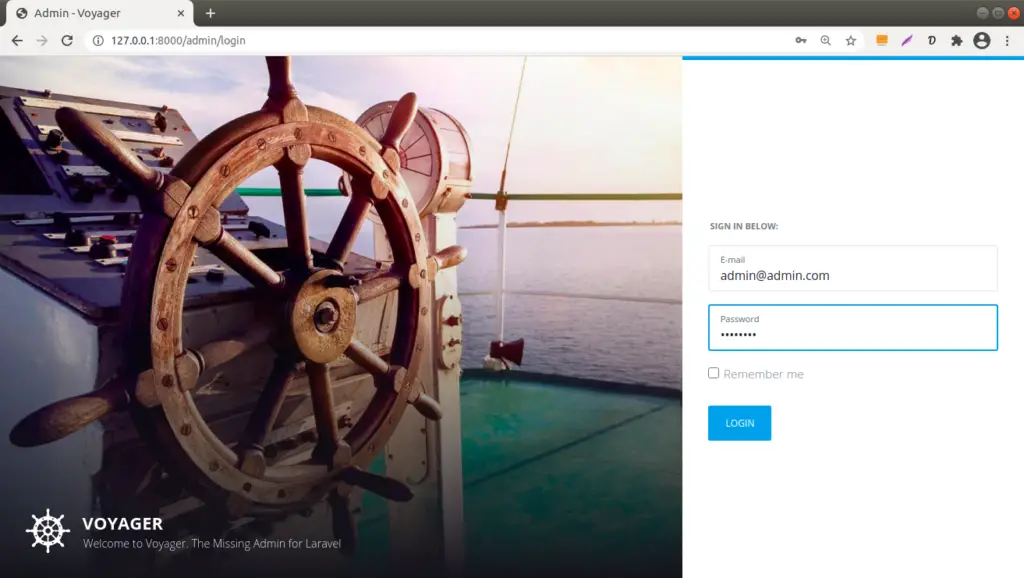
php artisan serveBy default Voyager provides Admin login details as –
Email: admin@admin.com
Password: password
Admin URL: http://127.0.0.1:8000/admin
Create a Different Admin User
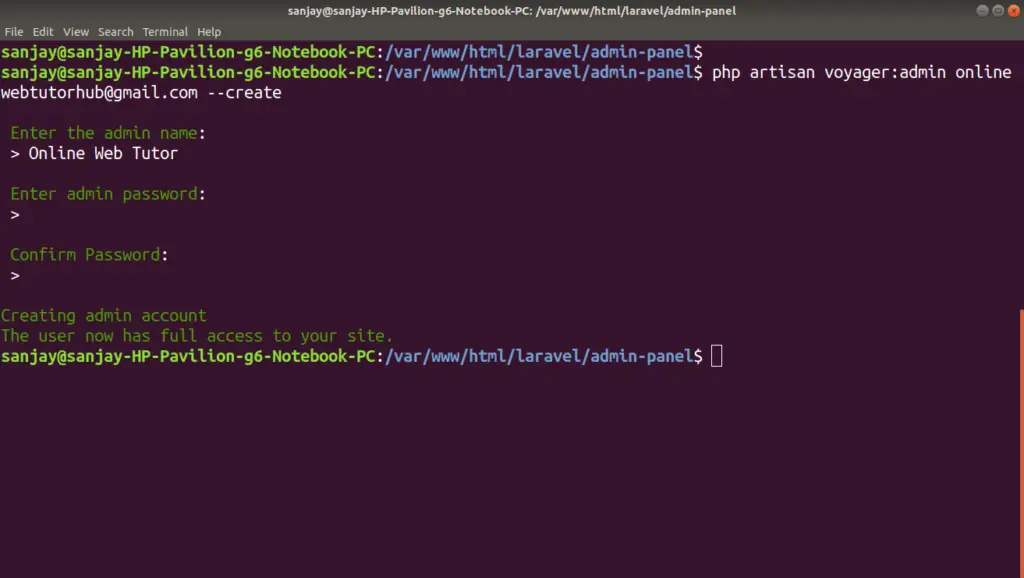
Instead of using the default admin login details, if needs to create new one. Run this command –
Syntax
$ php artisan voyager:admin your@email.com --create
Example
$ php artisan voyager:admin onlinewebtutorhub@gmail.com --create
It will ask few questions like Admin name, password, confirm password.
Now, you can use your own login details to use Voyager Admin panel in Laravel 8.
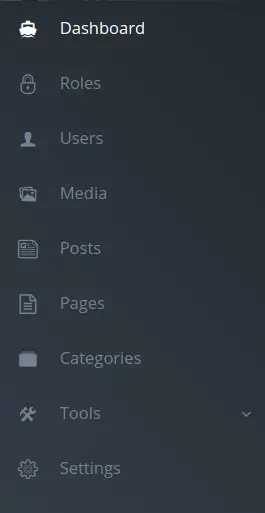
Here, is the menus generated at admin panel of voyager.
About Generated Files
- /config/voyager-hooks.php
- /config/voyager.php
- Route added inside /routes/web.php
- Admin Panel Files – /vendor/tcg/voyager
We hope this article helped you to learn about How to Create Admin Panel using Voyager in Laravel 8 in a very detailed way.
If you liked this article, then please subscribe to our YouTube Channel for PHP & it’s framework, WordPress, Node Js video tutorials. You can also find us on Twitter and Facebook.
Read more