Rotating image like of 90 deg, 180 deg is sometimes works when we work with UI/UX. It is super easy in codeigniter 4. In CodeIgniter 4 we have image processing library due to which everything like resize, rotate, crop, adding a text watermark is very easy.
While going through this article content, you will also see what extensions in php we need while working with image processing methods.
Inside this article we will learn How to Rotate Image in CodeIgniter 4 Tutorial.
Here, we have more articles on Image manipulation Class of CodeIgniter 4.
- Add Text Watermark on Image CodeIgniter 4, Click here.
- Resize Image before upload to server in CodeIgniter 4, Click here.
Learn More –
- Learn CodeIgniter 4 Tutorial From Beginners To Advance
- Line Chart Integration with CodeIgniter 4 – HighCharts Js
- Load More Data on Page Scroll CodeIgniter 4 Tutorial
- Methods of Query Builder Class In CodeIgniter 4 Tutorial
Let’s get started.
Environment (.env) Setup
When we install CodeIgniter 4, we will have env file at root. To use the environment variables means using variables at global scope we need to do env to .env
Either we can do via renaming file as simple as that. Also we can do by terminal command.
Open project in terminal
cp env .envAbove command will create a copy of env file to .env file. Now we are ready to use environment variables.
Enable Development Mode
CodeIgniter starts up in production mode by default. You need to make it in development mode to see any error if you are working with application.
Open .env file from root.
# CI_ENVIRONMENT = production

 // Do it to

CI_ENVIRONMENT = development
Now application is in development mode.
Needed PHP Extension Before Work
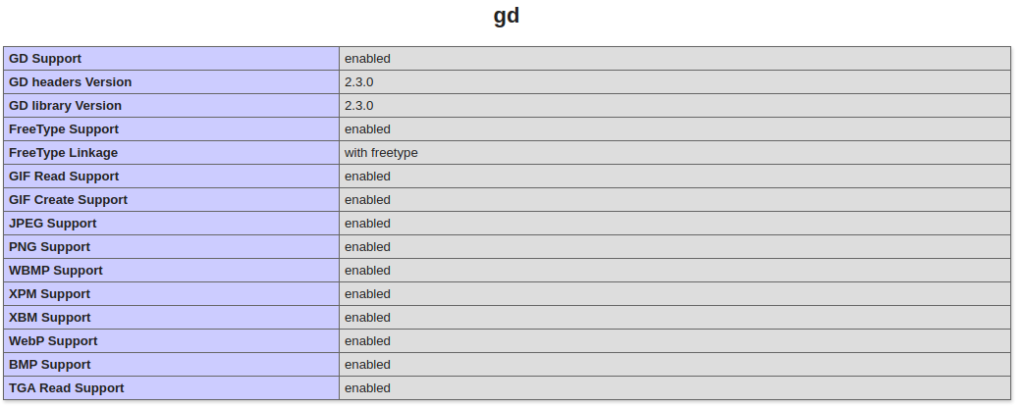
While working with image related stuff in PHP, make sure your PHP version should have these two most common image processing libraries GD Library and Imagick extensions enabled.
Whether your system already contains these extensions or not you can verify like this –
- Create info.php file at your localhost directory
- <?php phpinfo(); ?> Add this code into info.php file.
- Run this file into browser
You should see these information into php information page.
GD Extension Enabled
Imagick Extension Enabled
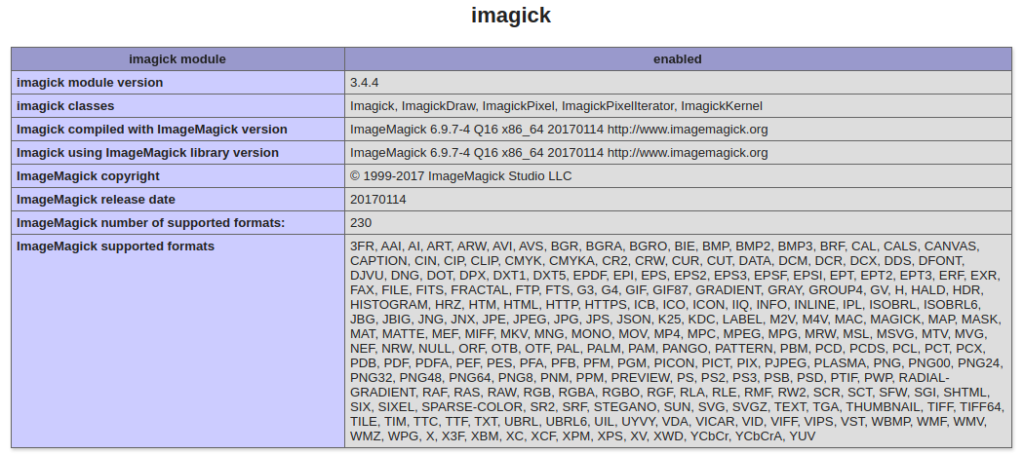
So, these two extensions we need, if you don’t have. Please install it first.
Create Controller
We need now a controller file. Back to terminal and run this spark command to create.
$ php spark make:controller Image --suffixThis will creates a file ImageController.php at /app/Controllers folder.
Open ImageController.php and write this complete code into it,
<?php

namespace App\Controllers;

use App\Controllers\BaseController;

class ImageController extends BaseController
{
	public function index()
	{
		if ($this->request->getMethod() == "post") {

			$rules = [
				"name" => "required|min_length[3]|max_length[40]",
				"image" => [
					"rules" => "uploaded[image]|max_size[image,1024]|is_image[image]|mime_in[image,image/jpg,image/jpeg,image/gif,image/png]",
					"label" => "Image",
				]
			];

			if (!$this->validate($rules)) {

				return view("upload-image", [
					"validation" => $this->validator,
				]);
			} else {

				$file = $this->request->getFile("image");

				$session = session();
				$image = $file->getName();

				if ($file->move("images", $image)) {

					// image path - upload rotated image
					$rotateImages = "rotated-images";

					// rotate uploaded image to 180 deg. Also we have 90 deg, 270 deg.
					\Config\Services::image()->withFile('images/' . $image)
						->rotate(180)
						->save($rotateImages . '/' . $image);

					// You can add your code here to save into database

					$session->setFlashdata("success", "Image rotated successfully");
				}
			}
			redirect('upload-image');
		}

		return view("upload-image");
	}
}- When we upload image, it will be rotated and save into a different folder.
- So we will get two different images. Original image inside /images folder and rotated images inside /rotated-images folder.
Create Layout File
Go inside /app/Views folder and create a file add-product.php. Open this file and write this complete code into it.
<!DOCTYPE html>
<html lang="en">

<head>
    <title>How To Rotate Image in CodeIgniter 4 Tutorial</title>
    <meta charset="utf-8">
    <meta name="viewport" content="width=device-width, initial-scale=1">
    <link rel="stylesheet" href="https://maxcdn.bootstrapcdn.com/bootstrap/3.4.1/css/bootstrap.min.css">
    <script src="https://ajax.googleapis.com/ajax/libs/jquery/3.5.1/jquery.min.js"></script>
    <script src="https://maxcdn.bootstrapcdn.com/bootstrap/3.4.1/js/bootstrap.min.js"></script>
    <style>
        .errors li {
            color: red;
        }
    </style>
</head>

<body>

    <div class="container">
        <h2 style="text-align: center;">How To Rotate Image in CodeIgniter 4 Tutorial</h2>
        <div class="panel panel-primary">
            <div class="panel-heading">How To Rotate Image in CodeIgniter 4 Tutorial</div>
            <div class="panel-body">

                <?php if (session()->get("success")) { ?>
                    <div class="alert alert-success">
                        <?= session()->get("success") ?>
                    </div>
                <?php } ?>

                <?php
                // To print error messages
                if (isset($validation)) {

                    print_r($validation->listErrors());
                }
                ?>

                <form action="<?= base_url('upload-image') ?>" enctype="multipart/form-data" method="post">
                    <div class="form-group">
                        <input type="text" name="name" class="form-control" placeholder="Name">
                    </div>
                    <div class="form-group">
                        <input type="file" name="image" class="form-control" class="image">
                    </div>
                    <div class="form-group">
                        <button type="submit" class="btn btn-success">Save</button>
                    </div>
                </form>
            </div>
        </div>
    </div>

</body>

</html>
Create Images Folders
We need to create two folders inside /public folder which is at root.
- images folder inside as /public/images – It will store original images
- rotated-images inside as /public/rotated-images – It will store rotated images.
Create Route
Open Routes.php from /routes folder and add this route into it.
//...

$routes->match(["get", "post"], "upload-image", "ImageController::index");

//...
Application Testing
Open project terminal and start development server via command:
php spark serveURL: http://localhost:8080/upload-image
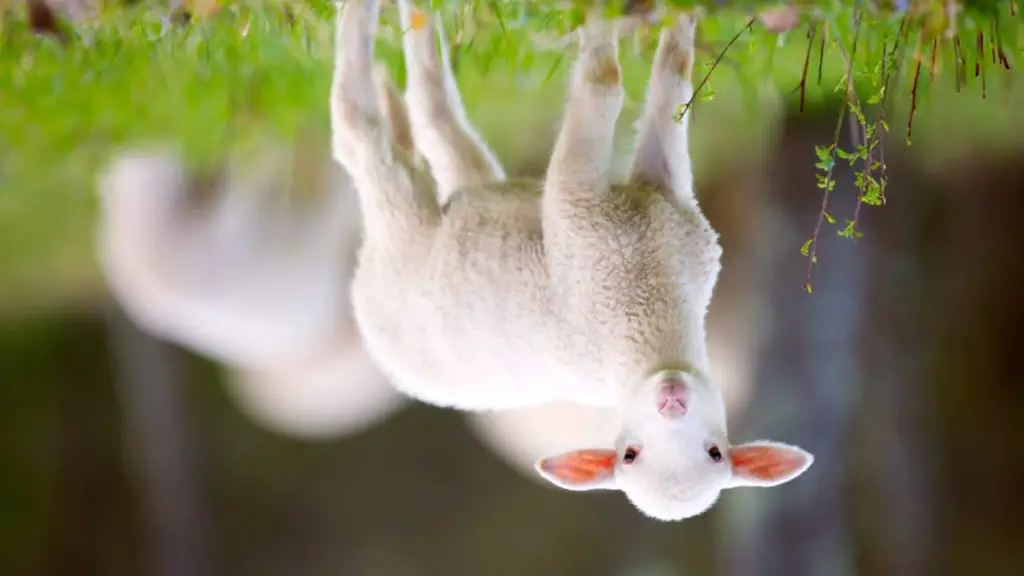
When we upload image, it will rotate to 180 deg according to written code.

Original Image –
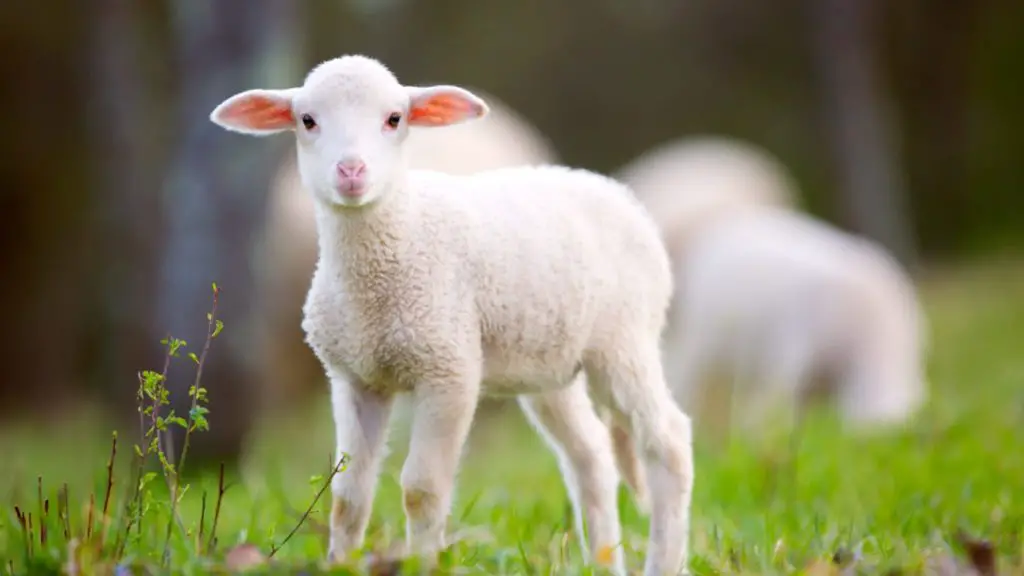
After 180 deg rotation,
We hope this article helped you to learn How To Rotate Image in CodeIgniter 4 Tutorial in a very detailed way.
Online Web Tutor invites you to try Skillshike! Learn CakePHP, Laravel, CodeIgniter, Node Js, MySQL, Authentication, RESTful Web Services, etc into a depth level. Master the Coding Skills to Become an Expert in PHP Web Development. So, Search your favourite course and enroll now.
If you liked this article, then please subscribe to our YouTube Channel for PHP & it’s framework, WordPress, Node Js video tutorials. You can also find us on Twitter and Facebook.
