Using Laravel Telescope we can debug requests, exceptions, databases, cache, and much more in real-time by accessing a specific route in your local or production environment in laravel 9 application.
Inside this article we will see the concept of Laravel 9 how to work with Telescope. Telescope a laravel composer package by help of which we can work with it.
This is very interesting topic to learn about a laravel debugging tool i.e laravel telescope. We have only few simple commands to run to get the things working.
Learn More –
- Laravel 9 Working with MySQL Cross Join Tutorial
- Laravel 9 Working with MySQL Inner Join Tutorial
- Laravel 9 Working with MySQL Left Join Tutorial
- Laravel 9 Working with MySQL Right Join Tutorial
Let’s get started.
Laravel Installation
Open terminal and run this command to create a laravel project.
composer create-project laravel/laravel myblogIt will create a project folder with name myblog inside your local system.
To start the development server of laravel –
php artisan serveURL: http://127.0.0.1:8000
Assuming laravel already installed inside your system.
Create Database & Connect
To create a database, either we can create via Manual tool of PhpMyadmin or by means of a mysql command.
CREATE DATABASE laravel_app;
To connect database with application, Open .env file from application root. Search for DB_ and update your details.
DB_CONNECTION=mysql
DB_HOST=127.0.0.1
DB_PORT=3306
DB_DATABASE=laravel_app
DB_USERNAME=root
DB_PASSWORD=root
What is Laravel Telescope
Laravel Telescope is an elegant debug assistant for the Laravel framework. Telescope provides insight into the requests coming into your application, exceptions, log entries, database queries, queued jobs, mail, notifications, cache operations, scheduled tasks, variable dumps and more.
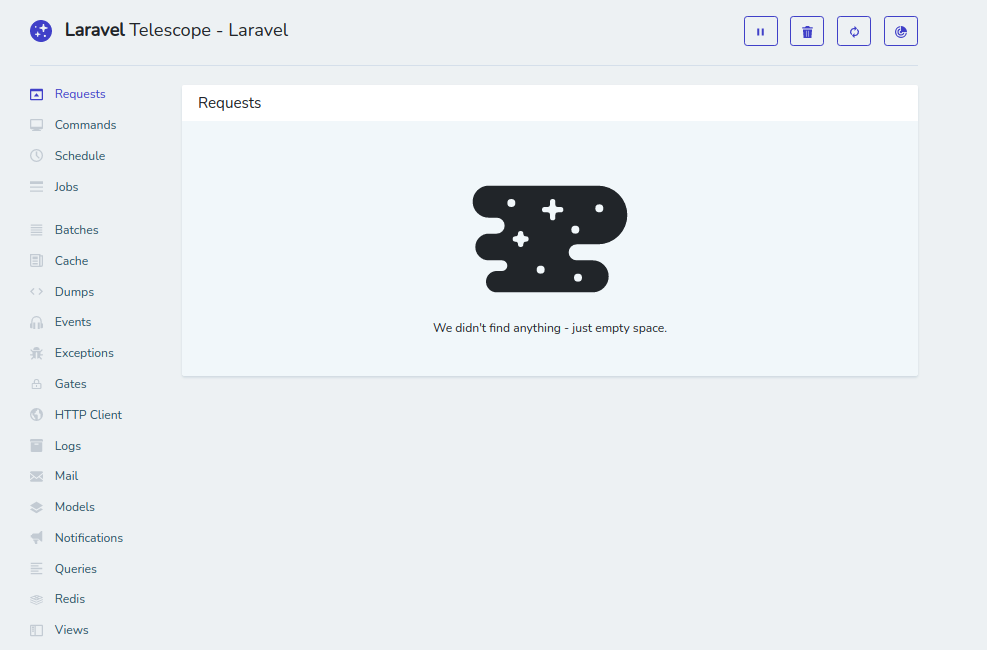
Dashboard of Laravel Telescope –
Install Laravel Telescope
Laravel telescope is a composer package which is developed to use it for laravel applications. It is used to keep track of laravel requests, commands, exceptions, gates, etc.
Open project into terminal and run this command.
$ composer require laravel/telescope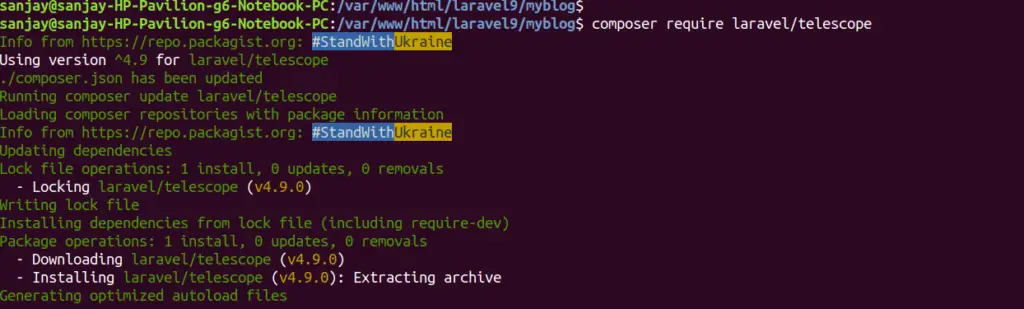
If you want to use telescope in local environment, so you can use the below command:
<meta http-equiv="content-type" content="text/html; charset=utf-8">$ composer require laravel/telescope --devPublishing Telescope Scaffolding & Migration
Back to terminal and run this given command.
It will generate Telescope associated service provider, assets, configuration etc.
$ php artisan telescope:installAutomatically, a provider will be added into providers array of /config/app.php i.e App\Providers\TelescopeServiceProvider::class,
Migrate Telescope Migration
$ php artisan migrate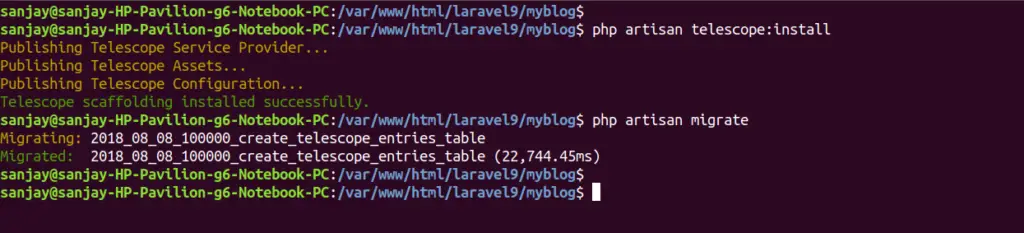
All we done ! No more settings required.
Application Testing
Run this command into project terminal to start development server,
php artisan serveURL: http://127.0.0.1/telescope
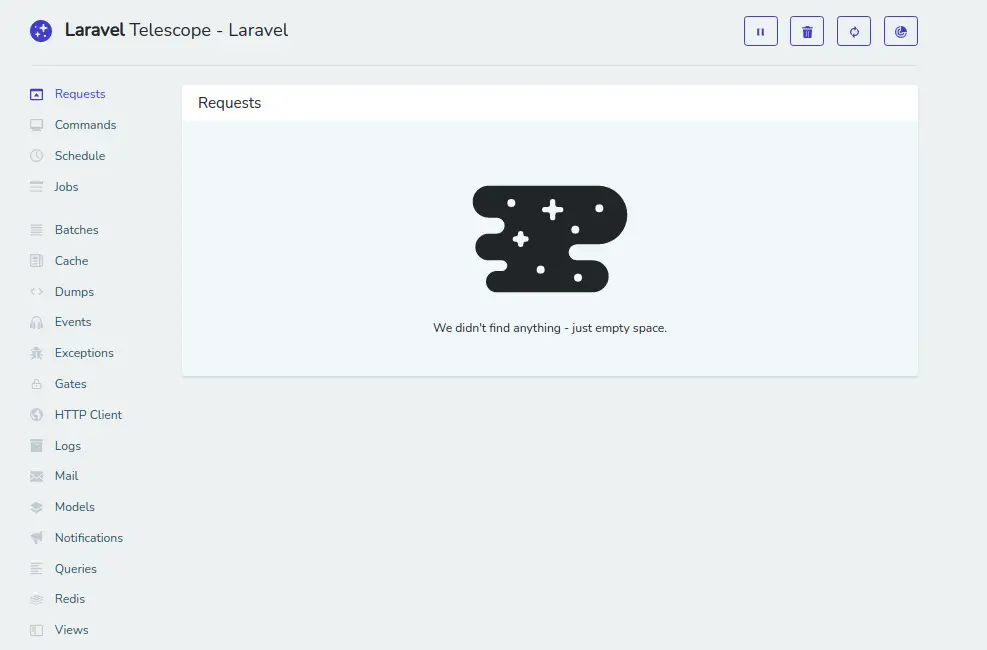
Above is the dashboard of Telescope monitoring screen.
Let’s run few commands to see, how it works.
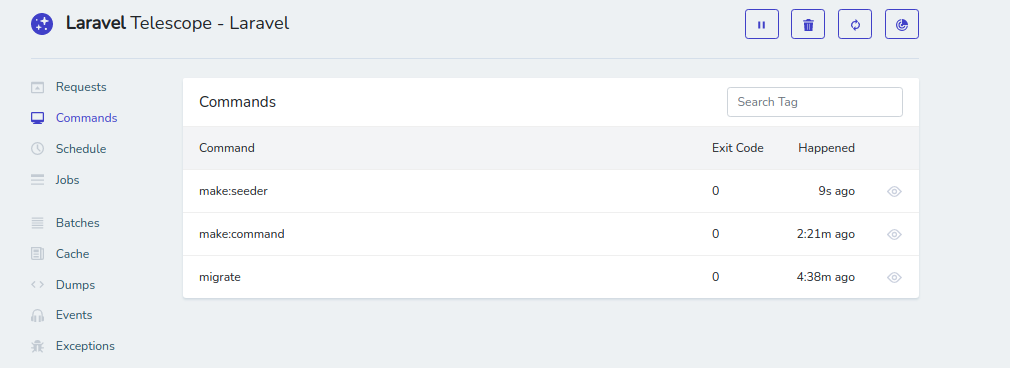
Run Php Artisan Command
We have run few artisan commands, have a look into telescope monitoring screen
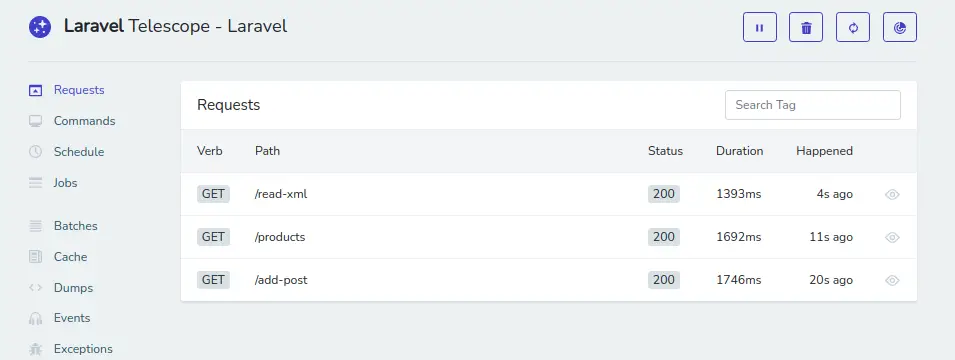
Running Application routes
We have a sample route, after running it into browser. Have a look into monitoring screen.
Telescope Files Information
To see the working files which are responsible for all these functionalities, here is the path.
/vendor/laravel/telescopeWe hope this article helped you to learn about Laravel 9 How to Work with Telescope Tutorial in a very detailed way.
If you liked this article, then please subscribe to our YouTube Channel for PHP & it’s framework, WordPress, Node Js video tutorials. You can also find us on Twitter and Facebook.
Read more