
This tutorial will teach you how to send emails using GMail SMTP and PHPMailer 6 in PHP. As a website owner or developer, having a dependable and effective method of sending emails is critical for communication and user engagement.
In this tutorial, we will walk you through the process of configuring GMail SMTP (Simple Mail Transfer Protocol) using PHPMailer 6, a popular email-sending module for PHP.
You are going to learn the complete information about Step-by-Step Guide to learn about How to setup Google App Password and integrate it with PHPMailer 6.
PHPMailer is a well-known open-source PHP utility that is used to deliver email messages from a PHP application.
Read More: Laravel 10 Authentication with Laravel UI Tutorial
It offers a comprehensive collection of capabilities and functionalities for composing, formatting, and sending emails using a variety of protocols, including SMTP (Simple Mail Transfer Protocol), the most often used technique for sending emails over the internet.
Let’s get started.
How To Setup Google App Password?
Google App Password, also known as application-specific password, is a 16-digit alphanumeric number that allows you to sign in to your Google Account from apps on devices that do not support two-factor authentication.
With app password enabled, you will never have to reveal your primary account password again. App Passwords are only available for accounts that have 2-Step Verification enabled.
Here’s how to create an app password so you can successfully integrate it with PHPMailer to send and receive emails on your server.
Read More: Use Laravel 10 To Get Files Information From Directory
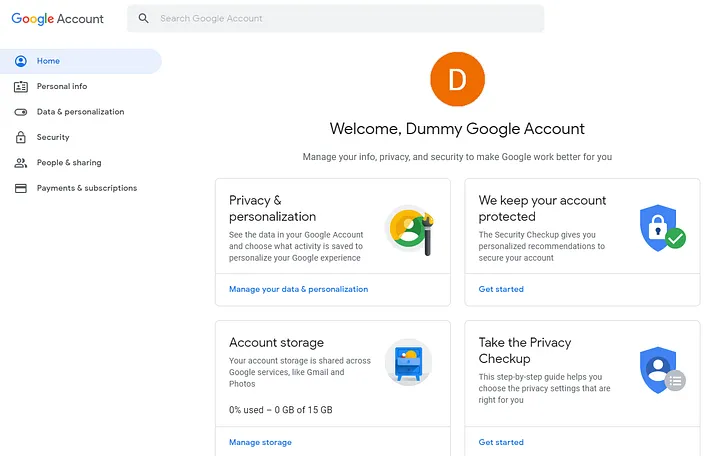
Step #1 Login to Google Account
Go to myaccount.google.com (if not signed in, you will be asked to sign-in to your account)
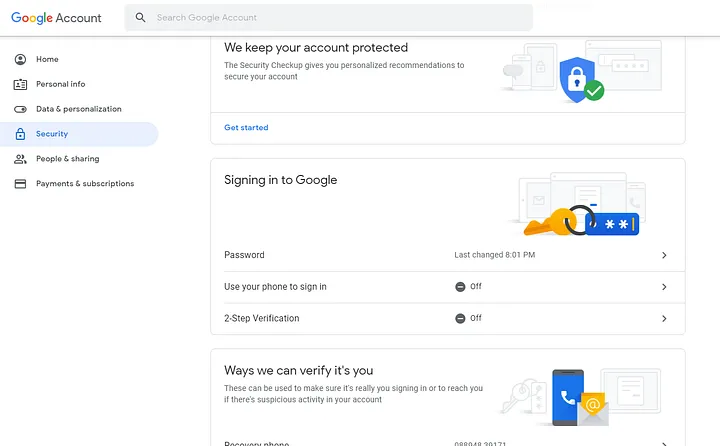
Step #2 Enable 2-Step Verification
Before you can set up the app password, you must first enable 2-Step Verification on your account.
To proceed to the Security page, click on the Security tab on the left-hand side and then on 2-Step Verification under the section Signing in to Google.
Read More: How To Clear Complete Application Caches in Laravel 10
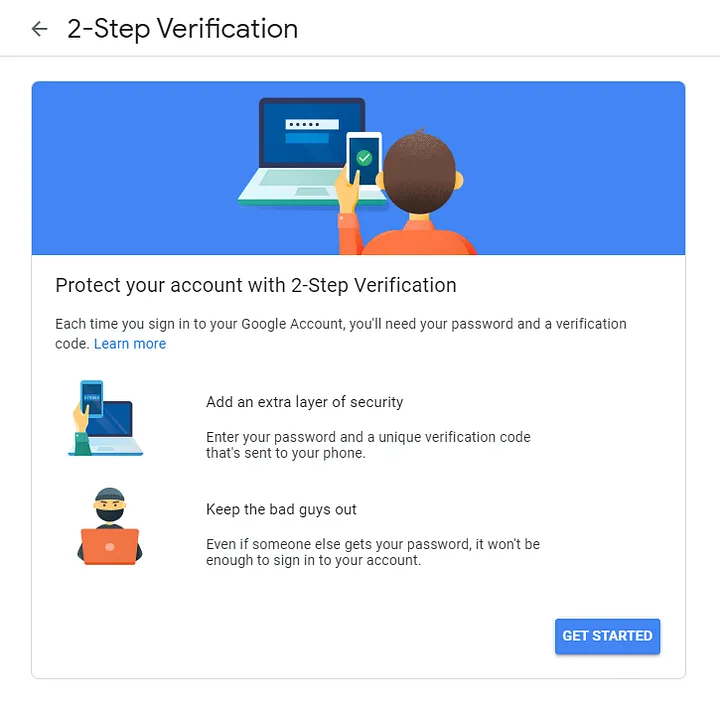
Click on Get Started and on the next page enter your password to verify your account and hit Next.
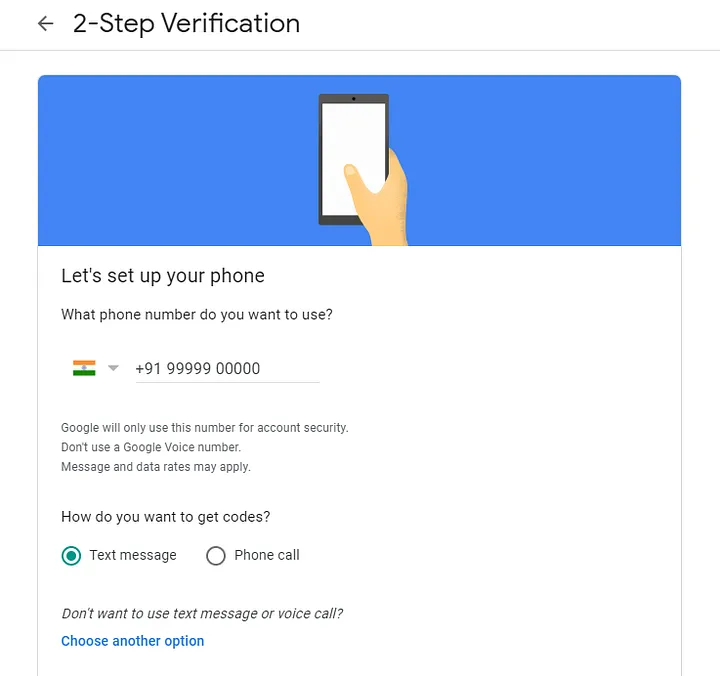
You must now configure your phone.
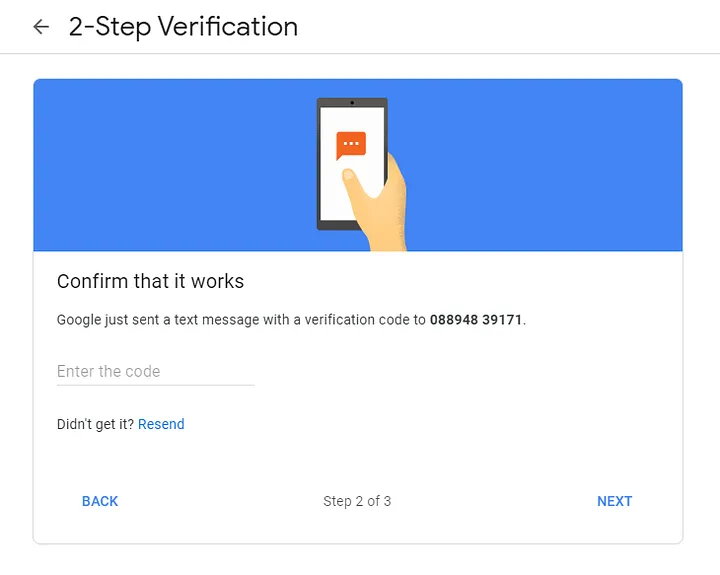
Enter the phone number you want to use for verification, then choose how you want to get your code. It might be a text or a phone call. I’ll keep it as a text message and press Next.
Google will give you a verification code through text message. Enter the verification code and then click Next.
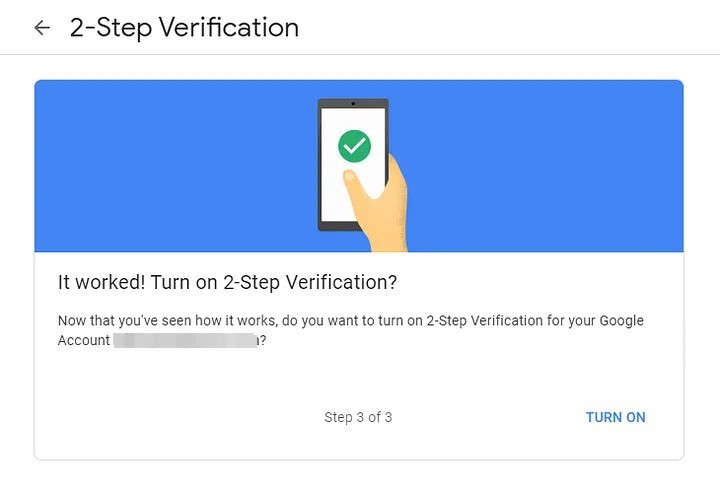
Google will confirm that 2-Step Verification is enabled on the next page.
Read More: How To Create and Download Zip File in Laravel 10 Tutorial
To return to the Security page, click the back arrow next to the header.
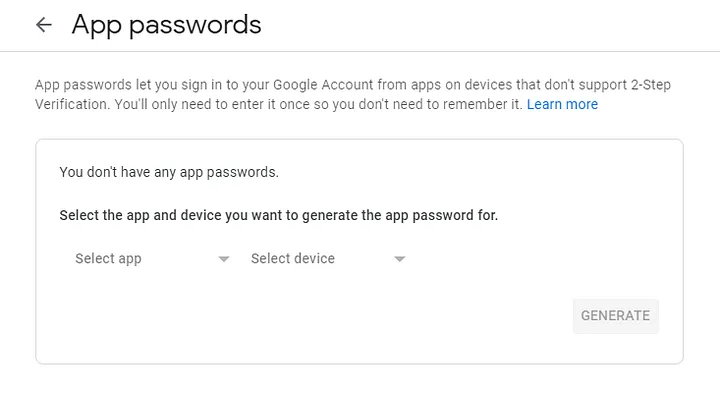
Step #3 Setup Application password
Within the section Signing in to Google, you will notice a new option that says App passwords.
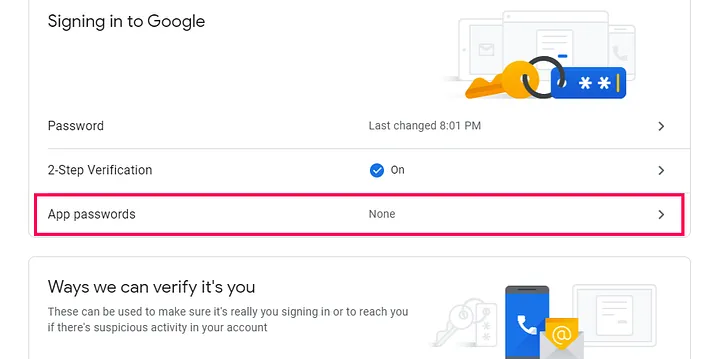
In case, if you are not able to see this App password there. Click on 2-Step Verification.
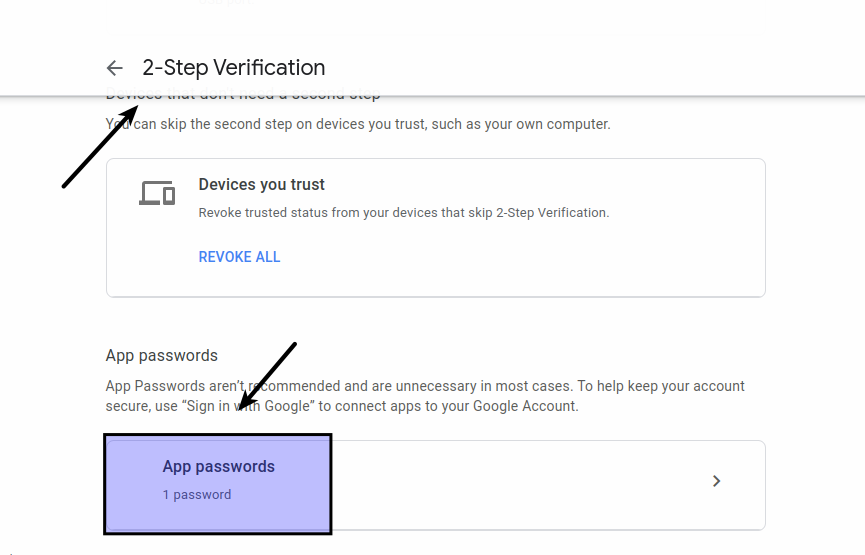
Verify your account by clicking on App passwords. You will be able to create app passwords for any app and device after verification.
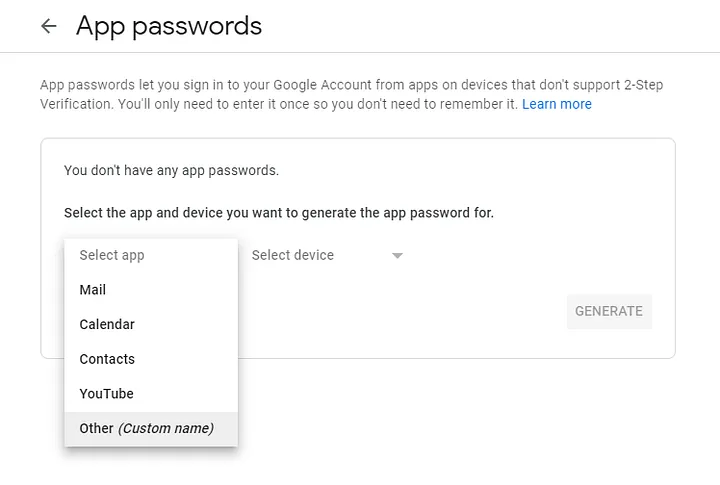
Select Mail from the Select app and Other (custom name) from the Select device, and then give it a name. You can call it whatever you want; I’ll call it PHPMailer and click Generate.
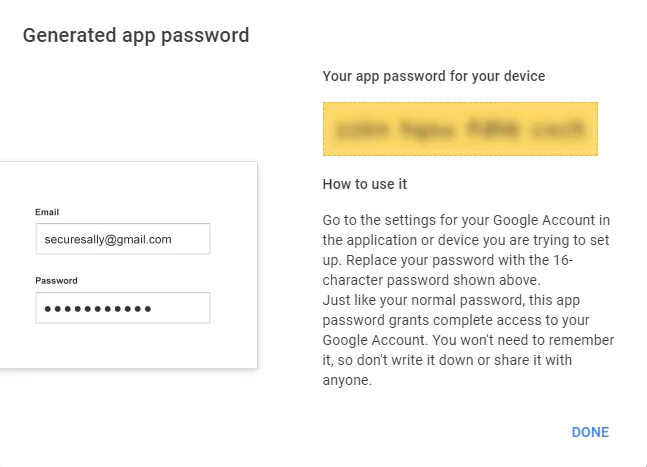
You have now successfully created your app password. Copy and paste this code somewhere safe until you’ve added it to the PHP script.
How To Integrate App Password with PHPMailer
First thing first, let’s install PHPMailer package to a PHP based application.
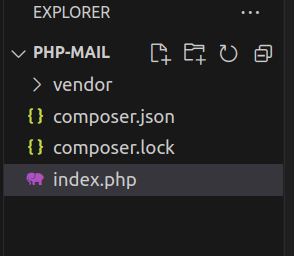
Create a folder with titled php-mail into your project directory.
Read More: How To Query To Get Single Row Data in Laravel 10 Tutorial
PHPMailer Installation
Open project into terminal.
$ composer require phpmailer/phpmailerOnce, installed.
Go to project and create a file titled “index.php“. Folder structure will look like this.
Open index.php and write this complete code into it.
<?php
// Import PHPMailer classes at the top
use PHPMailer\PHPMailer\PHPMailer;
// Load Composer's autoloader
require 'vendor/autoload.php';
// Instantiation
$mail = new PHPMailer(true);
// Server settings
$mail->isSMTP();
$mail->SMTPDebug = 0;
$mail->Debugoutput = 'html';
$mail->Host = 'smtp.gmail.com';
$mail->SMTPAuth = true;
$mail->SMTPSecure = 'tls';
$mail->Port = 587;
$mail->Username = 'ENTER YOUR GOOGLE ACCOUNT EMAIL';
$mail->Password = 'ENTER YOUR APP PASSWORD HERE';
// Sender & Recipient
$mail->From = 'ENTER YOUR GOOGLE ACCOUNT EMAIL';
$mail->FromName = 'SENDER NAME';
$mail->addAddress('RECIPIENT EMAIL');
// Content
$mail->isHTML(true);
$mail->CharSet = 'UTF-8';
$mail->Encoding = 'base64';
$mail->Subject = 'Subject';
$body = 'This is a test message';
$mail->Body = $body;
if ($mail->send()) {
echo 'Mail sent successfully';
exit;
} else {
echo 'Failed to send email';
exit;
}
Everything looks great!!!
Application Testing
Open project into browser.
URL: http://localhost/php-mail/index.php
Output
Mail sent successfullyOpen receiver email account and check the mail.

If everything went well, you should be able to send and receive emails from your website directly to your inbox. There will be no more spam emails!
We hope this article helped you to learn How To Send Emails Using GMail SMTP and PHPMailer 6 in a very detailed way.
If you liked this article, then please subscribe to our YouTube Channel for PHP & it’s framework, WordPress, Node Js video tutorials. You can also find us on Twitter and Facebook.
Read more