Installing CodeIgniter 4 via a manual process allows developers to set up the framework from scratch, providing a deeper understanding of the framework’s directory structure and configurations.
This tutorial aims to guide developers through the step-by-step manual installation process of CodeIgniter 4, enabling them to initiate a new project or set up the framework on their servers.
In CodeIgniter 4 there is complete change of working folders and files in comparison of older versions of CodeIgniter. If you thought that you can handle easily v4.x after learning v3.x then may be you will not be comfortable to work completely with v4.x.
Read More: CodeIgniter 4 How To Use Froala WYSIWYG HTML Editor Tutorial
In this tutorial, we’ll see the detailed process of manually installing CodeIgniter 4.
Let’s get started.
CodeIgniter 4 System Requirements
You need to fulfil these requirements while working with CodeIgniter 4.
PHP version
System PHP version should be 7.2 or greater than that.
PHP extensions
You need to make sure, these following extensions should be enabled.
- intl extension
- mbstring extension
- php-json extension
- php-mysqlnd extension
- php-xml extension
- curl extension
Database Driver Required
A database is required for most web application programming. Currently supported databases are:
- MySQL (5.1+) via the MySQLi driver
- PostgreSQL via the Postgre driver
- SQLite3 via the SQLite3 driver
- MSSQL via the SQLSRV driver (version 2005 and above only)
Download CodeIgniter 4 Setup and Install
Open official website of CodeIgniter.
You should see the download button at right top corner which will look something like this.

May be for future release website design (CodeIgniter website) will be different.
When you click on this Download button. You will be redirected to download page of CodeIgniter.
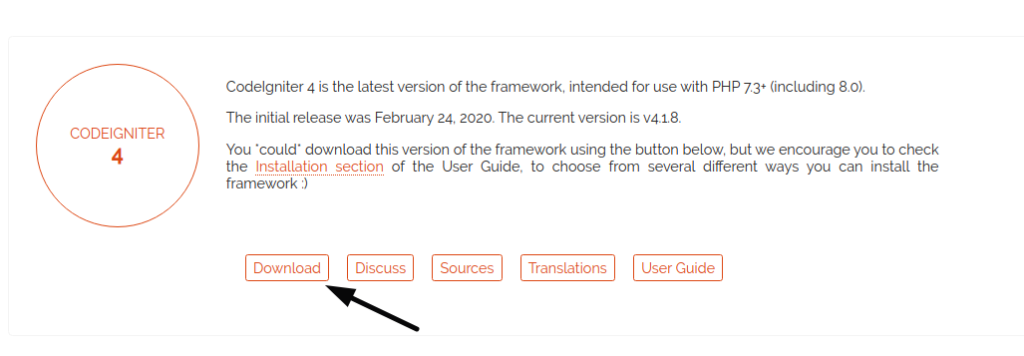
Click on Download button of CodeIgniter 4. Also you get many other versions of CodeIgniter at this download page.
It will download a zipped folder into your local machine. Unzip that. When you go inside unzipped folder, you should see one more folder with CodeIgniter 4 setup inside that and this will be your setup folder.
Create your own project folder and move those files including hidden files too into that.
Read More: CodeIgniter 4 Send Email with Multiple Attachments
Running Application to Browser
Open browser and type URL.
http://localhost/<project-folder>When you open your project into browser then you will get something like this.
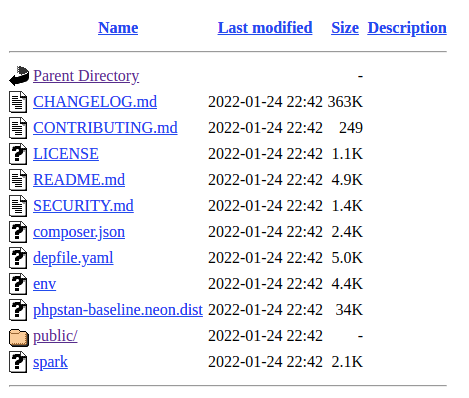
These are all files list which are downloaded.
In CodeIgniter 4 version, you need to open /public folder to run your project. This is front controller path for landing page. In legacy versions this process was different as we don’t have any public folder.
CodeIgniter 4 Setup Error
When you open URL from /public folder.
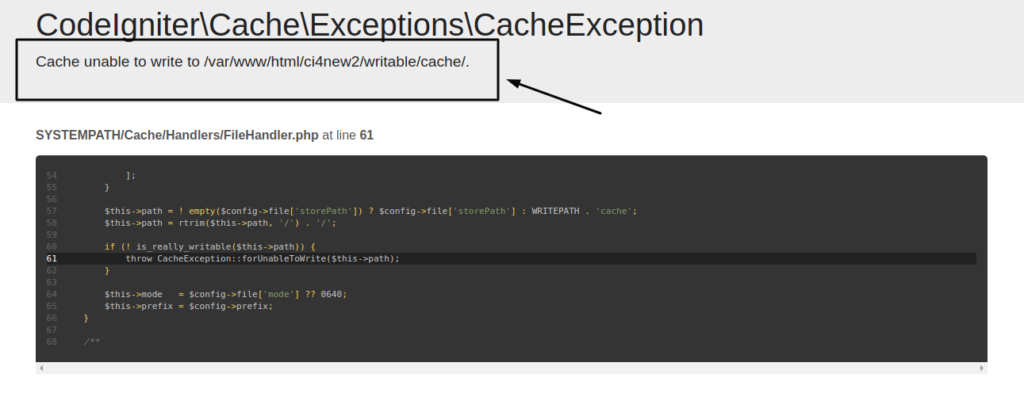
http://localhost/<project-folder>/public/You will get this error page.
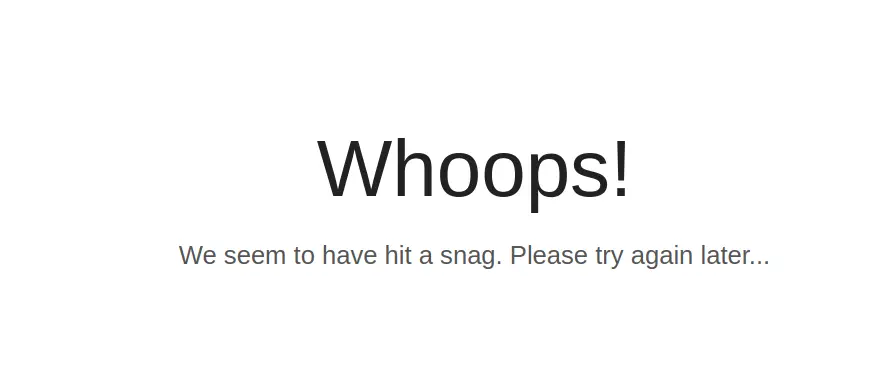
This is permission error for cache folder. cache folder is inside /storage folder. To solve this issue you need to give proper permissions to read and write to this folder.
To see what exactly error is. Open project folder and rename env to .env. This .env is environment variables file and found inside application root.
# CI_ENVIRONMENT = productionRemove # from front and update production to development. # signs for a comment line in .env.
CI_ENVIRONMENT = developmentNow, if application have any error then error message will be printed instead of error page.
Back to browser and refresh your project URL.
To fix this issue, we have given all permissions for read and write operations to application folder and inner files.
Open project into terminal and run this command.
chmod -R 777 .You can use any other permission levels. 777 is for giving all permissions to project folders and files.
Read More: How To Read XML Data to JSON in CodeIgniter 4
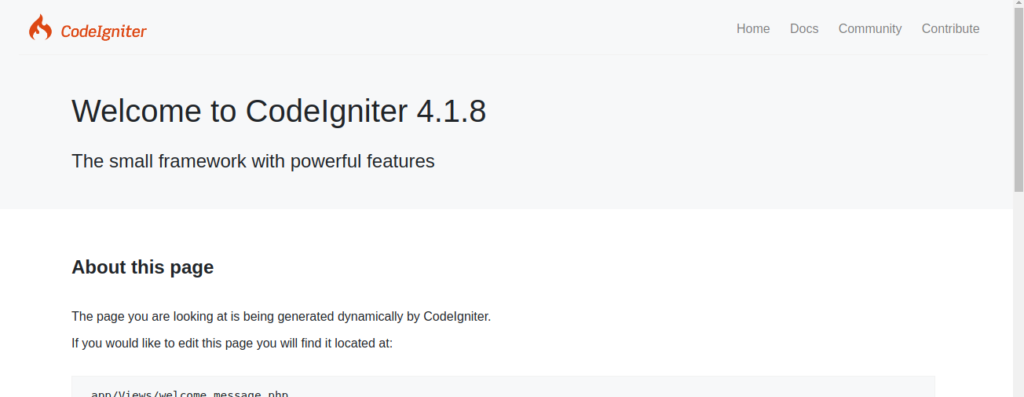
Application Landing Page
After giving proper permission to project folder. Open project into browser you should see the landing page.
How to remove public from URL, click here.
Recommended option to install codeigniter 4 using composer. For more information about installation you can see this article too.
That’s it.
We hope this article helped you to learn How To Install CodeIgniter 4 by Manual Installation Process in a very detailed way.
If you liked this article, then please subscribe to our YouTube Channel for PHP & it’s framework, WordPress, Node Js video tutorials. You can also find us on Twitter and Facebook.
Read more