
The Livewire DataTable Pagination packages make it easier to create dynamic and feature-rich data tables with pagination in Laravel 10. These packages simplify the development process and provide functionality to your data tables. In this article, we will walk you through the steps of developing DataTable pagination in Laravel 10 using the Livewire package.
Livewire packages are community-created extensions that extend the functionality of Livewire components. When used with DataTables, these packages provide strong options for quickly creating paginated data tables.
Read More: Laravel 10 How To Insert Array Data in Table Column Example
Let’s get started.
Laravel Installation
Open terminal and run this command to create a laravel project.
composer create-project laravel/laravel myblogIt will create a project folder with name myblog inside your local system.
To start the development server of laravel –
php artisan serveURL: http://127.0.0.1:8000
Assuming laravel already installed inside your system.
Create Database & Connect
To create a database, either we can create via Manual tool of PhpMyadmin or by means of a mysql command.
CREATE DATABASE laravel_app;
To connect database with application, Open .env file from application root. Search for DB_ and update your details.
DB_CONNECTION=mysql
DB_HOST=127.0.0.1
DB_PORT=3306
DB_DATABASE=laravel_app
DB_USERNAME=root
DB_PASSWORD=root
How To Generate Fake Data in Laravel?
To generate fake data in a very easier way, you can use the concept of Factory.
Once you install laravel setup, you should see these files –
- User.php a model file inside /app/Models folder.
- UserFactory.php a factory file inside /database/factories folder.
You can use concept of factory to seed dummy data to this application.
But first you need to migrate your application’s migration to create users table into your database.
Read More: Laravel 10 Dynamic Dependent Dropdown Using Ajax Example
Go to tinker shell,
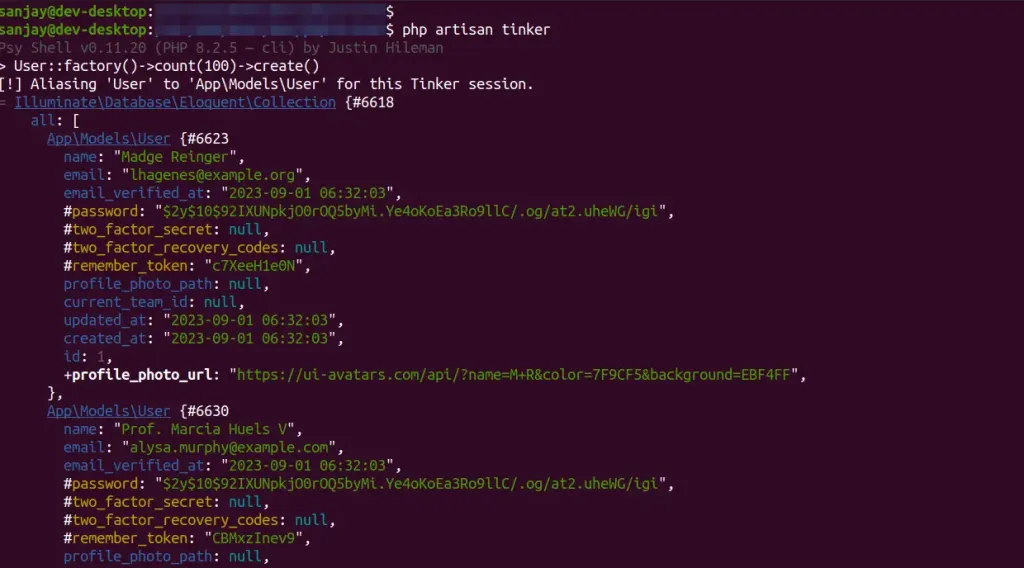
$ php artisan tinkerIt will open tinker shell to execute commands. Copy and paste this command and execute to create test data.
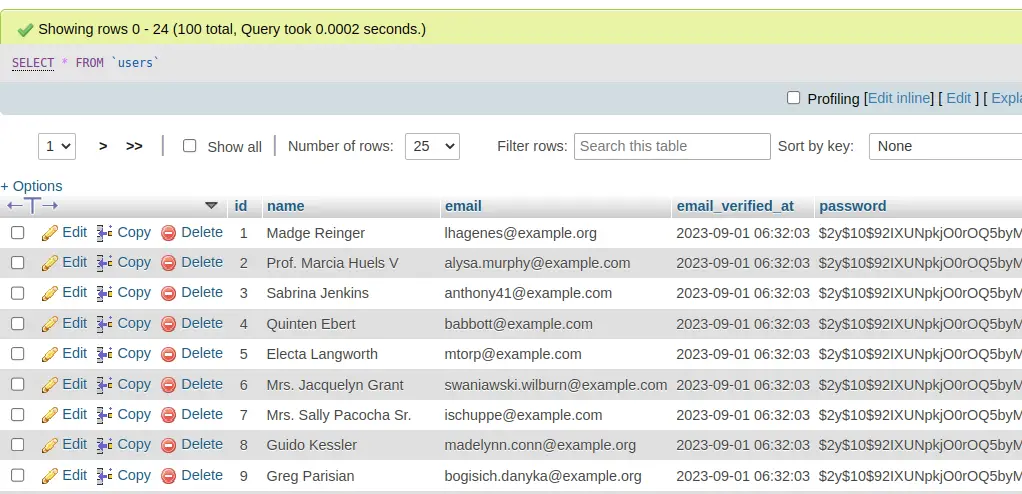
>>> User::factory()->count(100)->create()It will generate 100 fake rows of users into table.
Tinker shell,
Next,
Database table,
Livewire Installation (Composer Package)
Back to project terminal and run this command to install livewire inside application,
$ composer require livewire/livewireTerminal shell be like,

Now, you are able to use the features and functions of livewire.
Next,
Install Livewire DataTable Package
Back to project terminal and run this command to install livewire datatable package:
$ composer require mediconesystems/livewire-datatablesIn case if you get any error then needs to run this command:
$ composer require mediconesystems/livewire-datatables --with-all-dependenciesRead More: Laravel 10 Submit Livewire Form Data Tutorial
Successfully, livewire datatable package now installed!
Generate Livewire Scaffold Files
Back to terminal and run this command to create livewire folder & files.
$ php artisan make:livewire user-datatablesAbove command will create these files –
- UserDatatables.php file inside /app/Livewire folder.
- user-datatables.blade.php file inside /resources/views/livewire
Livewire Datatable Settings
Open UserDatatables.php from /app/Livewire folder and write this following code into it.
<?php

namespace App\Livewire;

use Livewire\Component;
use App\Models\User;
use Illuminate\Support\Str;
use Mediconesystems\LivewireDatatables\Column;
use Mediconesystems\LivewireDatatables\NumberColumn;
use Mediconesystems\LivewireDatatables\DateColumn;
use Mediconesystems\LivewireDatatables\Http\Livewire\LivewireDatatable;

class UserDatatables extends LivewireDatatable
{
    public $model = User::class;

    /**
     * Write code on Method
     *
     * @return response()
     */
    public function columns()
    {
        return [
            NumberColumn::name('id')
                ->label('ID')
                ->sortBy('id'),

            Column::name('name')
                ->label('Name'),

            Column::name('email'),

            DateColumn::name('created_at')
                ->label('Creation Date')
        ];
    }
}
Create Blade Template File
Create a blade template file default.blade.php inside /resources/views folder.
Open default.blade.php and write this following code into it.
<!DOCTYPE html>
<html>

<head>
    <title>Laravel 10 Livewire Data Pagination Tutorial</title>
    @livewireStyles
    <link rel="stylesheet" href="https://cdnjs.cloudflare.com/ajax/libs/twitter-bootstrap/4.5.0/css/bootstrap.min.css"/>
    <link rel="stylesheet" href="https://cdnjs.cloudflare.com/ajax/libs/tailwindcss/1.9.2/tailwind.min.css" />
</head>

<body>

    <div class="container">

        <div class="card">
            <div class="card-header bg-primary text-white">
                Laravel 10 Livewire Data Pagination Tutorial
            </div>
            <div class="card-body">
                <livewire:user-datatables searchable="name, email" exportable />
            </div>
        </div>

    </div>

</body>

@livewireScripts

</html>
Read More: How To Create RSS Feed in Laravel 10 Example Tutorial
Add Route
Open web.php file from /routes folder. Add this route into it.
//...

Route::get('user-datatables', function () {

    return view('default');
});
Application Testing
Run this command into project terminal to start development server,
php artisan serveURL: http://127.0.0.1:8000/user-datatables

You can see the concept of livewire pagination to the list of test users.
We hope this article helped you to learn Laravel 10 Livewire DataTable Pagination Package Tutorial in a very detailed way.
If you liked this article, then please subscribe to our YouTube Channel for PHP & it’s framework, WordPress, Node Js video tutorials. You can also find us on Twitter and Facebook.
Read more