Inside this article we will see the concept of Laravel 9 file or image upload using livewire. This article will be very interesting to see and also very easy to implement in your laravel 9 application.
You will learn Upload file using livewire in laravel 9. Step by step guide it will be. Very few simple steps we need to follow to do it application setup.
Livewire is a composer package which needs to be installed first while working with livewire functions. We will see and discuss about each step here.
Learn More –
- Concept of Trait in Laravel 9 Tutorial with Example
- Create Custom 404 Page in Laravel 9 | Page Not Found
- Create Custom Facade Class in Laravel 9 Tutorial
- Eloquent Mutators and Accessors in Laravel 9 Tutorial
Let’s get started.
Laravel Installation
Open terminal and run this command to create a laravel project.
composer create-project laravel/laravel myblogIt will create a project folder with name myblog inside your local system.
To start the development server of laravel –
php artisan serveURL: http://127.0.0.1:8000
Assuming laravel already installed inside your system.
Create Database & Connect
To create a database, either we can create via Manual tool of PhpMyadmin or by means of a mysql command.
CREATE DATABASE laravel_app;
To connect database with application, Open .env file from application root. Search for DB_ and update your details.
DB_CONNECTION=mysql
DB_HOST=127.0.0.1
DB_PORT=3306
DB_DATABASE=laravel_app
DB_USERNAME=root
DB_PASSWORD=root
Create Model & Migration
Open project into terminal and run this artisan command to create a model with a migration file.
$ php artisan make:model File -mIt will create two files –
- Model file File.php inside /app/Models folder
- Migration file 2022_04_14_135930_create_files_table.php inside /database/migrations
Open Migration file 2022_04_14_135930_create_files_table.php and write this complete code into it.
<?php

use Illuminate\Database\Migrations\Migration;
use Illuminate\Database\Schema\Blueprint;
use Illuminate\Support\Facades\Schema;

return new class extends Migration
{
    /**
     * Run the migrations.
     *
     * @return void
     */
    public function up()
    {
        Schema::create('files', function (Blueprint $table) {
            $table->id();
            $table->string('title', 50);
            $table->string('file', 220);
            $table->timestamps();
        });
    }

    /**
     * Reverse the migrations.
     *
     * @return void
     */
    public function down()
    {
        Schema::dropIfExists('files');
    }
};
Open File.php model file and write this complete code into it.
<?php

namespace App\Models;

use Illuminate\Database\Eloquent\Factories\HasFactory;
use Illuminate\Database\Eloquent\Model;

class File extends Model
{
    use HasFactory;

    protected $fillable = [
        'title', 'file'
    ];
}
Run Migration
Back to terminal and run this command.
$ php artisan migrateIt will create files table inside database.
Livewire Package Installation
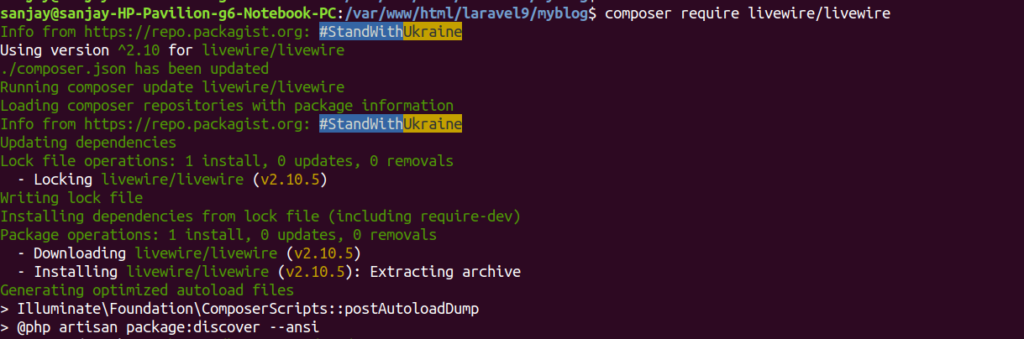
Back to terminal and run this composer command to install livewire into application.
$ composer require livewire/livewireIt will install livewire package into application.
Next,
We need to create livewire component.
Create Livewire Components
Run this artisan command to create livewire components.
$ php artisan make:livewire file-uploadIt will create these files –
- CLASS: /app/Http/Livewire/FileUpload.php
- VIEW: /resources/views/livewire/file-upload.blade.php
Open FileUpload.php and write this complete code into it.
<?php

namespace App\Http\Livewire;

use Livewire\Component;
use App\Models\File;
use Livewire\WithFileUploads;

class FileUpload extends Component
{
    use WithFileUploads;

    public $file, $title;

    public function render()
    {
        return view('livewire.file-upload');
    }

    public function submit()
    {
        $validatedData = $this->validate([
            'title' => 'required',
            'file' => 'required',
        ]);

        $validatedData['file'] = $this->file->store('files', 'public');

        File::create($validatedData);

        session()->flash('message', 'File successfully Uploaded.');
    }
}- $this->file->store(‘files’, ‘public’); This will store uploaded file inside /storage/app/public/files. Also it will create a livewire-tmp folder inside /storage/app.
Open file-upload.blade.php and write this complete code into it.
<div>
    <form wire:submit.prevent="submit" enctype="multipart/form-data">

        <div>
            @if(session()->has('message'))
                <div class="alert alert-success">
                    {{ session('message') }}
                </div>
            @endif
        </div>

        <div class="form-group">
            <label for="exampleInputName">Title:</label>
            <input type="text" class="form-control" id="exampleInputName" placeholder="Enter title" wire:model="title">
            @error('title') <span class="text-danger">{{ $message }}</span> @enderror
        </div>
        <div class="form-group">
            <label for="exampleInputFile">File:</label>
            <input type="file" class="form-control" id="exampleInputFile" wire:model="file">
            @error('name') <span class="text-danger">{{ $message }}</span> @enderror
        </div>

        <button type="submit" class="btn btn-success">Save</button>
    </form>
</div>
Create Blade Layout File
Create a file with name layout.blade.php into /resources/views folder.
Open layout.blade.php and write this complete code into it.
<!DOCTYPE html>
<html>

<head>
    <title>File or Image Upload Using Livewire Laravel 9 - Online Web Tutor</title>
    @livewireStyles
    <link rel="stylesheet" href="https://stackpath.bootstrapcdn.com/bootstrap/4.5.2/css/bootstrap.min.css">
</head>

<body>

    <div class="container" style="margin-top:40px;">

        <div class="card">
            <div class="card-body">
                @livewire('file-upload')
            </div>
        </div>

    </div>

    @livewireScripts
</body>

</html>
- @livewireStyles It will include livewire styles.
- @livewire(‘file-upload’) It will include livewire file upload component.
- @livewireScripts It will include livewire scripts.
Add Route
Open web.php file from /routes folder. Add this route into it.
//...

Route::get('file-upload', function () {
    return view('layout');
});

//...
Application Testing
Run this command into project terminal to start development server,
php artisan serveURL – http://127.0.0.1:8000/file-upload
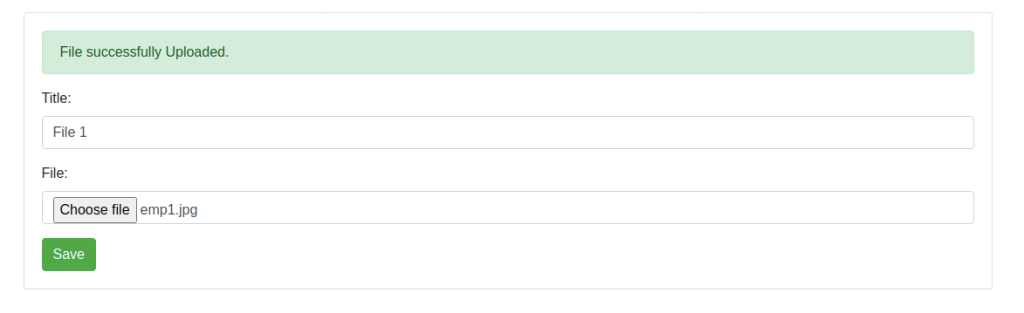
When we fill title and a file and click on Save.
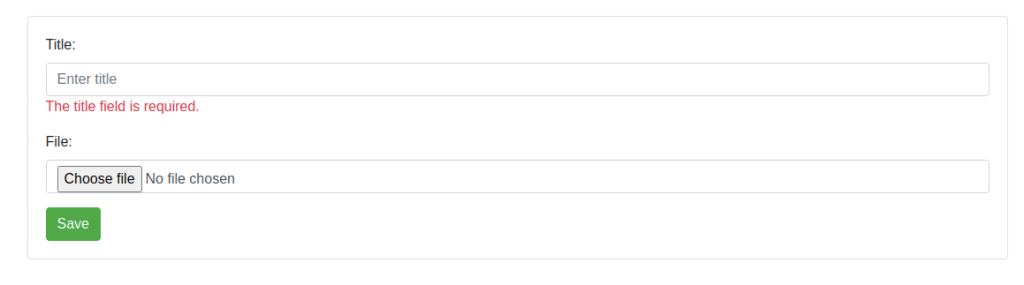
Submit form without any value
Data saved into database table

We hope this article helped you to learn Laravel 9 File or Image Upload Using Livewire in a very detailed way.
If you liked this article, then please subscribe to our YouTube Channel for PHP & it’s framework, WordPress, Node Js video tutorials. You can also find us on Twitter and Facebook.
Read more