
While doing any operation in any application we want some confirmation alerts like for success, warning, error, etc. Why we need these? It’s because it gives a more readable power to end users to understand what’s happening.
SweetAlert is a jQuery plugin and 2 means it’s version So it is SweetAlert2. It gives plugin files likes of CSS and JS. When we add these files to application we can integrate SweetAlert2 notification for messages.
Inside this article we will see the concept of Laravel 9 SweetAlert2 jQuery Notification plugin inside application. This is not laravel 9 application specific. You can use in any application of PHP.
This article will cover about using SweetAlert2 jquery plugin for message notifications to end user.
Learn More –
- Laravel 9 REST API Development Using JWT Authentication
- Laravel 9 REST API Development Using Passport Tutorial
- How To Work with Laravel 9 Model Events Tutorial
- Laravel 9 Bootstrap Growl jQuery Notification Plugin
Let’s get started.
Laravel Installation
Open terminal and run this command to create a laravel project.
composer create-project laravel/laravel myblogIt will create a project folder with name myblog inside your local system.
To start the development server of laravel –
php artisan serveURL: http://127.0.0.1:8000
Assuming laravel already installed inside your system.
SweetAlert2 Plugin Files
SweetAlert2 is a jQuery plugin. This plugin works when we use plugin files inside application. It provides CSS & JS files.
Plugin JS Link
<strong># URL</strong>
https://cdn.jsdelivr.net/npm/sweetalert2@9.17.2/dist/sweetalert2.min.js

<strong># Tag</strong>
<script src="https://cdn.jsdelivr.net/npm/sweetalert2@9.17.2/dist/sweetalert2.min.js"></script>
Bootstrap CSS Link
<strong># URL</strong>
https://cdn.jsdelivr.net/npm/sweetalert2@9.17.2/dist/sweetalert2.min.css

<strong># Tag</strong>
<link rel="stylesheet" type="text/css" href="https://cdn.jsdelivr.net/npm/sweetalert2@9.17.2/dist/sweetalert2.min.css">
When we link these files with application, then we will able to use the methods of SweetAlert2 Plugin.
<meta http-equiv="content-type" content="text/html; charset=utf-8">Swal.fire()Create Controller
Back to project terminal and run this artisan command.
$ php artisan make:controller SiteControllerIt will create a file SiteController.php inside /app/Http/Controllers folder.
Open SiteController.php and write this code into it.
<?php

namespace App\Http\Controllers;

use Illuminate\Http\Request;

class SiteController extends Controller
{
    public function showMessages()
    {
        // Flash messages settings

        session()->flash("success", "This is success message");

        session()->flash("warning", "This is warning message");

        session()->flash("info", "This is information message");

        session()->flash("error", "This is error message");

        return view("sweetalert-notification");
    }
}
Here,
We stored each level of messages into it’s key. Like we have messages for success, error, warning, etc. These messages only for demonstration. You can change it according to need.
Create Template
Create a file sweetalert-notification.blade.php inside /resources/views folder.
Open template file and write this code into it.
<link rel="stylesheet" type="text/css" href="https://cdn.jsdelivr.net/npm/sweetalert2@9.17.2/dist/sweetalert2.min.css">
<script src="https://code.jquery.com/jquery-3.5.1.min.js"></script>
<script src="https://cdn.jsdelivr.net/npm/sweetalert2@9.17.2/dist/sweetalert2.min.js"></script>
<script>
$(function(){
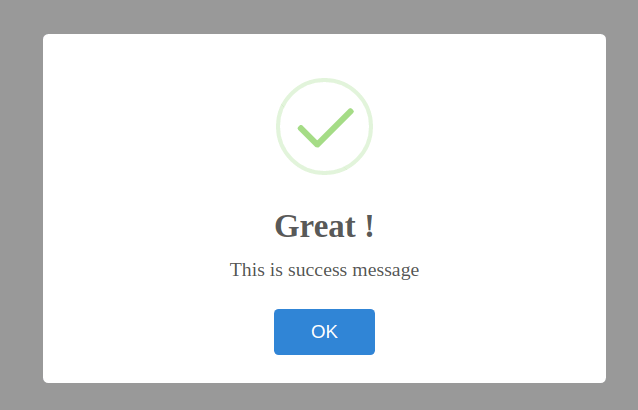
@if(Session::has('success'))
Swal.fire({
icon: 'success',
title: 'Great!',
text: '{{ Session::get("success") }}'
})
@endif
});
</script>Concept
Reading session stored flash message and display it into a sweetalert2 notification level.
@if(Session::has('success'))
    Swal.fire({
    icon: 'success',
    title: 'Great!',
    text: '{{ Session::get("success") }}'
})
@endif
This is for success block.
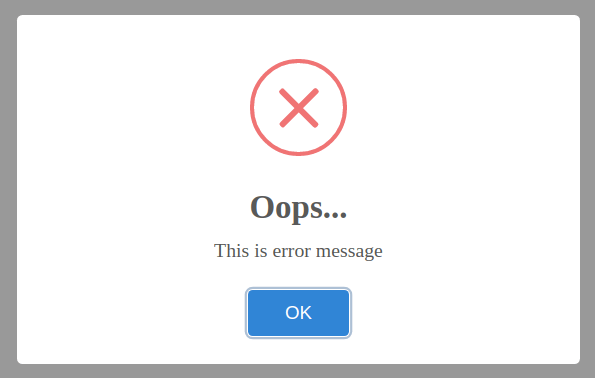
For Error Level Message
@if(Session::has('error'))
    Swal.fire({
        icon: 'error',
        title: 'Oops...',
        text: '{{ Session::get("error") }}'
    })
@endif
For Warning Level Message
@if(Session::has('warning'))
    Swal.fire({
        icon: 'warning',
        title: 'Oops...',
        text: '{{ Session::get("warning") }}'
    })
@endif
Add Route
Open web.php from /routes folder. Add this route into it.
//...
use App\Http\Controllers\SiteController;

//...
Route::get('notification', [SiteController::class, 'showMessages']);
Application Testing
Run this command into project terminal to start development server,
php artisan serveURL: http://127.0.0.1:8000/notification
For Error Message
We hope this article helped you to learn about Laravel 9 SweetAlert2 jQuery Notification Plugin Tutorial in a very detailed way.
If you liked this article, then please subscribe to our YouTube Channel for PHP & it’s framework, WordPress, Node Js video tutorials. You can also find us on Twitter and Facebook.
Read more