Inside this article we will see the concept i.e Methods To Install CodeIgniter 4 Application in Ubuntu OS. Article contains the classified information about Installation of CodeIgniter using Direct Download and Using Composer Tool.
CodeIgniter is PHP based web application development framework and 4 is the current development version. It is very easy to work and develop an application.
PHP version should be >= 7.3
Learn More –
- Complete CodeIgniter 4 Routing Tutorial in Details
- Complete CodeIgniter 4 Spark CLI Tutorial
- Complete Concept of Named Route in CodeIgniter 4 Tutorial
- Concept of Date And Time in CodeIgniter 4 Tutorial
Let’s get started.
Installation Process of CodeIgniter 4.x in System
In older versions of CodeIgniter, installation process includes either we can download a zipped folder or simply need to do clone of github repository.
But in CodeIgniter 4.x we now find the installation process also includes composer based concept. It means we have total methods available to download equals to 3.
Methods of Installation
- Download & Setup via a zipped folder from official link – Manual Method.
- CodeIgniter 4.x Github repository clone.
- Install by Composer
Download & Setup via a zipped folder – Manual Install
Inside this installation process, simply we need to download a zipped folder from official website of may be from github repository.
If we redirect to the official website given above – we can see download option at landing page as well as we can find inside the Menu – Download.
At Landing Page we should see –

When you click to the Download Menu at top header, you will be redirected to the download page. at that page you should see the download link as –
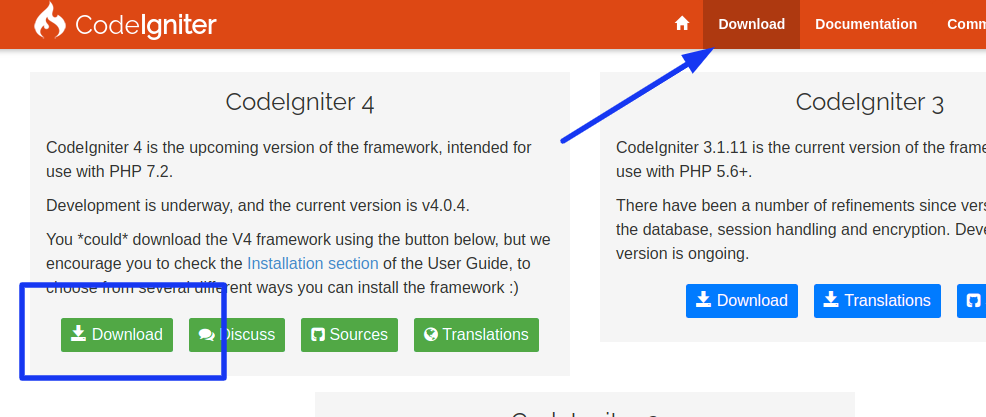
You need to download “zipped” folder and move to to local system. That’s it.
CodeIgniter 4.x Github repository
This method provides the option to do clone via github repository. In official documentation a github link is given. After clicking on that link we will be redirected into this github repository page.
At the github page, you should see –
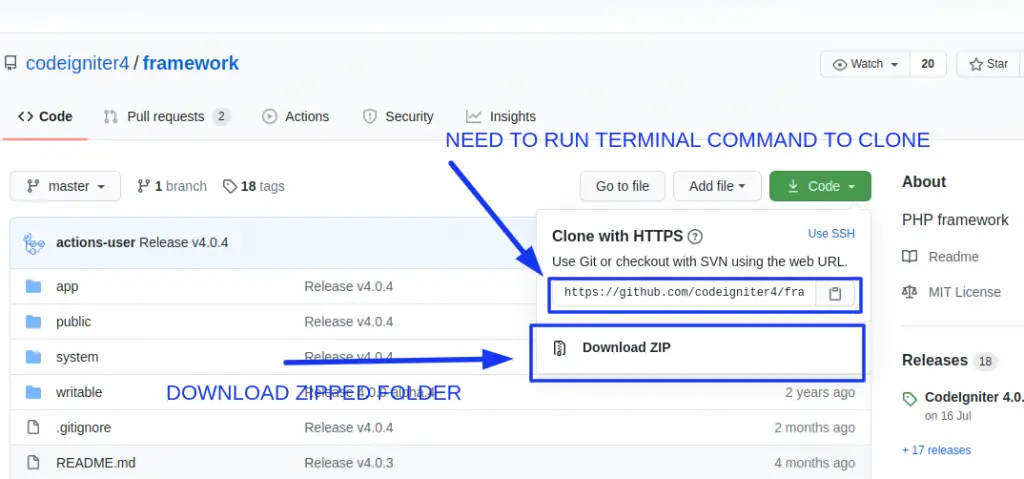
If we click on Download Zip button, it simply downloads CodeIgniter 4 setup. But when we go through the Clone with HTTPS method, we need to run the command as –
$ git clone https://github.com/codeigniter4/framework.gitThis terminal command will clones a framework folder into your given path. When you run above command, will get messages at command prompt or terminal –
Output

Cloning into 'framework'…
remote: Enumerating objects: 3017, done.
remote: Total 3017 (delta 0), reused 0 (delta 0), pack-reused 3017
Receiving objects: 100% (3017/3017), 1.36 MiB | 1.17 MiB/s, done.
Resolving deltas: 100% (2056/2056), done.
Checking connectivity… done.
Installation via Composer
Composer is a tool which helps PHP to manage it’s dependencies. So in this case of download process, first you need to verify that your system has composer installed or not. If not, you need to install it first.
To install composer, follow the instructions given at official website – Composer Official Document.
Now, let’s assume system has composer already installed. To verify the installation at system, run the command at terminal – $ composer . You should see the welcome page of composer at terminal i.e welcome command panel.
CodeIgniter 4 installation is also very simple in this case as well. Back to terminal after checking that everything is ok with the composer installation. Command to use to install codeigniter setup –
$ composer create-project codeigniter4/appstarter my-app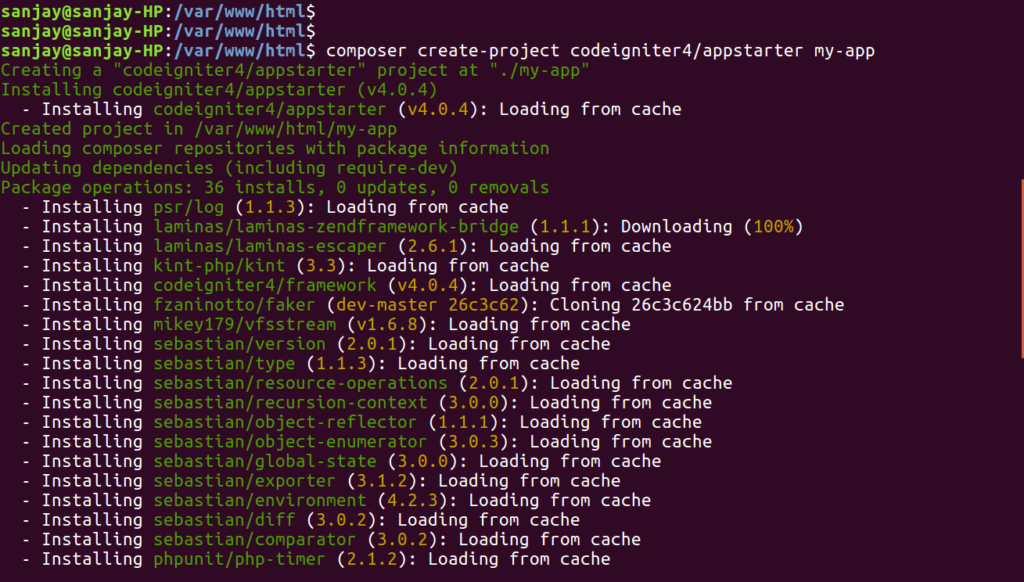
After running the above command, it will start the installation process. It creates my-app project folder at your given path. This is user define project folder name, you can name it your own.
If suppose, you don’t pass the my-app with name command then by default it will create project setup with the name called appstarter.
Running CodeIgniter 4 Application
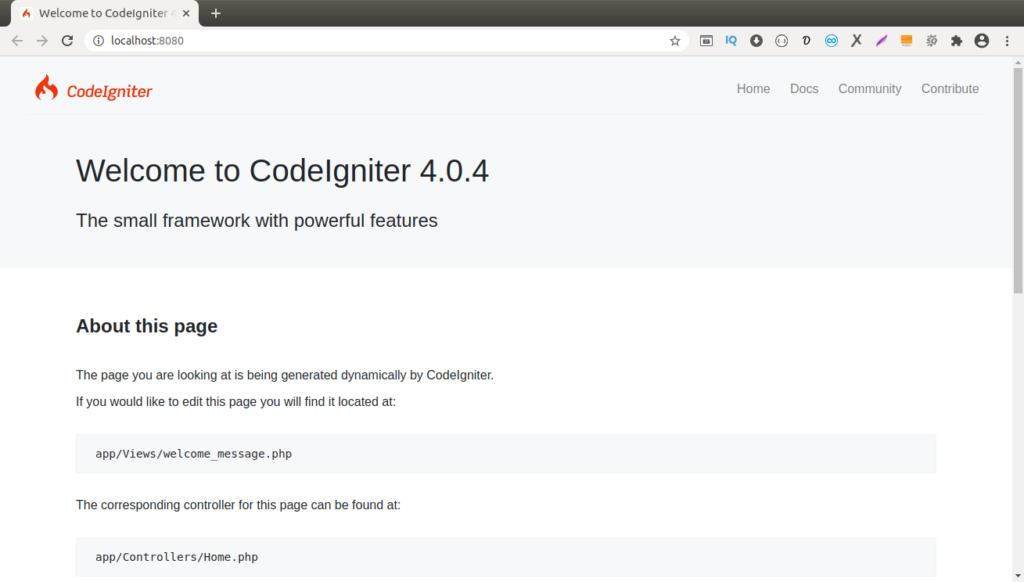
To run application, back to browser and type the URL of localhost with the project folder name. At first time application will run from /public folder.
To remove /public/index.php from URL click here to go.
To start application server via Spark module, type the following command.
$ php spark serve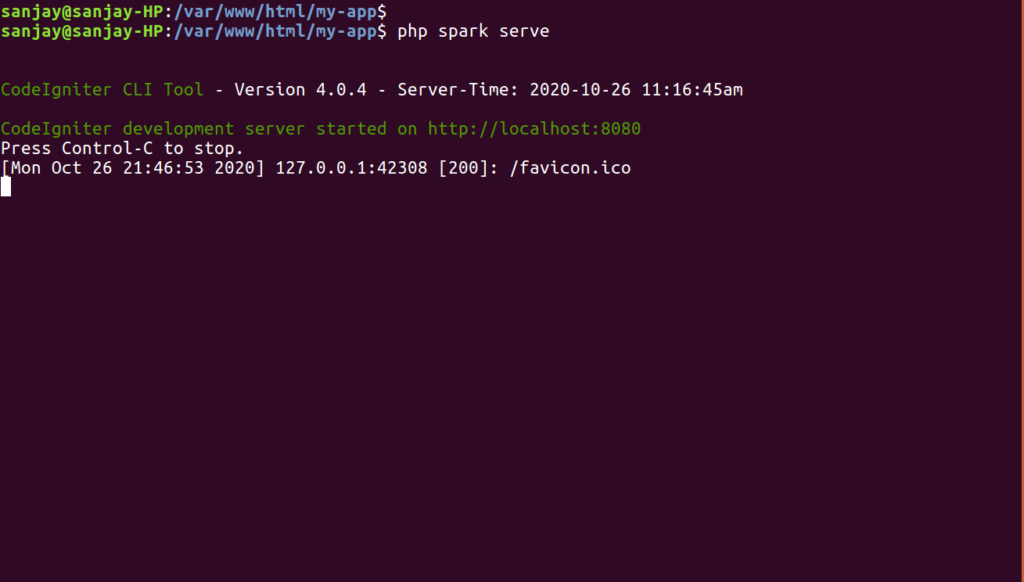
Application server has been started at http://localhost:8080
It will start a development server for application, at production level it should be not used. Also you can learn complete guide of Spark Module of CodeIgniter 4 from here.
We hope this article helped you to learn Methods To Install CodeIgniter 4 Application in Ubuntu OS in a very detailed way.
If you liked this article, then please subscribe to our YouTube Channel for PHP & it’s framework, WordPress, Node Js video tutorials. You can also find us on Twitter and Facebook.
Read more
I am installing codelgniter 4 on ubuntu 18.04, when i am hitting this command
composer create-project codeigniter4/appstarter my-app
it shows some error like this.please help me
Your requirements could not be resolved to an installable set of packages.
Problem 1
– phpunit/phpunit[8.5.0, …, 8.5.15] require ext-dom * -> it is missing from your system. Install or enable PHP’s dom extension.
– Root composer.json requires phpunit/phpunit ^8.5 -> satisfiable by phpunit/phpunit[8.5.0, …, 8.5.15].
Okay this is the issue of your php extension. Please read this one https://onlinewebtutorblog.com/ext-intl-php-extension-error-codeigniter-4-installation/. I hope may be it will be helpful.