
Integrating WhatsApp messaging capabilities into web applications has become increasingly prevalent for interactive user engagement. Gupshup, a leading messaging API provider, offers seamless integration with WhatsApp, enabling developers to send messages programmatically.
In CodeIgniter 4, a robust PHP framework, leveraging the Gupshup API facilitates WhatsApp message delivery with ease. In this tutorial, we’ll see the process of integrating the Gupshup API to send WhatsApp messages in CodeIgniter 4.
Read More: How To Integrate ChatGPT API in CodeIgniter 4 Tutorial
Let’s get started.
CodeIgniter 4 Installation
To create a CodeIgniter 4 setup run this given command into your shell or terminal. Please make sure composer should be installed.
composer create-project codeigniter4/appstarter codeigniter-4Assuming you have successfully installed application into your local system.
Gupshup API & Template Settings
Here, you will see settings of Template setup inside your gupshup dashboard.
Gupshup business template is the way to bind your messages in placeholders to send your customers.
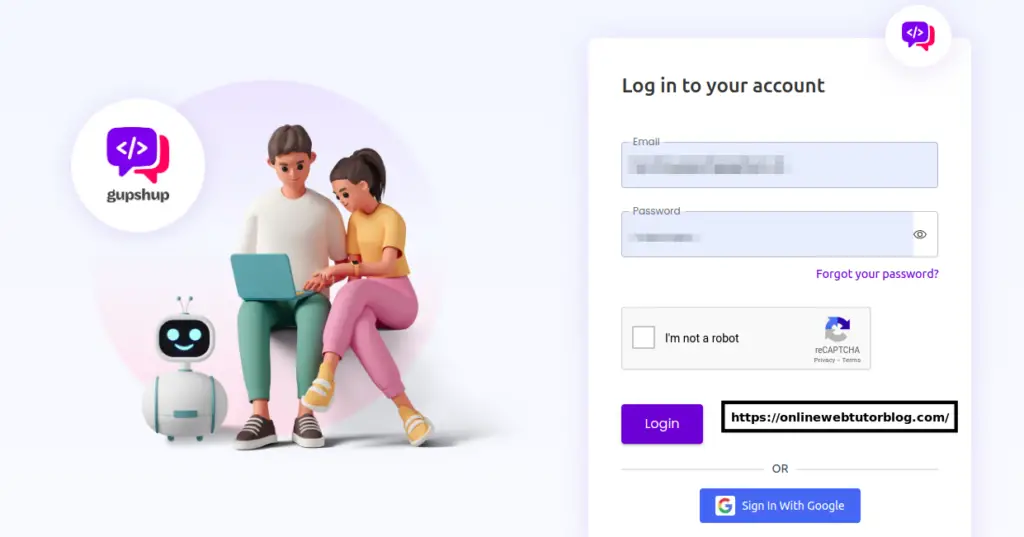
>> Login to Gupshup Account
Login to your account by putting email address and password,
After login, Click on Channels >> WhatsApp
>> Create New Template
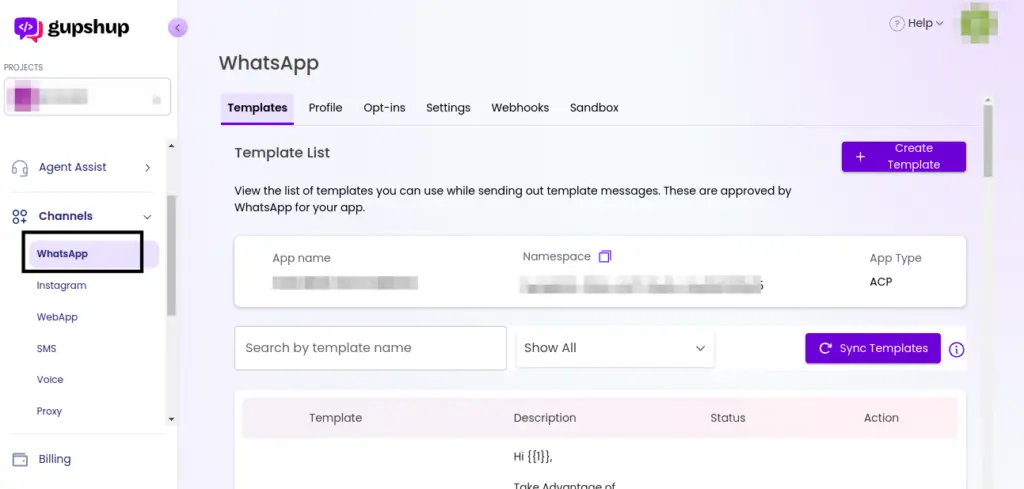
Next, click on Create Template button to create your own layout for message with placeholders.
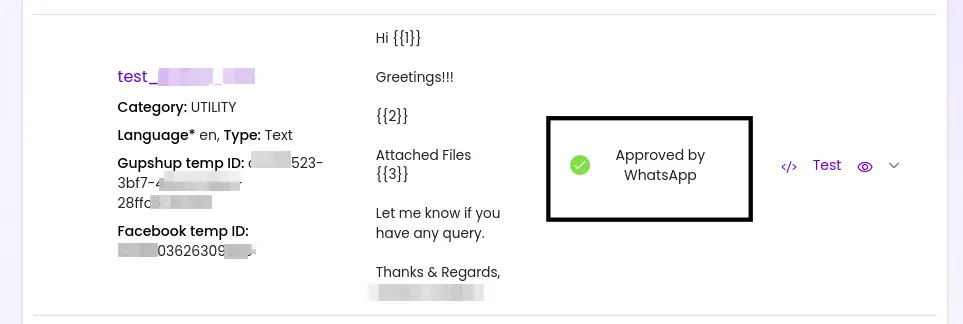
Template Example,
Read More: How To Use Limit and Offset in CodeIgniter 4 Query
Once you create your template then you can use it but the template should be Approved by WhatsApp. After template submission generally it takes 24 hours to review and approve by WhatsApp.
>> Required API Parameters
To send messages by Gupshup, you need following parameters,
- GupShup API URL
- API Key
- Template ID
- App Name
- Source Number
Let’s setup these details into application.
Setup GupShup Parameters to Application
Open .env file and setup your environment variables like this,
WHATSAPP_GUPSHUP_API_URL="https://api.gupshup.io/wa/api/v1/template/msg"

WHATSAPP_GUPSHUP_API_KEY="xxx-yyy-zzz"

WHATSAPP_GUPSHUP_TEMPLATE_ID="aaaa-bbbb-cccc-dddd-eeee"

GUPSHUP_APP_NAME="PQRSABCD1234..."

WHATSAPP_GUPSHUP_SOURCE_NUMBER="91xxxyyyzzzz"
Now, you can use this variable globally in your application.
Message Controller Setup and Settings
Open project terminal and run this command,
php spark make:controller Message --suffixIt will create MessageController.php inside /app/Controllers folder.
Open file and write this complete code into it,
<?php

namespace App\Controllers;

use App\Controllers\BaseController;

class MessageController extends BaseController
{
    public function index()
    {
        // Setup parameters
        $mobile = "918888888888"; // Country code 91 and then number
        $data = [
            "name" => "Sanjay",
            "message" => "Sample message to test with this template",
            "files" => [
                "http://example.com/.....",
                //...
            ]
        ];

        if($this->send_whatsapp_message($mobile, $data)){

            // Message sent
        }else{

            // Failed to sent message
        }
    }

    // Send message
    public function send_whatsapp_message($mobile_number, $data = array()){

		$url = WHATSAPP_GUPSHUP_API_URL;

		// Attach files in new lines
		if(isset($data["files"]) && count($data["files"]) > 0){

			$data["files"] = implode(" ", $data["files"]);
		}else{

			$data["files"] = "--";
		}

		$data = [
			'channel' => 'whatsapp',
			'source' => WHATSAPP_GUPSHUP_SOURCE_NUMBER,
			'destination' => $mobile_number,
			'src.name' => GUPSHUP_APP_NAME,
			'template' => json_encode([
				'id' => WHATSAPP_GUPSHUP_TEMPLATE_ID,
				'params' => [
					$data["name"],
					$data["message"],
					$data["files"],
				]
			])
		];

		$headers = [
			'apikey: '. WHATSAPP_GUPSHUP_API_KEY,
			'Content-Type: application/x-www-form-urlencoded',
			'Cache-Control: no-cache'
		];

		$ch = curl_init($url);

		curl_setopt($ch, CURLOPT_POST, 1);
		curl_setopt($ch, CURLOPT_POSTFIELDS, http_build_query($data));
		curl_setopt($ch, CURLOPT_HTTPHEADER, $headers);
		curl_setopt($ch, CURLOPT_RETURNTRANSFER, true);

		$response = curl_exec($ch);
		curl_close($ch);

		// {"status":"submitted","messageId":"fed16964-104b-4b54-a9a1-ba37fd7e8a76"}
		$response = json_decode($response, true);

		if($response['status'] == "submitted"){
			return true;
		}else{
			return false;
		}
	}
}
Next,
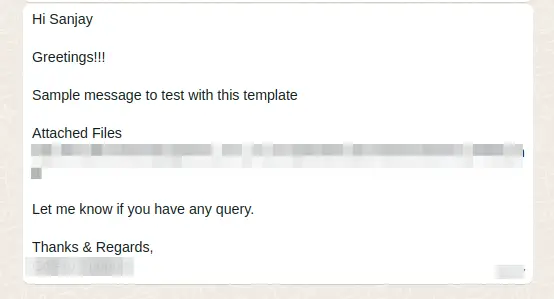
When you run this you will get whatsapp message to your destination number.
Read More: CodeIgniter 4 How to Insert Multiple Records Example Tutorial
Example Output,
That’s it.
We hope this article helped you to learn about CodeIgniter 4 with Gupshup API Send WhatsApp Message Tutorial in a very detailed way.
If you liked this article, then please subscribe to our YouTube Channel for PHP & it’s framework, WordPress, Node Js video tutorials. You can also find us on Twitter and Facebook.
Read more