When you install a wordpress setup for your website, the first thing every beginner needs to learn is how to install a WordPress plugin.
In simple words, WordPress plugins are like apps for a wordpress website. They allow to add new features to WordPress like a Contact form, Slideshow, SEO, and more.
There are thousands of free and paid plugins available inside wordpress repository . In this step by step guide, we will learn how to install a WordPress plugin. This article contains classified information about plugin installation in a wordpress setup.
Learn More –
- Add Custom Dashboard Widgets in WordPress Using Plugin
- How to Change Return to Shop Link in Woocommerce
- How to Change Return to Shop Text in Woocommerce
- How to Change Shop Page Title in Woocommerce
Let’s get started.
WordPress Installation
Here, we have an article which guide you to install a wordpress setup from scratch.
Assuming wordpress installed inside your system.
Plugin Installation Guide
There are several steps which help you to install a WordPress plugin.
- Search & Install plugin
- Upload plugin via zip folder – Manual Installation
- Download & Upload to FTP – Manual Installation
Let’s see all points step by step.
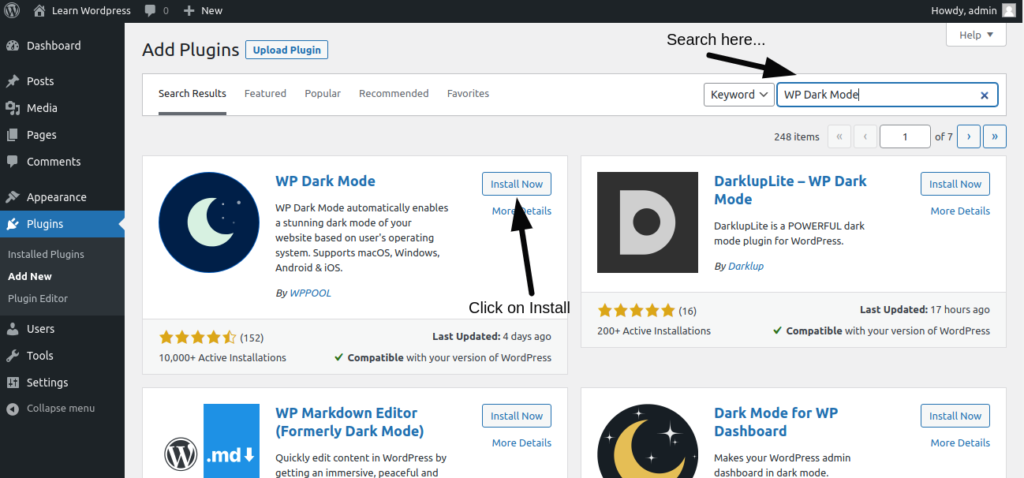
Search & Install plugin
Open your wordpress website. Click on Plugins > Add New
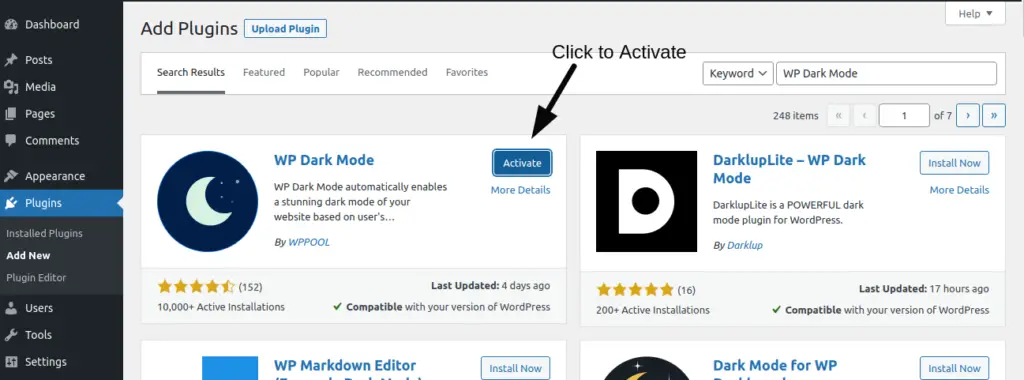
After plugin installation, Click on Activate.
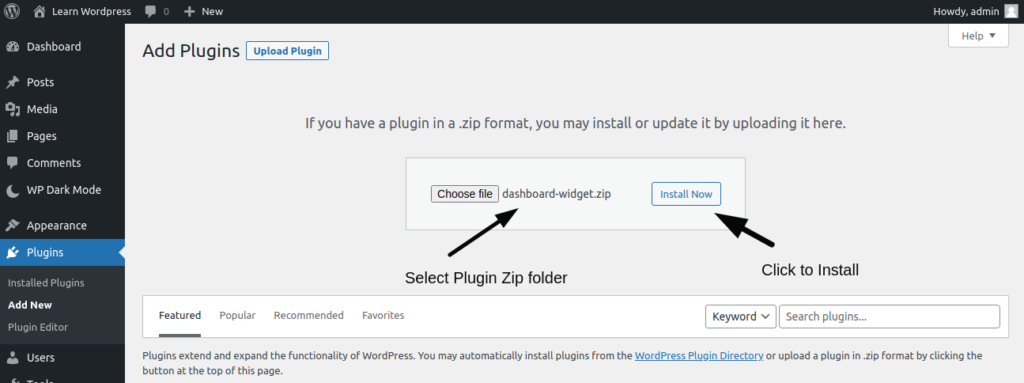
Upload plugin via zip folder
Inside this step you can upload plugin via Zip folder. We also call it as manual installation.
Go to Plugins > Add New > Upload Plugin

Choose your Zip folder and install it.
Download & Upload to FTP
Search & Download wordpress plugin from wordpress official website.
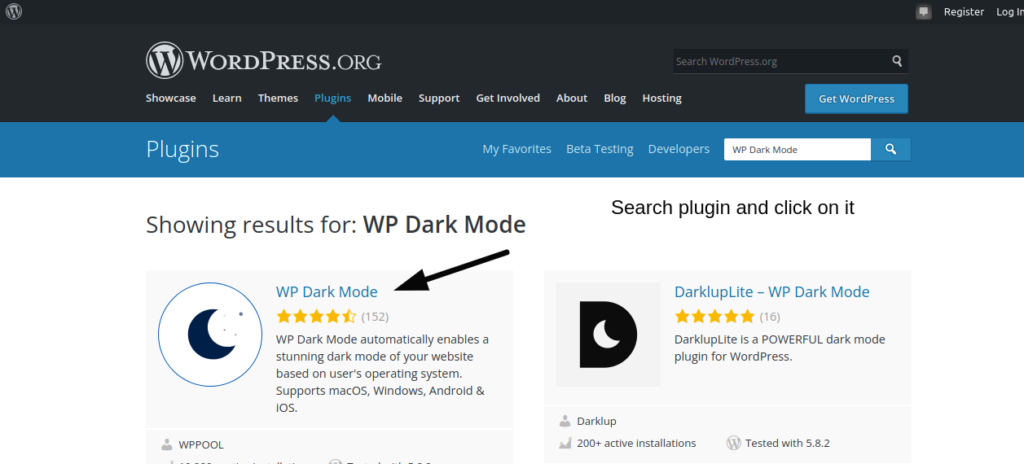
Click on any plugin which you want and click to download it.
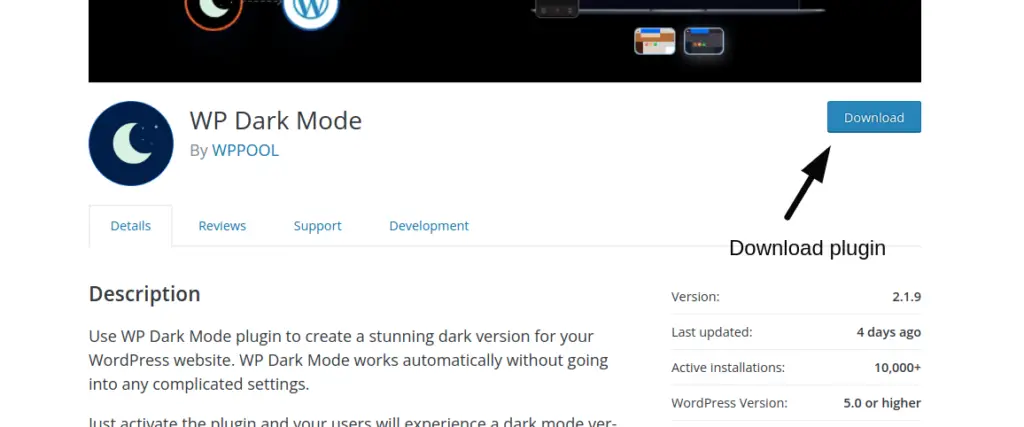
It will download a zip folder into your system.
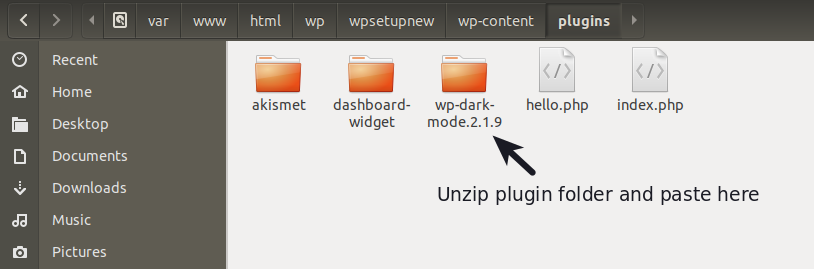
Unzip that, it will contain a plugin folder.
Move plugin folder to /plugins folder of your wordpress website.
Next,
Back to your wordpress admin panel. Click on Installed Plugins.
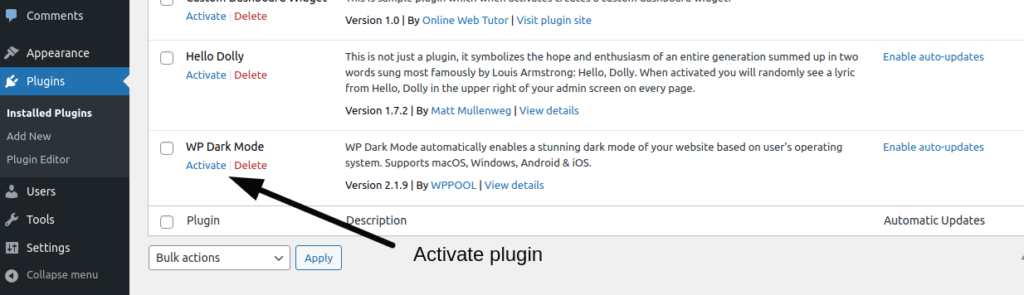
Click on Activate to activate the plugin inside wordpress website.
We hope this article helped you to Add Custom Dashboard Widgets in WordPress Using Plugin Tutorial in a very detailed way.
If you liked this article, then please subscribe to our YouTube Channel for PHP & it’s framework, WordPress, Node Js video tutorials. You can also find us on Twitter and Facebook.
Read more