Building user authentication systems is a cornerstone of web development, and the inclusion of Livewire Jetstream in Laravel 10 makes this process much easier. Livewire Jetstream provides a comprehensive set of tools for fast scaffolding authentication components and providing users with a unified experience.
In this tutorial, we will walk you through the steps of creating authentication in Laravel 10 using Livewire Jetstream.
The power of Laravel’s authentication system is combined with the interactivity of Livewire components in Livewire Jetstream. This combination enables you to build robust authentication features without sacrificing user interface engagement and responsiveness.
Read More: Laravel 10 API Testing Tool Package Tutorial
Let’s get started.
Laravel Installation
Open terminal and run this command to create a laravel project.
composer create-project laravel/laravel myblogIt will create a project folder with name myblog inside your local system.
To start the development server of laravel –
php artisan serveURL: http://127.0.0.1:8000
Assuming laravel already installed inside your system.
Create Database & Connect
To create a database, either we can create via Manual tool of PhpMyadmin or by means of a mysql command.
CREATE DATABASE laravel_app;
To connect database with application, Open .env file from application root. Search for DB_ and update your details.
DB_CONNECTION=mysql
DB_HOST=127.0.0.1
DB_PORT=3306
DB_DATABASE=laravel_app
DB_USERNAME=root
DB_PASSWORD=root
Install Jetstream (Laravel Package)
Jetstream is a collection of application scaffolding for the popular PHP online application framework Laravel. Laravel Jetstream is a framework for developing modern web applications that include authentication, user management, and other standard functionality.
Open project to terminal and hit this command into it.
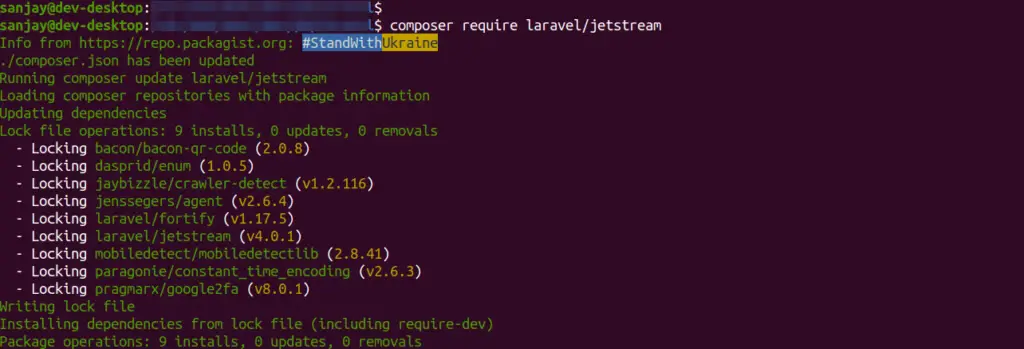
$ composer require laravel/jetstreamWhile Installation you should see console screen like this,
Setup Auth with Livewire
Livewire is a full-stack framework for Laravel, a prominent PHP web application framework. Livewire enables developers to create interactive web interfaces using a component-based approach without writing JavaScript code.
Read More: Laravel 10 How To Get Logged In User Data Tutorial
Now, you need to execute this command. By the help of which you can create basic login, register and email verification, etc.
$ php artisan jetstream:install livewireIf you want to create team management pages then you have to pass addition parameter.
$ php artisan jetstream:install livewire --teams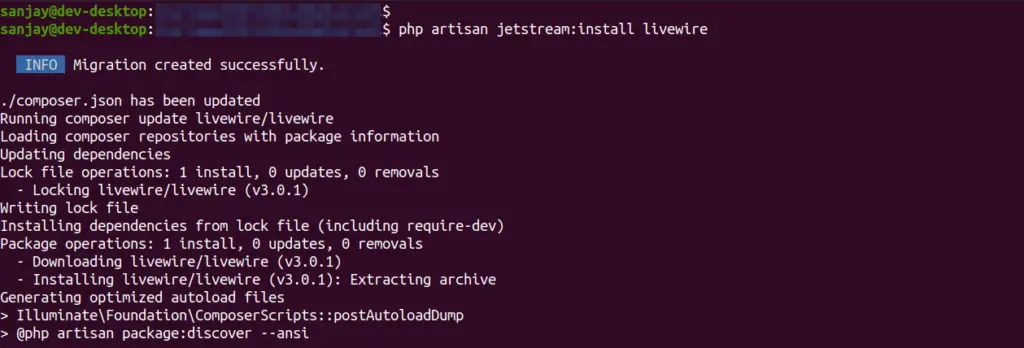
Next,
You need to install node js packages and their dependencies.
Install Node Js: Packages & Dependencies
Back to terminal and type this command and run.
$ npm install && npm run devRun Auth Migration
Next, you need to migrate migrations to database. Run this command,
$ php artisan migrateIt will create tables of pending migrations of your application.
Auth Files Research
When you open jetsream.php file from /config folder. You will see,
'stack' => 'livewire'It’s because we are using livewire as stack.
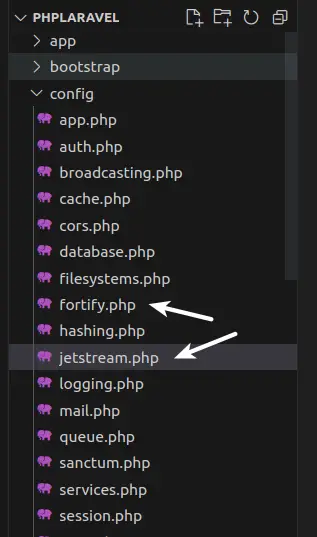
Config Files
Generated Configuration Files inside /config folder,
Read More: Laravel 10 Override Auth Register Method Tutorial
Feature List of Authentication Module
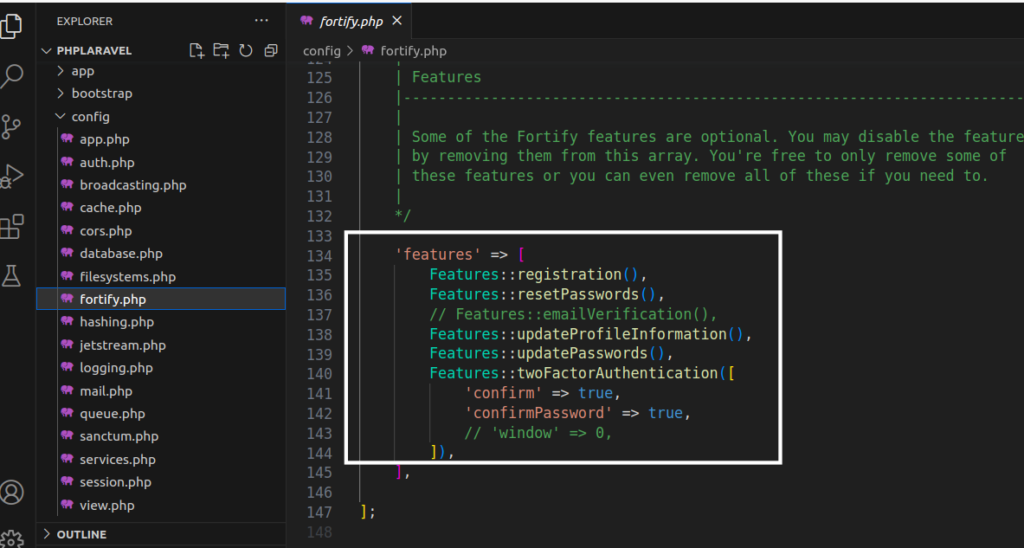
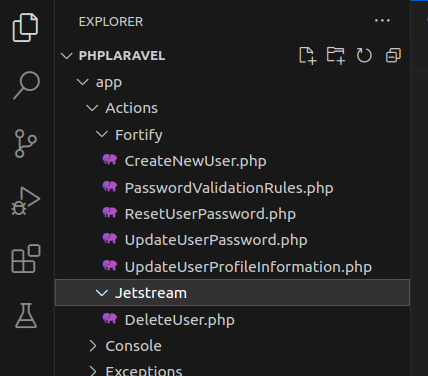
Action Files
Action Files inside /app/Actions folder,
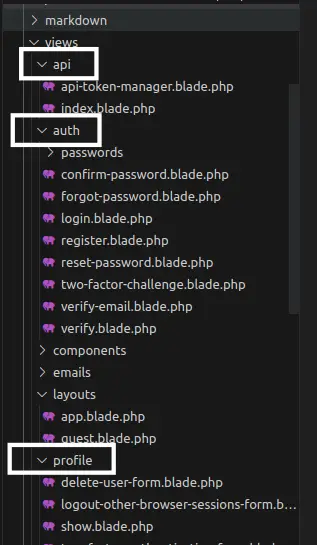
Auth Scaffolding Files
Blade Template Files or scaffolding files inside /resources/views folder,
Application Testing
Run this command into project terminal to start development server,
php artisan serveAuthentication Links: Login & Register
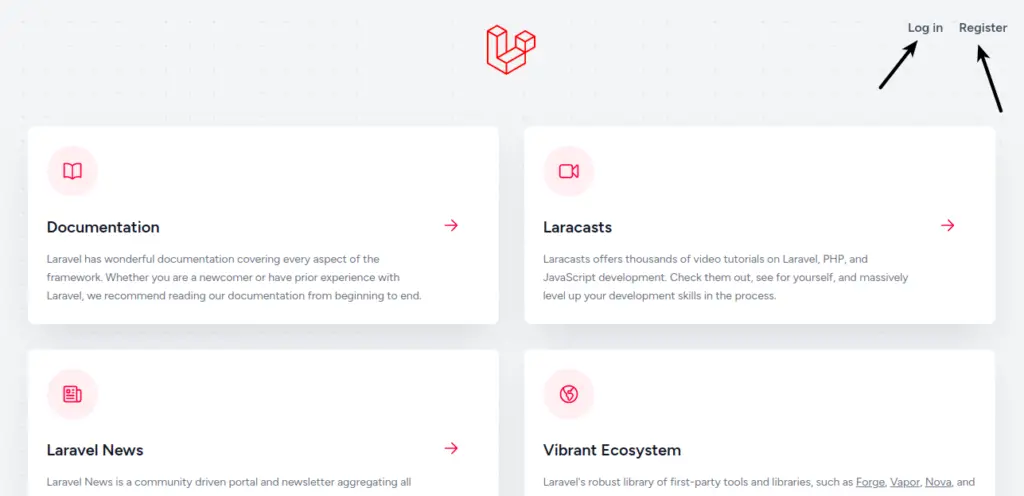
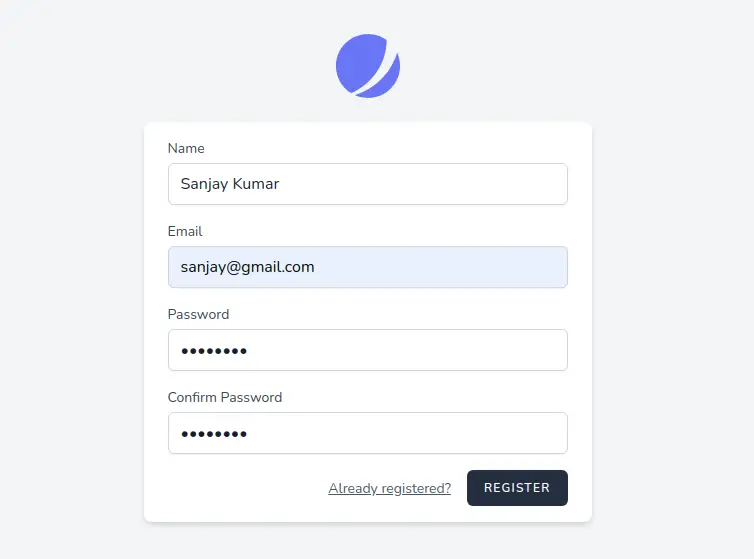
When you click on register link, it will open
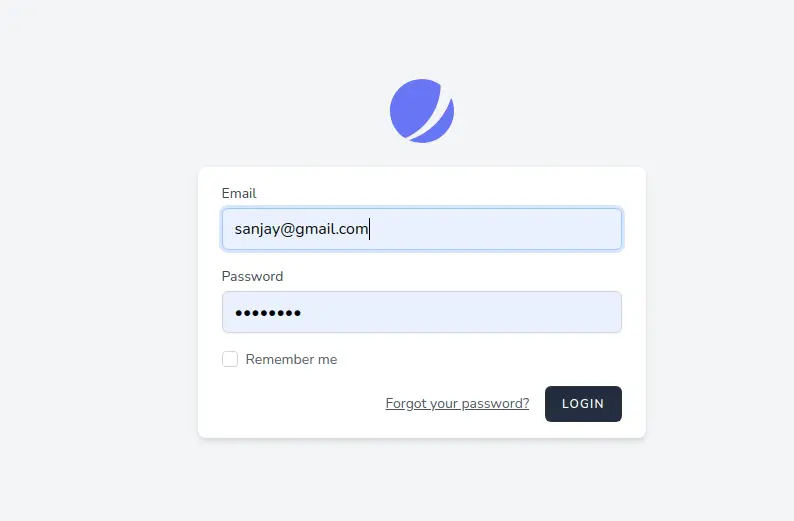
For Login page,
Read More: Learn Laravel 10 Authentication with Laravel UI Tutorial
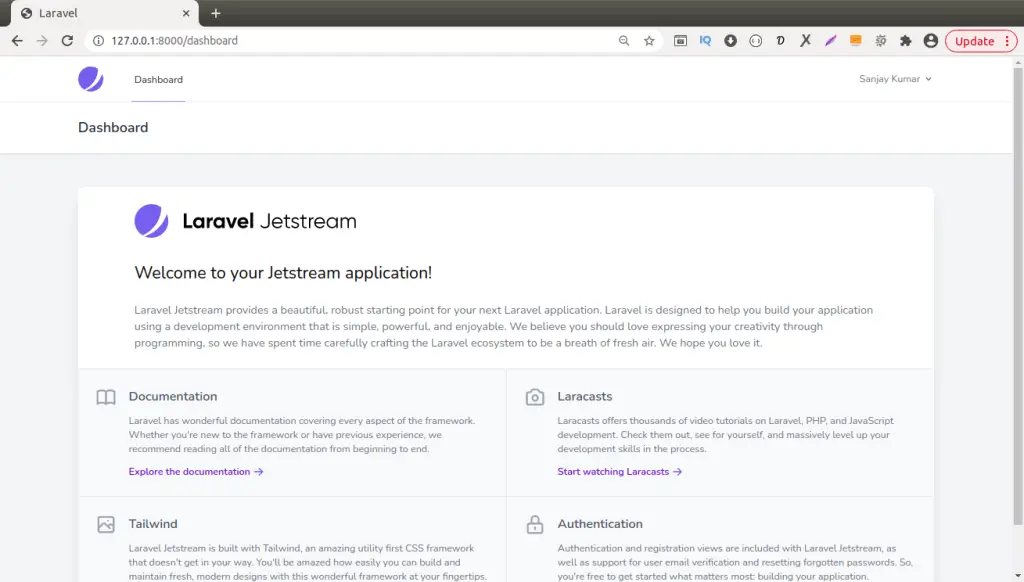
Dashboard Page,
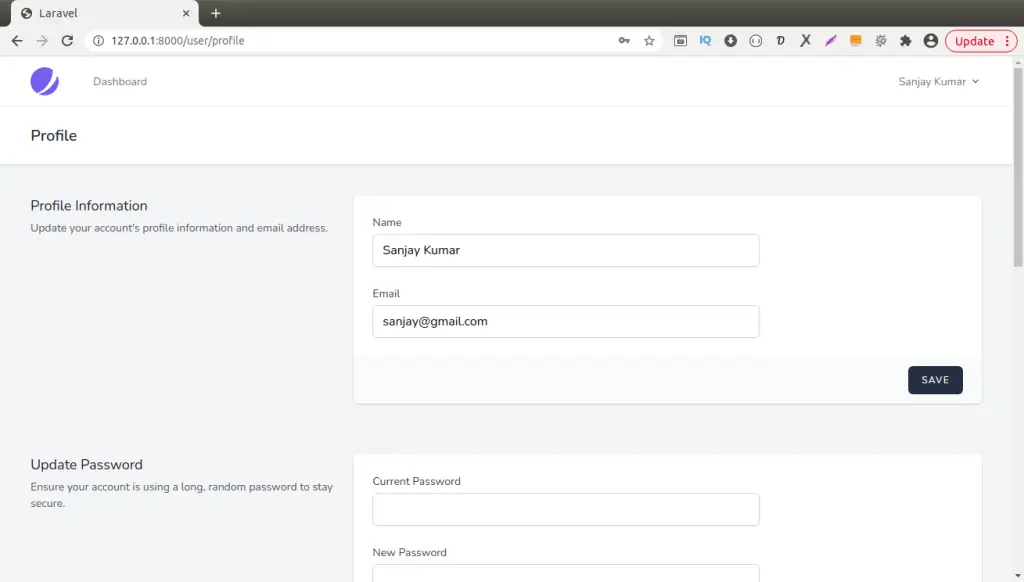
Profile Page,
We hope this article helped you to learn about Laravel 10 Auth with Livewire Jetstream Tutorial in a very detailed way.
If you liked this article, then please subscribe to our YouTube Channel for PHP & it’s framework, WordPress, Node Js video tutorials. You can also find us on Twitter and Facebook.
Read more