Inside this article we will see laravel cms development using AsgardCms. AsgardCms A modular multilingual CMS built with Laravel 5, with an MIT license. Introducing a full-featured modular multilingual CMS built on top of the Laravel framework.
This tutorial will give you a step by step easy process by following which you can create laravel cms. Process is very simple and easy to implement it.
Laravel CMS means we have an admin panel as well as a frontend. We can manage it’s frontend by admin.
In this post we will create simple cms using laravel i.e “asgard cms”. asgard cms provide very simple modules function and we can simply quick create modules like on wordpress. You can also get there are new theme from their website.
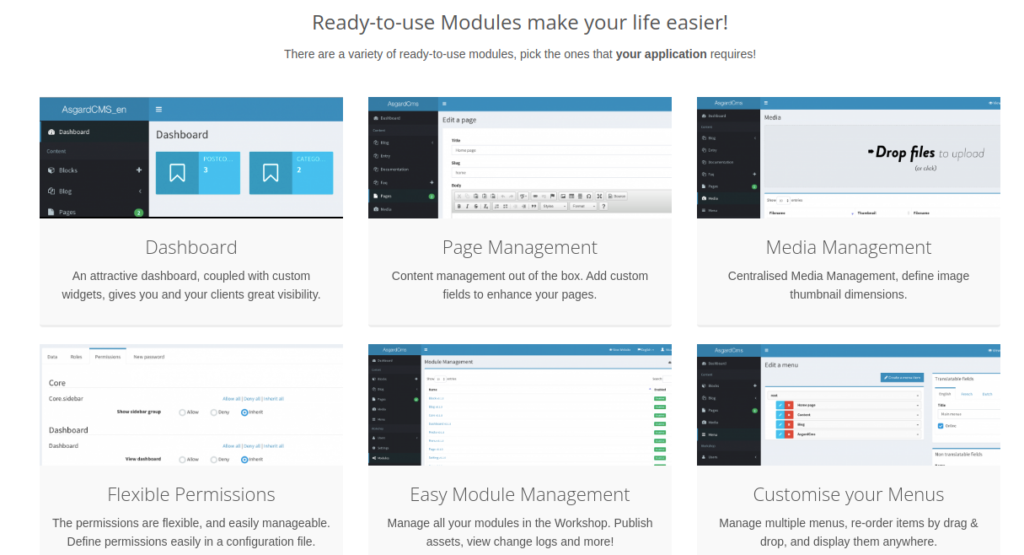
They also provide many feature like as bellow:
- Dashboard
- Page Management
- Media Management
- Flexible Permissions
- Easy Module Management
- Customise your Menus
- Settings
- Role and Permission
- Themes
Learn More –
- Botman Chatbot integration in Laravel 8 Tutorial
- Call MySQL Stored Procedure in Laravel 8 Tutorial
- Chatbot Conversation integration in Laravel 8 Using Botman
- Complete Laravel 8 CRUD Application Tutorial
Let’s get started.
System Requirements
To be able to run AsgardCMS you must to meet the following requirements:
- PHP 5.5.9 or higher
- PDO PHP Extension
- cURL PHP Extension
- OpenSSL PHP Extension
- Mbstring PHP Extension
- Tokenizer PHP Extension
- Mcrypt PHP Extension
- GD PHP Library
- MySql 5.5
- One of the following cache drivers:
memcached,redis,apc. (defaults toarray)
Project Installation Process
Open terminal and type this command to install asgard cms into local system.
$ composer create-project asgardcms/platform asgard
It’s composer command which download the project.
Next,
Run the install command
$ php artisan asgard:install
Command to perform to start the installation process.
Before installation, please create a database.
This install command will perform the following actions:
- Setup database information
- Running migrations
- Running seeds
- Publishing assets
- Create a first admin account
Make sure your application folder will have sufficient permissions to read and write.
You will be asked for these information.
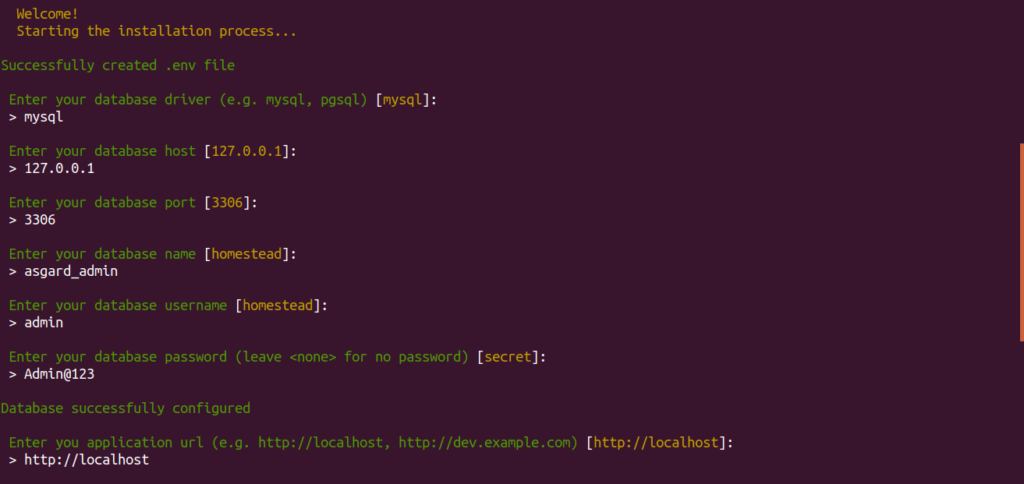
Enter your database driver (e.g. mysql, pgsql) [mysql]:
> mysql

 Enter your database host [127.0.0.1]:
 > 127.0.0.1

 Enter your database port [3306]:
 > 3306

 Enter your database name [homestead]:
 > asgard

 Enter your database username [homestead]:
 > root

 Enter your database password (leave  for no password) [secret]:
 > root

 Database successfully configured

 Enter you application url (e.g. http://localhost, http://dev.example.com) [http://localhost]:
 > http://localhost

 User Module
 > Starting the User Module setup…

 Enter your first name:
 > Sanjay

 Enter your last name:
 > Kumar

 Enter your email address:
 > admin@gmail.com

 Enter a password:
 > 123456

 Please confirm your password:
 > 123456

 Please wait while the admin account is configured…

 Do you want to remove composer.lock from .gitignore ? (yes/no) [yes]:
 > yes

 Do you want to remove package-lock.json from .gitignore ? (yes/no) [yes]:
 > yes

 The application is now installed

 Platform ready! You can now login with your username and password at /backend
Application Testing
Run this command into project terminal to start development server,
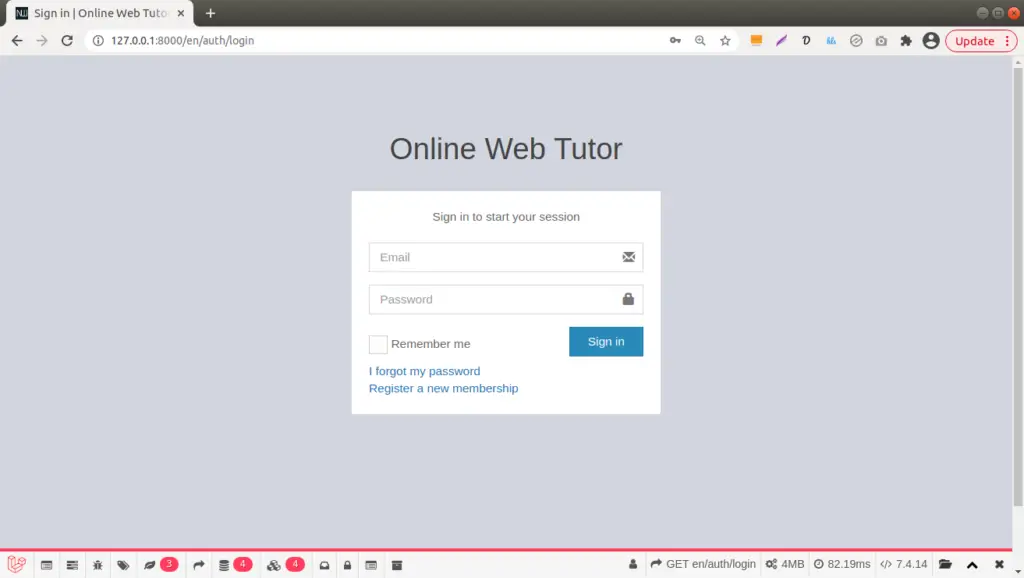
php artisan serveOpen browser and type
URL – http://127.0.0.1:8000/en/auth/login
Add /en to locale.
Admin Login
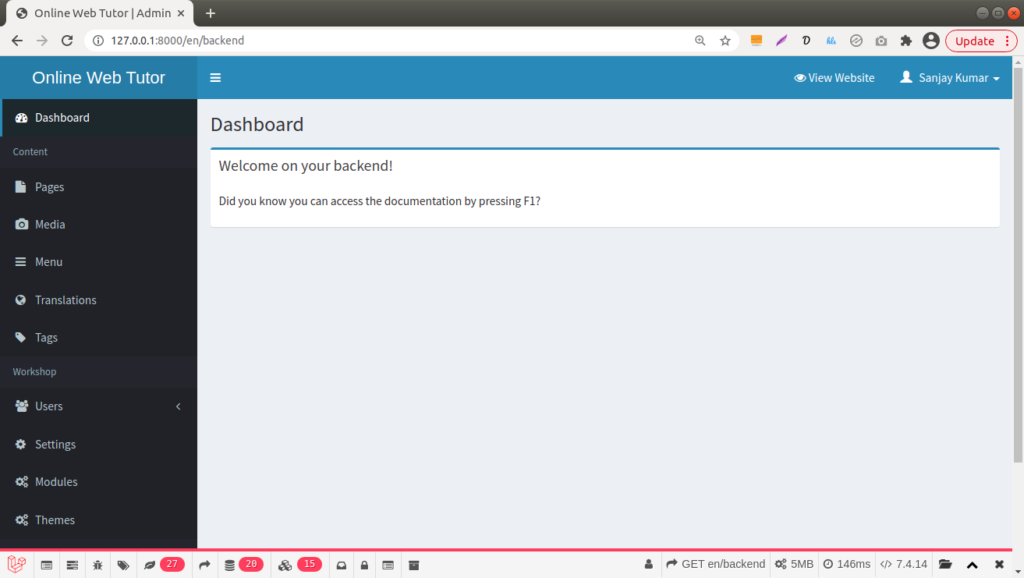
Admin Dashboard
URL – http://127.0.0.1:8000/en/backed
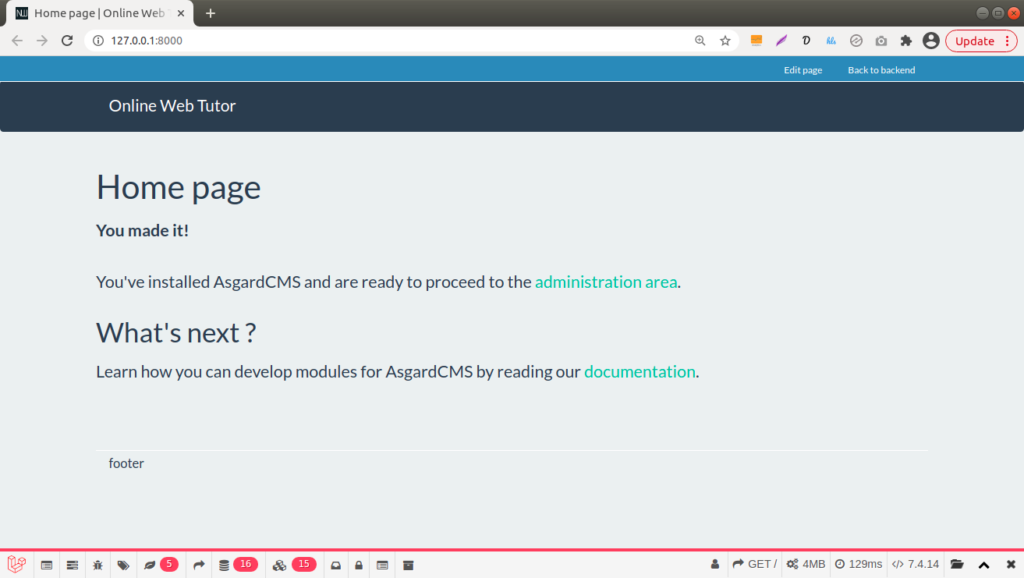
CMS Front end
We hope this article helped you to learn Laravel CMS Development Using AsgardCms Tutorial in a very detailed way.
If you liked this article, then please subscribe to our YouTube Channel for PHP & it’s framework, WordPress, Node Js video tutorials. You can also find us on Twitter and Facebook.
Read more