Inside this article we will see simple cms development in laravel 8 using cms boilerplate. This Boilerplate is built in Laravel 8 framework. Introducing a full-featured simple modular CMS built on top of the Laravel framework.
This tutorial will give you a step by step easy process by following which you can create laravel cms. Process is very simple and easy to implement it.
Laravel CMS means we have an admin panel as well as a frontend. We can manage it’s frontend by admin.
They also provide many basic features like as bellow:
- Admin Panel
- Custom template with Bulma
- Google Analytics API integrated dashboard
- Server side oriented datatables
- Page, category, and article management
- Trumbowyg as the WYSIWYG editor
- elFinder as the file manager
- Feather Icons as the icon package
- Front-end
- Custom template with Bulma
- View pages, articles and categories
For more details about it, you can go with this link as well.
Learn More –
- How to Create Custom Helper Functions in Laravel 8 Tutorial
- How to Create Custom Log File in Laravel 8 Tutorial
- How to Create Custom Route File in Laravel 8
- How to Create Multi Language Website in Laravel 8
Let’s get started.
System Requirements
As CMS boilerplate is built in laravel 8, so system must have all the needed modules or extensions that we need in case to run laravel 8 application.
To know the process of laravel 8 installation, click here to learn.
Project Download Process
To download this laravel boilerplate CMS, we will use a github repository.
Open terminal and run this git command into it.
$ git clone https://github.com/ozdemirburak/laravel-8-simple-cms.git
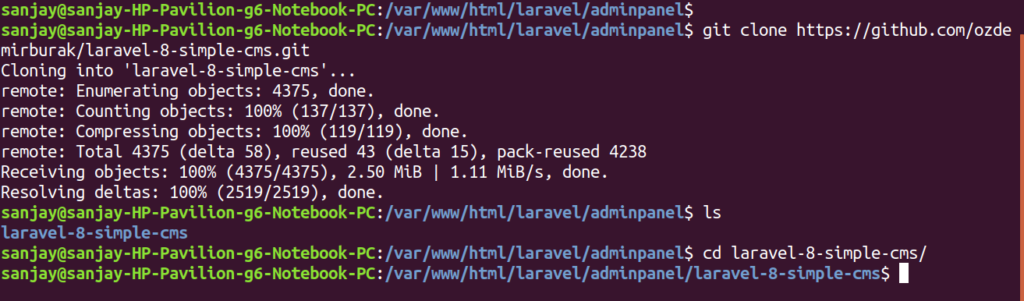
It will download a project with folder name as laravel-8-simple-cms
.env setup
Rename .env.example to .env
Next, we need to go into project folder.
$ cd laravel-8-simple-cms
Create Database & Connect
To create a database, either we can create via Manual tool of PhpMyadmin or by means of a mysql command.
CREATE DATABASE laravel_app;
Successfully, we have created a database.
To connect, Open up .env file which will be at root of project.
 DB_CONNECTION=mysql
 DB_HOST=127.0.0.1
 DB_PORT=3306
 DB_DATABASE=laravel_app
 DB_USERNAME=root
 DB_PASSWORD=root
Successfully, we have connected database to application.
PHP Dependencies Installation
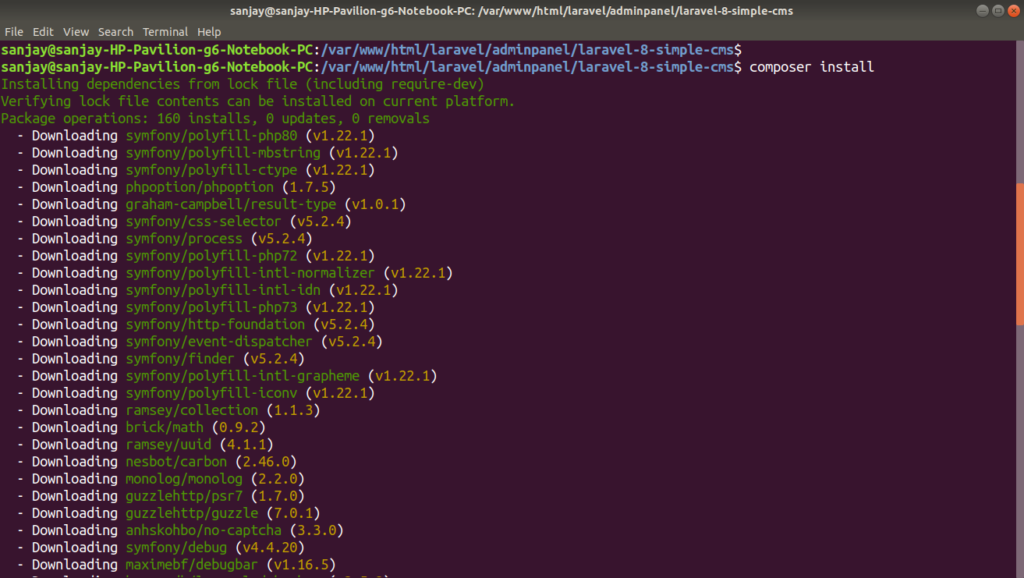
CMS contains many php modules or packages. To install these php packages, run this composer command.
$ composer install
How to install composer in ubutnu os 18.04, click here.
Node Dependencies Installation
Open project into terminal and run this npm command to install it.
$ npm install
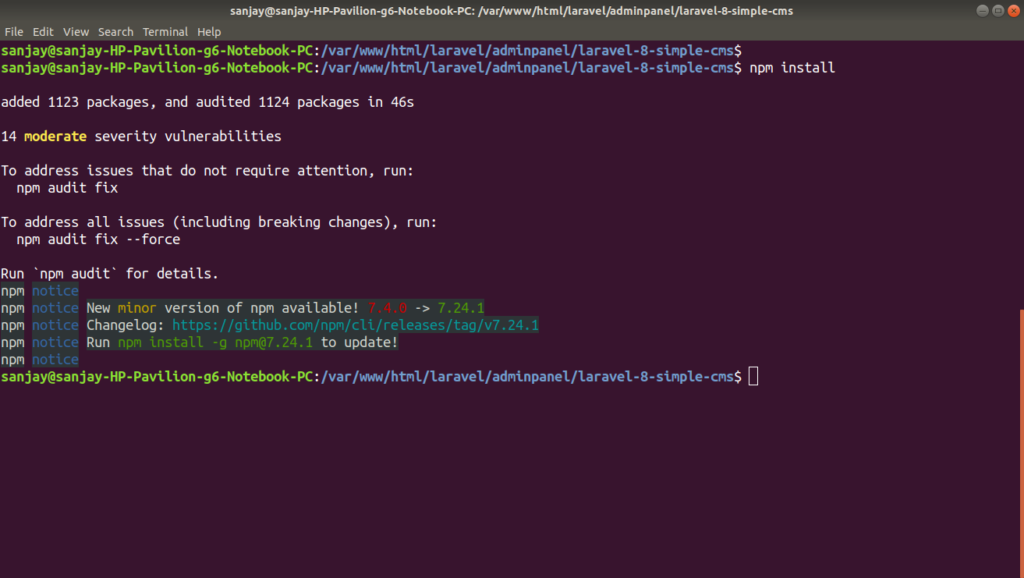
It will install node dependencies into application.
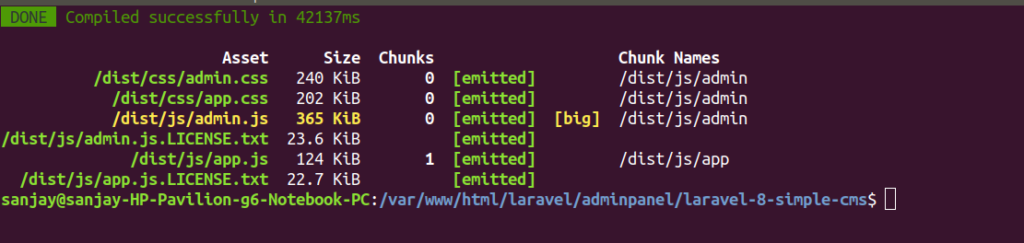
Project Compilation
$ npm run production
It will bootstrap entire application.
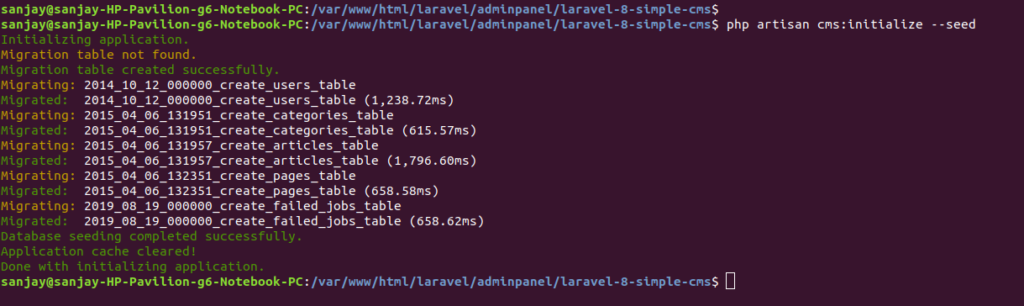
Initialize Application Segments
Open project terminal, run this artisan command to install application segments.
$ php artisan cms:initialize --seed
It will run migrations, seed database table etc.
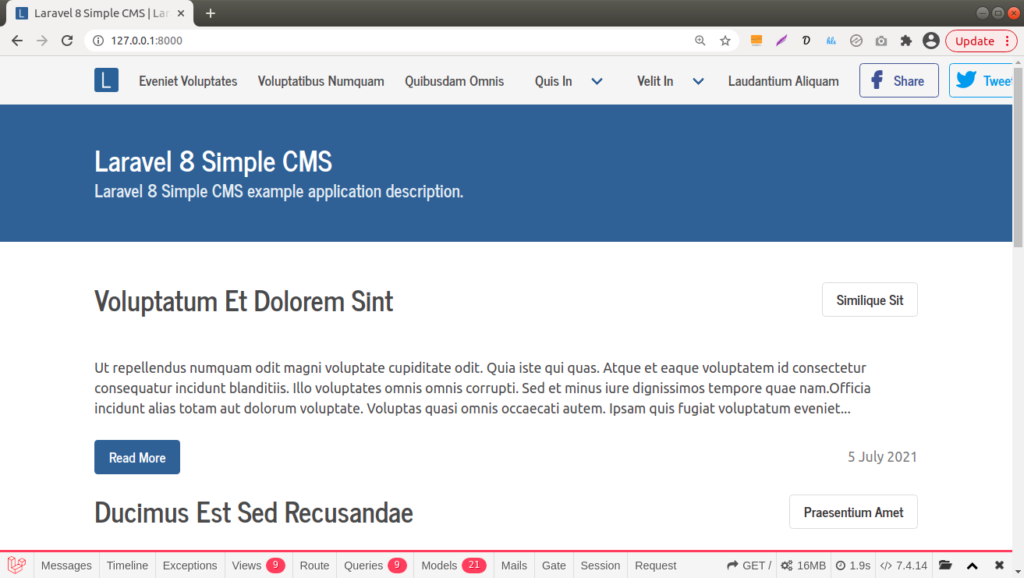
Application Testing
Run this command into project terminal to start development server,
php artisan serveURL – http://127.0.0.1:8000/
Frontend View
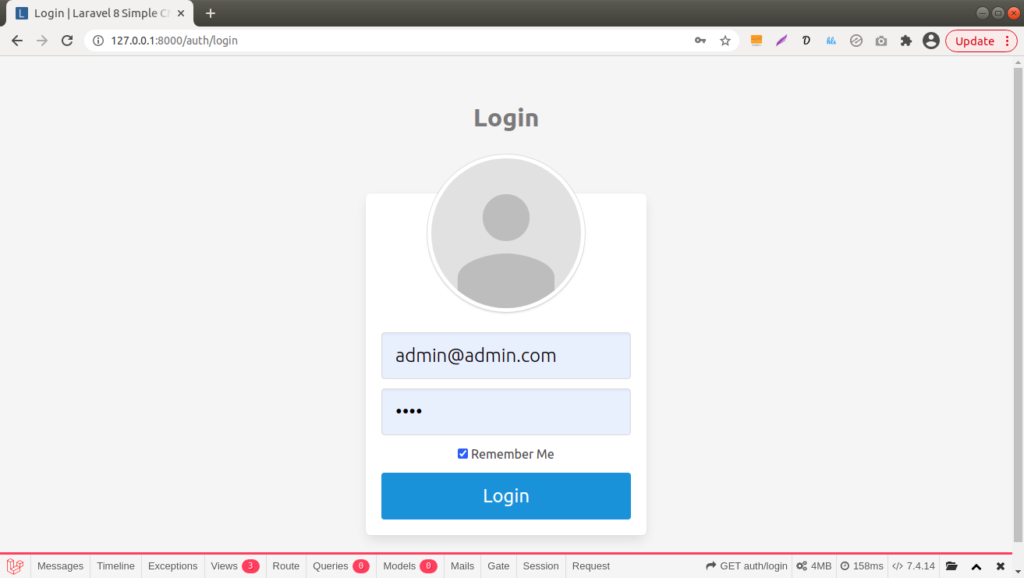
Admin Login
URL – http://127.0.0.1:8000/admin
Test Admin Details
Email: admin@admin.com
Password: 123456
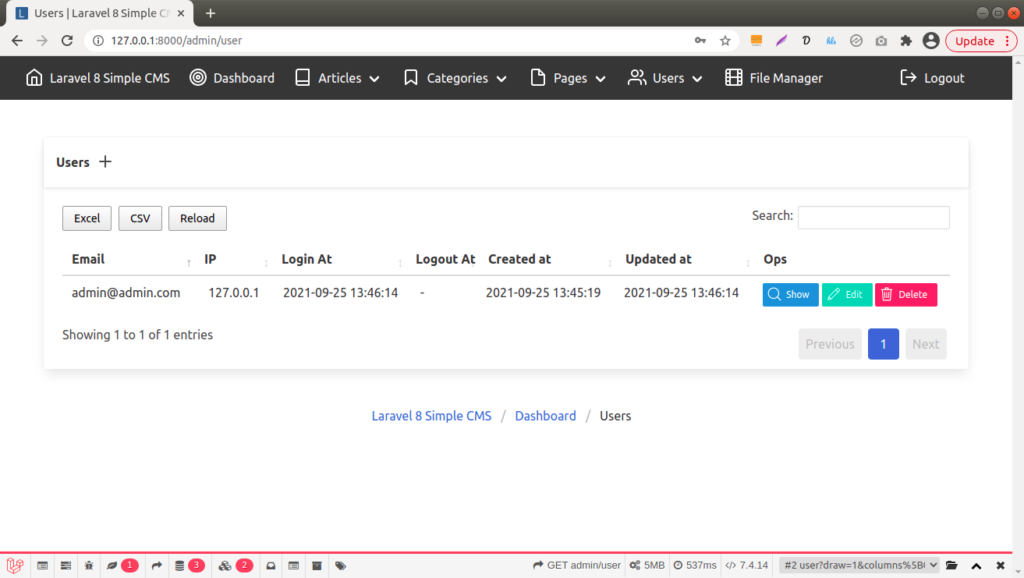
Admin Dashboard
URL – http://127.0.0.1:8000/admin
Laravel 8 simple CMS boilerplate also provides to create application modules.
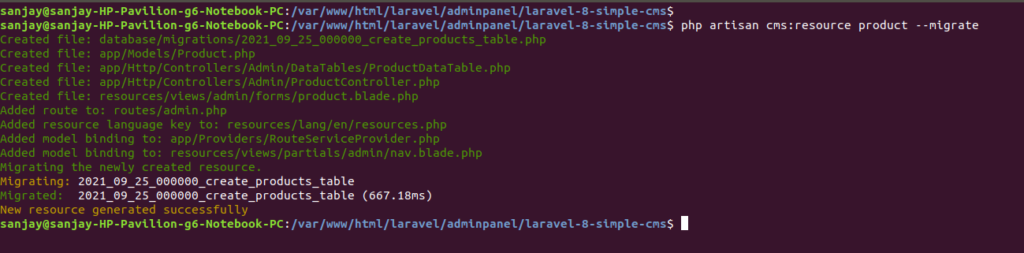
Suppose if you want to create a module such as Product into above application. Execute this command to create it.
$ php artisan cms:resource product --migrate
It will create these following assets for this module.
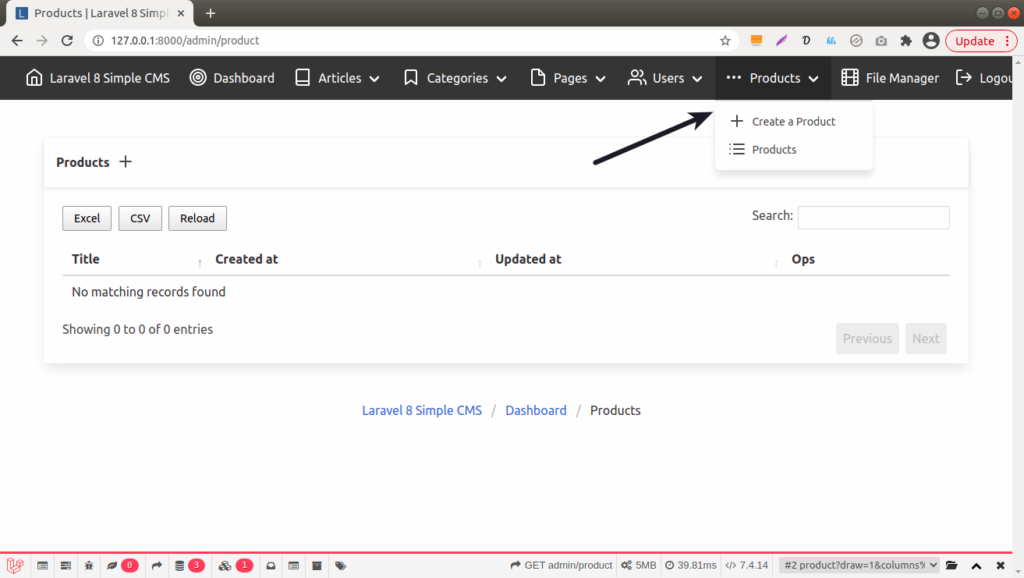
Next, go to admin dashboard. Now we can see a product module.
We hope this article helped you to learn CMS Development in Laravel 8 Using CMS Boilerplate Tutorial in a very detailed way.
If you liked this article, then please subscribe to our YouTube Channel for PHP & it’s framework, WordPress, Node Js video tutorials. You can also find us on Twitter and Facebook.
Read more