There are several payment gateway available in web applications for payment processing like Paypal, Stripe, Authorize.net, Razorpay etc. Inside this article we will the step by step guide for Razorpay payment gateway integration in codeigniter 4.
Razorpay – Best Payment Gateway for Online Payments. We will implement by the help of this tutorial.
Learn More –
- MySQL Group By in CodeIgniter 4 Query Builder Tutorial
- MySQL Like Operator in CodeIgniter 4 Query Builder Tutorial
- MySQL Order By in CodeIgniter 4 Query Builder Tutorial
- Number From International System To Indian System
Let’s get started.
CodeIgniter 4 Installation
To create a CodeIgniter 4 setup run this given command into your shell or terminal. Please make sure composer should be installed.
composer create-project codeigniter4/appstarter codeigniter-4Assuming you have successfully installed application into your local system.
Environment (.env) Setup
When we install CodeIgniter 4, we will have env file at root. To use the environment variables means using variables at global scope we need to do env to .env
Either we can do via renaming file as simple as that. Also we can do by terminal command.
Open project in terminal
cp env .envAbove command will create a copy of env file to .env file. Now we are ready to use environment variables.
Enable Development Mode
CodeIgniter starts up in production mode by default. You need to make it in development mode to see any error if you are working with application.
Open .env file from root.
# CI_ENVIRONMENT = production

 // Do it to

CI_ENVIRONMENT = development
Now application is in development mode.
Create Database
To create a database, either we can create via Manual tool of PhpMyadmin or by means of a mysql command.
We will use MySQL command to create database. Run this command into Sql tab of PhpMyAdmin.
CREATE DATABASE codeigniter4_app;Successfully, we have created a database.
Create Database Table
Next, we need a table. That table will be responsible to store transactions data.
Let’s create table with some columns.
CREATE TABLE transactions (
  id int(11) NOT NULL AUTO_INCREMENT,
  amount int(11) NOT NULL,
  currency varchar(5) NOT NULL,
  trnx_id varchar(30) NOT NULL,
  card_id varchar(30) NOT NULL,
  status varchar(20) NOT NULL,
  PRIMARY KEY (id)
) ENGINE=InnoDB DEFAULT CHARSET=latin1;
Successfully, we have created a table.
Database Connection
Open .env file from project root.
Search for DATABASE. You should see the connection environment variables into it. Put your updated details of database connection string values.
#--------------------------------------------------------------------
# DATABASE
#--------------------------------------------------------------------

database.default.hostname = localhost
database.default.database = codeigniter4_app
database.default.username = admin
database.default.password = admin
database.default.DBDriver = MySQLi
database.default.DBPrefix =
database.default.port = 3306
Now, database successfully connected with the application.
Razorpay Gateway – Composer Installation
Open project into terminal and run this composer command.
$ composer require razorpay/razorpayIt will install the package into /vendor folder at project root.
Razorpay APIs Key Setup
Next, we need to get the api key and secret for application.
Step #1
Open official site https://razorpay.com/ and click on login. Pass your login details to login into dashboard.
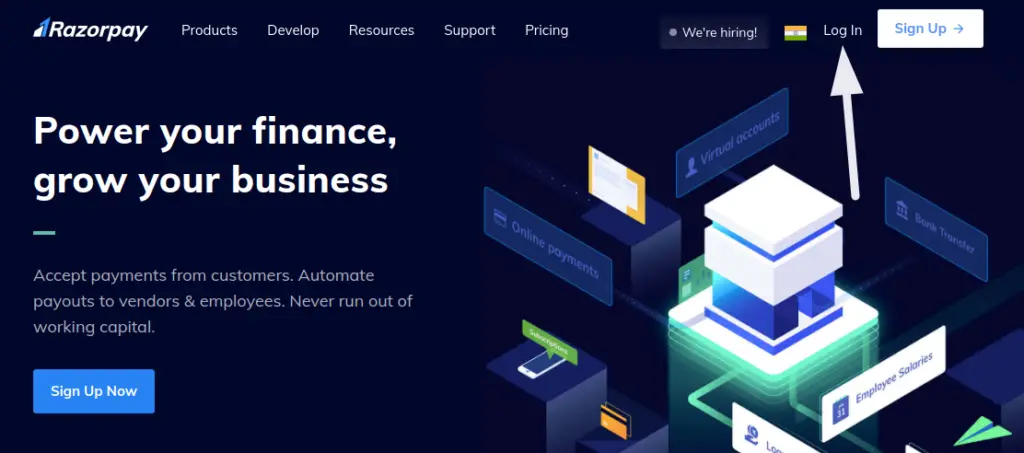
Login screen after click on login

Step #2
Go to dashboard, Click on Settings menu. Have a look,
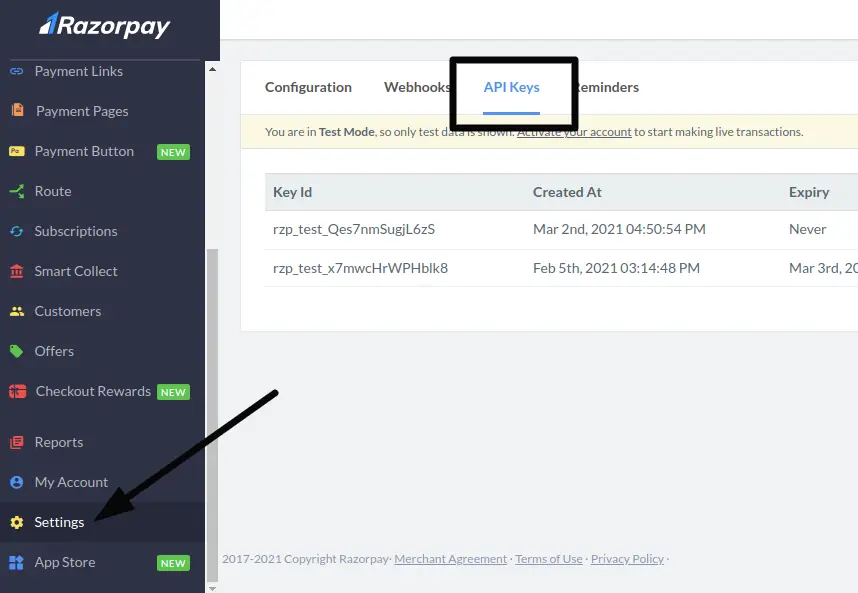
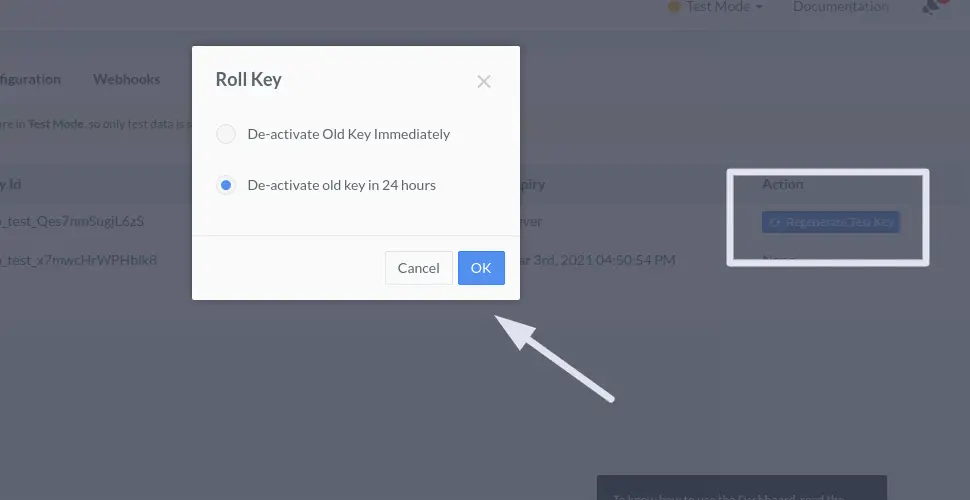
To regenerate api keys for razorpay, follow the same as,
Step #3
Open .env file from application. Add these two environment variables into application. Right here, we have passed our values, you can change it to yours
//...

# Razor keys
razorKey=rzp_test_Qes7nmSugjL6zS
razorSecret=BUtzJZIG8dPLdSGQNdlJ1tbp

//...
Create Routes
Open Routes.php from /app/Config folder.
//...

// Get Route For Show Payment Form
$routes->get('payment-form', 'RazorpayController::payWithRazorpay');
// Post Route For making Payment Request
$routes->post('payment', 'RazorpayController::processPayment');

//...
Create Model
Open project into terminal and run this spark command.
$ php spark make:model Transaction --suffixIt will create a file with name TransactionModel.php at /app/Models folder.
Open TransactionModel.php and write this following code into it.
<?php

namespace App\Models;

use CodeIgniter\Model;

class TransactionModel extends Model
{
	protected $DBGroup              = 'default';
	protected $table                = 'transactions';
	protected $primaryKey           = 'id';
	protected $useAutoIncrement     = true;
	protected $insertID             = 0;
	protected $returnType           = 'array';
	protected $useSoftDelete        = false;
	protected $protectFields        = true;
	protected $allowedFields        = [
		"amount",
		"currency",
		"trnx_id",
		"card_id",
		"status"
	];

	// Dates
	protected $useTimestamps        = false;
	protected $dateFormat           = 'datetime';
	protected $createdField         = 'created_at';
	protected $updatedField         = 'updated_at';
	protected $deletedField         = 'deleted_at';

	// Validation
	protected $validationRules      = [];
	protected $validationMessages   = [];
	protected $skipValidation       = false;
	protected $cleanValidationRules = true;

	// Callbacks
	protected $allowCallbacks       = true;
	protected $beforeInsert         = [];
	protected $afterInsert          = [];
	protected $beforeUpdate         = [];
	protected $afterUpdate          = [];
	protected $beforeFind           = [];
	protected $afterFind            = [];
	protected $beforeDelete         = [];
	protected $afterDelete          = [];
}
Create Controller
Run this spark command to create application controller.
$ php spark make:controller Razorpay --suffixIt will create a file with name RazorpayController.php at /app/Controllers folder.
Open RazorpayController.php and write this following code into it.
<?php
namespace App\Controllers;
use App\Controllers\BaseController;
use App\Models\TransactionModel;
use Razorpay\Api\Api;
class RazorpayController extends BaseController
{
public function payWithRazorpay()
{
return view('payment-form');
}
public function processPayment()
{
//Input items of form
$input = $this->request->getVar();
//get API Configuration
$api = new Api(env('razorKey'), env('razorSecret'));
//Fetch payment information by razorpay_payment_id
$payment = $api->payment->fetch($input['razorpay_payment_id']);
if (count($input) && !empty($input['razorpay_payment_id'])) {
try {
$response = $api->payment->fetch($input['razorpay_payment_id'])->capture(array('amount' => $payment['amount']));
} catch (\Exception $e) {
return $e->getMessage();
session()->setFlashdata("error", $e->getMessage());
return redirect()->back();
}
// save transaction details
$trnx = new TransactionModel();
$trnx->insert([
"amount" => $response->amount,
"currency" => $response->currency,
"trnx_id" => $response->id,
"card_id" => $response->card_id,
"status" => $response->status,
]);
}
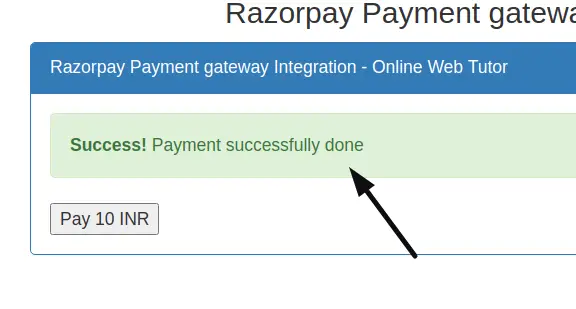
session()->setFlashdata('success', 'Payment successfully done');
return redirect()->back();
}
}Create Payment Form
Create a file with name payment-form.php at /app/Views folder.
Open file and write this code to create a layout for payment form.
<!DOCTYPE html>
<html lang="en">
<head>
<title>Razorpay Payment gateway Integration - Online Web Tutor</title>
<meta charset="utf-8">
<meta name="viewport" content="width=device-width, initial-scale=1">
<link rel="stylesheet" href="https://maxcdn.bootstrapcdn.com/bootstrap/3.4.1/css/bootstrap.min.css">
<script src="https://ajax.googleapis.com/ajax/libs/jquery/3.5.1/jquery.min.js"></script>
<script src="https://maxcdn.bootstrapcdn.com/bootstrap/3.4.1/js/bootstrap.min.js"></script>
</head>
<body>
<div class="container">
<h3 style="text-align: center;">Razorpay Payment gateway Integration - Online Web Tutor</h3>
<div class="panel panel-primary">
<div class="panel-heading">Razorpay Payment gateway Integration - Online Web Tutor</div>
<div class="panel-body">
<?php if (session()->has('error')) {?>
<div class="alert alert-danger alert-dismissible fade in" role="alert">
<button type="button" class="close" data-dismiss="alert" aria-label="Close">
<span aria-hidden="true">×</span>
</button>
<strong>Error!</strong> <?=session("error")?>
</div>
<?php }?>
<?php if (session()->has('success')) {?>
<div class="alert alert-success alert-dismissible fade in" role="alert">
<button type="button" class="close" data-dismiss="alert" aria-label="Close">
<span aria-hidden="true">×</span>
</button>
<strong>Success!</strong> <?=session("success")?>
</div>
<?php }?>
<form action="<?=base_url('payment')?>" method="POST" >
<!-- Note that the amount is in paise 1 INR = 1000 Paisa -->
<!--amount need to be in paisa-->
<script src="https://checkout.razorpay.com/v1/checkout.js"
data-key="<?=env('razorKey')?>"
data-amount="1000"
data-buttontext="Pay 10 INR"
data-name="OnlineWebTutor"
data-description="Sample order description"
data-image="https://onlinewebtutorblog.com/wp-content/uploads/2020/08/blog-icon.png"
data-prefill.name="Samaple"
data-prefill.email="sample@gmail.com"
data-theme.color="#ff7529">
</script>
</form>
</div>
</div>
</div>
</body>
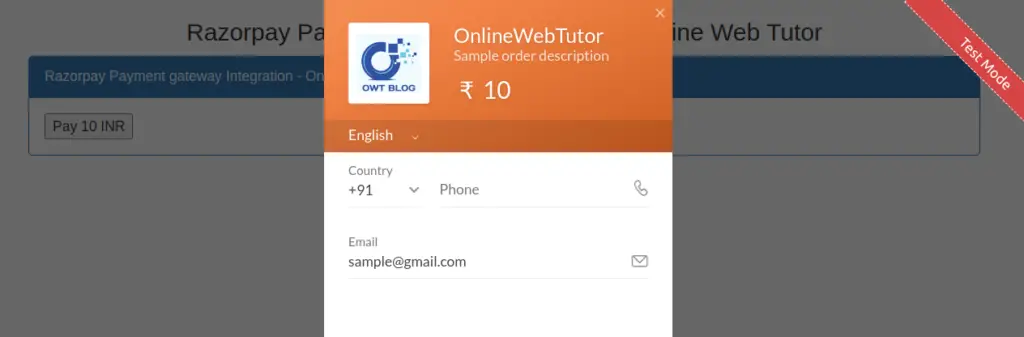
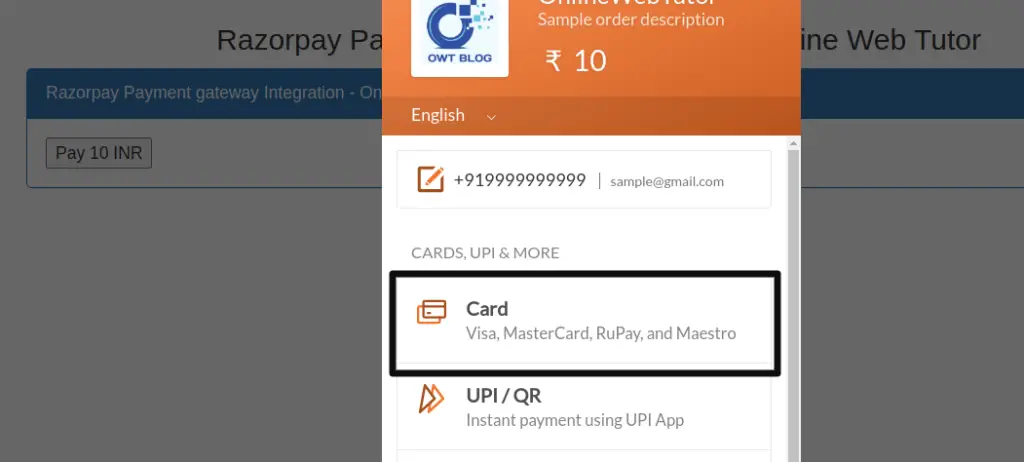
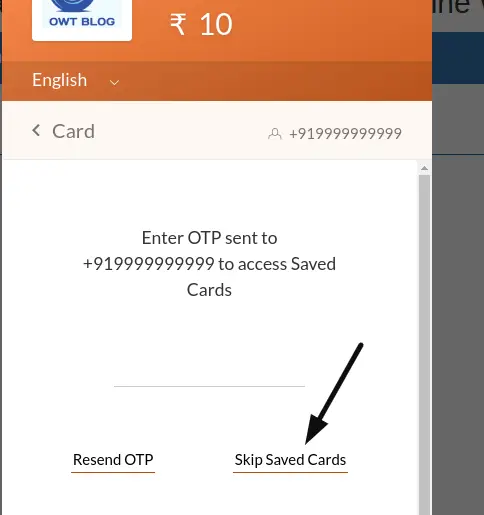
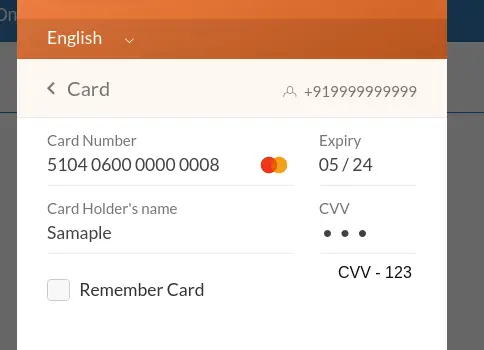
</html>Application Testing
Open project terminal and start development server via command:
php spark serveURL: http://localhost:8080/payment-form
We hope this article helped you to learn Razorpay Payment Gateway Integration in CodeIgniter 4 Tutorial in a very detailed way.
If you liked this article, then please subscribe to our YouTube Channel for PHP & it’s framework, WordPress, Node Js video tutorials. You can also find us on Twitter and Facebook.
Read more
$payment = $api->payment->fetch($input[‘razorpay_payment_id’]);
error : Undefined array key “razorpay_payment_id”
What to do?
Hi, this error means razorpay_payment_id does not exits inside payment form. Please check.
Hi thanks for reply,
i am unable to found razorpay_payment_id inside payment form, there is data key but not this ‘razorpay_payment_id’ .
also,
I am stuck since yesterday. Now $response variable is out of scope .
in try catch block $response variable is undefined outside try catch block so how can we access it outside
Let me make a video on it, then I update you here.