
With this detailed lesson on sending emails using Gmail SMTP, you can unlock the world of effective communication in your Laravel 10 applications. Email remains a cornerstone of interaction in today’s interconnected society, and mastering its integration within Laravel 10 can dramatically improve the user experience of your application.
Sending emails in Laravel can be a complex process, but with the help of Gmail SMTP, it can be made simple and efficient. In this tutorial, we’ll walk through the steps to configure your Laravel 10 application to use Gmail as the email service provider.
Read More: How To Create a Custom 404 Page in Laravel 10 Tutorial
Let’s get started.
Laravel Installation
Open terminal and run this command to create a laravel project.
composer create-project laravel/laravel myblogIt will create a project folder with name myblog inside your local system.
To start the development server of laravel –
php artisan serveURL: http://127.0.0.1:8000
Assuming laravel already installed inside your system.
How Do I Configure A Google App Password?
Google App Password is a 16-digit alphanumeric number that allows you to sign in to your Google Account from apps that do not support two-factor authentication.
If you enable app password, you will never have to reveal your primary account password again. App Passwords are only available to accounts with 2-Step Verification enabled.
Here’s how to create an app password so you can send and receive emails on your server.
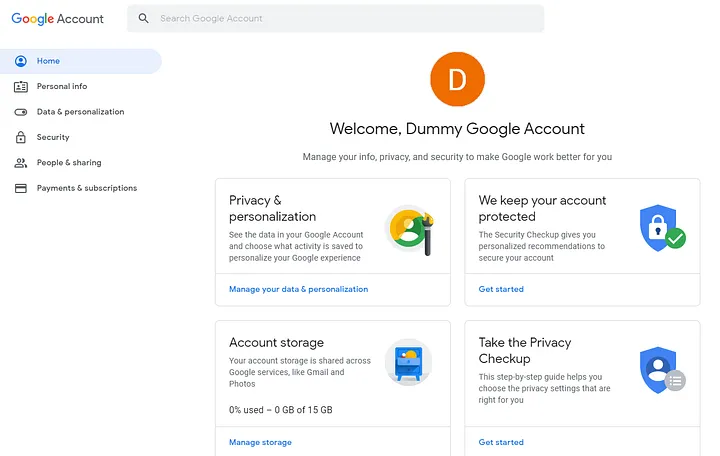
Step #1 Login to Google Account
Go to myaccount.google.com (if not signed in, you will be asked to sign-in to your account)
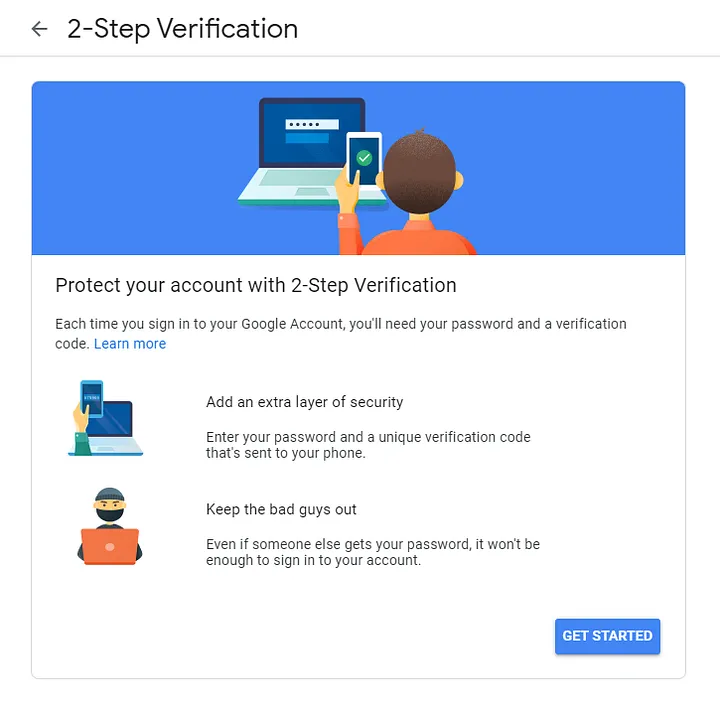
Step #2 Enable 2-Step Verification
Before you can set up the app password, you must first enable 2-Step Verification on your account.
Read More: Laravel 10 Generate Dynamic Sitemap Example
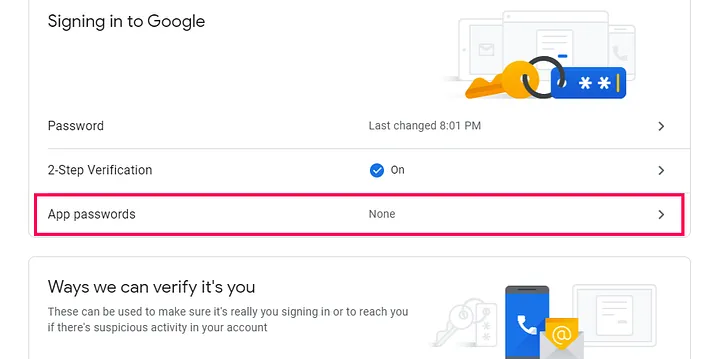
To proceed to the Security page, click on the Security tab on the left-hand side and then on 2-Step Verification under the section Signing in to Google.

Click on Get Started and on the next page enter your password to verify your account and hit Next
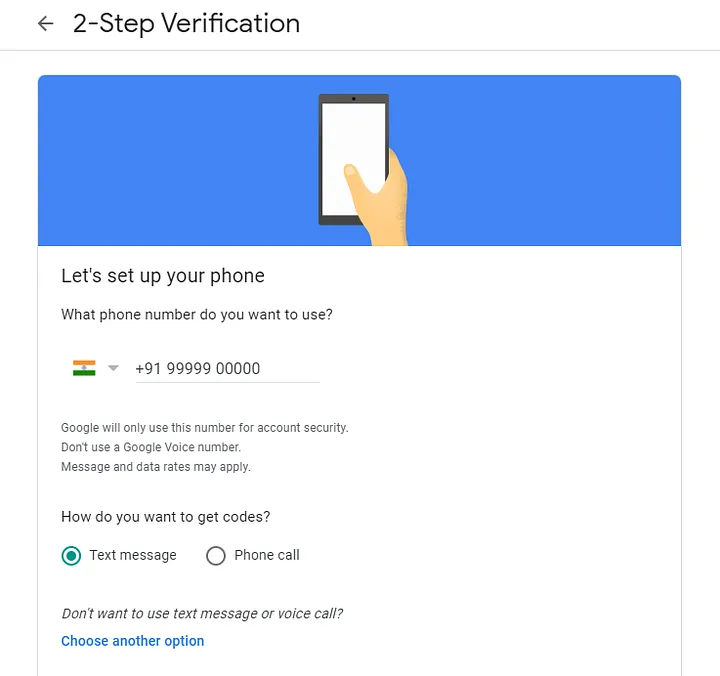
You must now configure your phone.
Enter the phone number you want to use for verification, then choose how you want to get your code. It might be a text or a phone call. I’ll keep it as a text message and press Next.
Read More: Laravel 10 LogViewer: A Beautiful Log Viewer
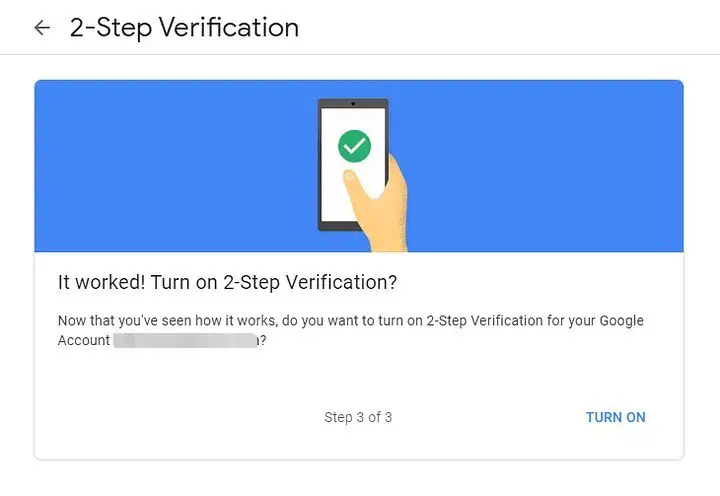
Google will give you a verification code through text message. Enter the verification code and then click Next.
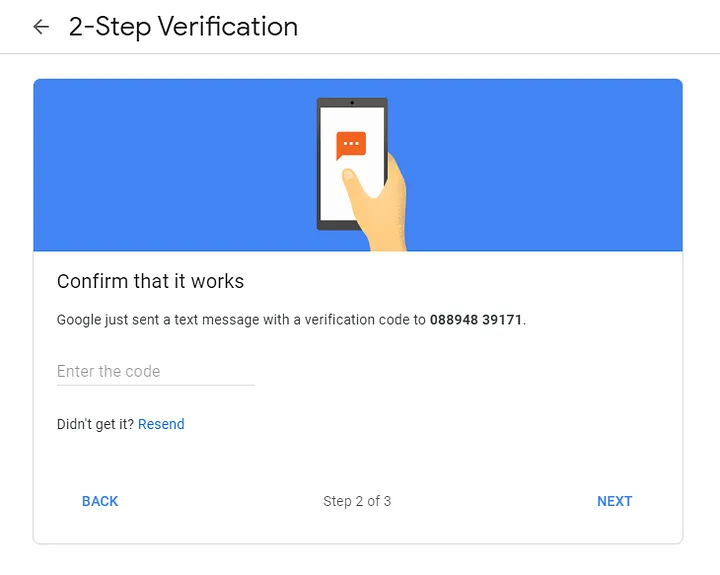
Google will confirm that 2-Step Verification is enabled on the next page.
To return to the Security page, click the back arrow next to the header.
Step #3 Setup Application password
Within the section Signing in to Google, you will notice a new option that says App passwords.
In case, if you are not able to see this App password there. Click on 2-Step Verification.
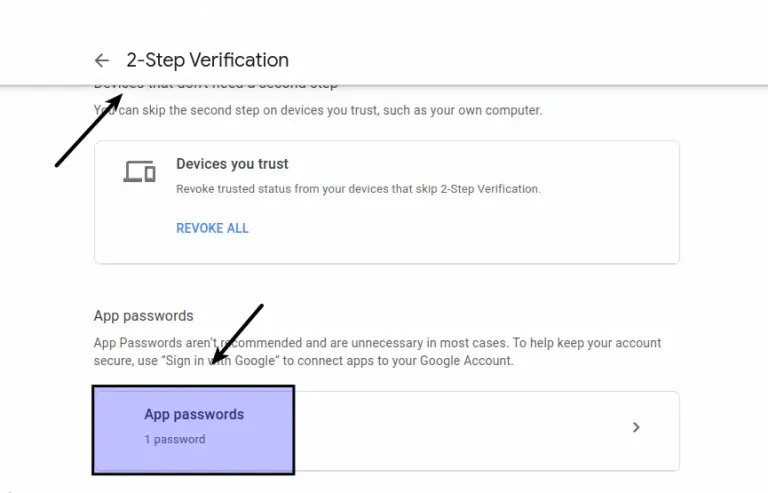
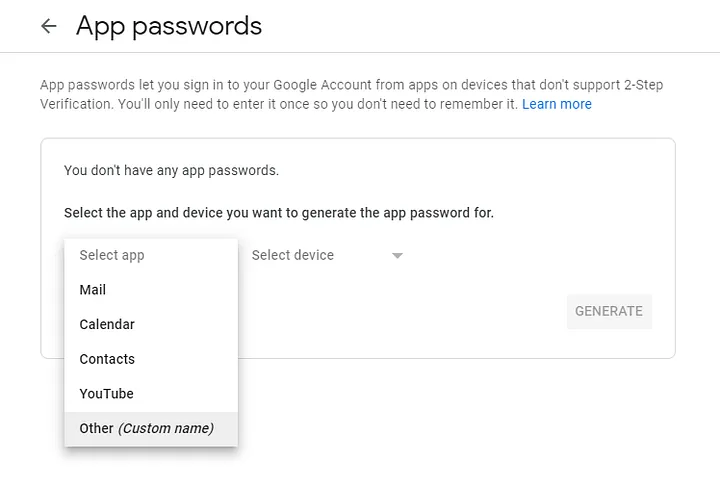
Verify your account by clicking on App passwords. You will be able to create app passwords for any app and device after verification.
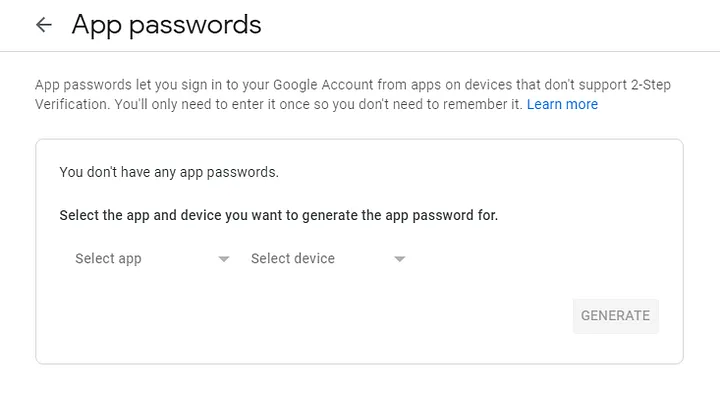
Select Mail from the Select app and Other (custom name) from the Select device, and then give it a name. You can call it whatever you want; I’ll call it PHPMailer and click Generate.
Read More: Laravel 10 Telescope: Debugging and Monitoring Tool
You have now successfully created your app password. Copy and paste this code somewhere safe until you’ve added it to the PHP script.
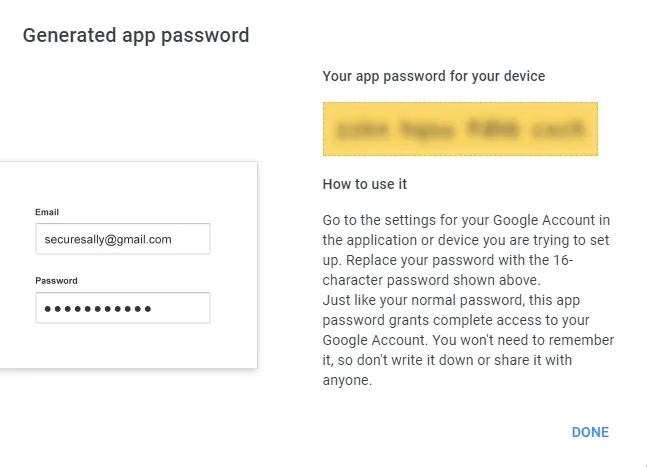
Keep your email address and app password for SMTP configuration.
How To Configure SMTP in Laravel?
To configure SMTP details, open up the file .env from application root.
We will pass mail driver as gmail server, mail host, mail port, mail username, mail password.
//..

MAIL_MAILER=smtp
MAIL_HOST=smtp.gmail.com
MAIL_PORT=587
MAIL_USERNAME="your_username@gmail.com"
MAIL_PASSWORD="your_password"
MAIL_ENCRYPTION=null
MAIL_FROM_ADDRESS="your_email_address@gmail.com"
MAIL_FROM_NAME="Online Web Tutor Support"

//...
Create Laravel Mailable Class
We will create mail class via artisan command which will be responsible for sending emails.
$ php artisan make:mail MyTestMailApplication will create a folder with the name of Mail inside /app folder. You should see a file MyTestMail.php inside /app/Mail folder.
Open file MyTestMail.php and write this code into it.
<?php

namespace App\Mail;

use Illuminate\Bus\Queueable;
use Illuminate\Contracts\Queue\ShouldQueue;
use Illuminate\Mail\Mailable;
use Illuminate\Mail\Mailables\Content;
use Illuminate\Mail\Mailables\Envelope;
use Illuminate\Queue\SerializesModels;

class MyTestMail extends Mailable
{
    use Queueable, SerializesModels;

    public array $details;

    /**
     * Create a new message instance.
     */
    public function __construct($details)
    {
        $this->details = $details;
    }

    /**
     * Get the message envelope.
     */
    public function envelope(): Envelope
    {
        return new Envelope(
            subject: 'Mail from Online Web Tutor',
        );
    }

    /**
     * Get the message content definition.
     */
    public function content(): Content
    {
        return new Content(
            view: 'emails.myTestMail',
        );
    }

    /**
     * Get the attachments for the message.
     *
     * @return array<int, \Illuminate\Mail\Mailables\Attachment>
     */
    public function attachments(): array
    {
        return [];
    }
}
Create Mail Template
Next, we need to setup an email template.
Let’s create a folder emails inside /resources/views folder. Inside this folder we will create a simple blade template file with following content.
Read More: Eloquent Has Many Through Relationship in Laravel 10
Create a fie myTestMail.blade.php inside /resources/views/emails folder. Open file and write this code into it.
<!DOCTYPE html>
<html>
<head>
    <title>Online Web Tutor</title>
</head>
<body>

    Hello {{ $details['name'] }},

    <h3>{{ $details['title'] }}</h3>
    <p>{{ $details['body'] }}</p>

    <p>Thank you</p>

</body>
</html>
Add Route
Open web.php file from /routes folder. Add this route and code into it.
//...

use Illuminate\Support\Facades\Mail;
use App\Mail\MyTestMail;

Route::get('send-mail', function () {

  $details = [
      'name' => 'Sanjay Kumar',
      'title' => 'Mail from Online Web Tutor',
      'body' => 'Test mail sent by Laravel using SMTP.'
  ];

  Mail::to('send_to_email@gmail.com')->send(new MyTestMail($details));

  dd("Email is Sent, please check your inbox.");
});

//...
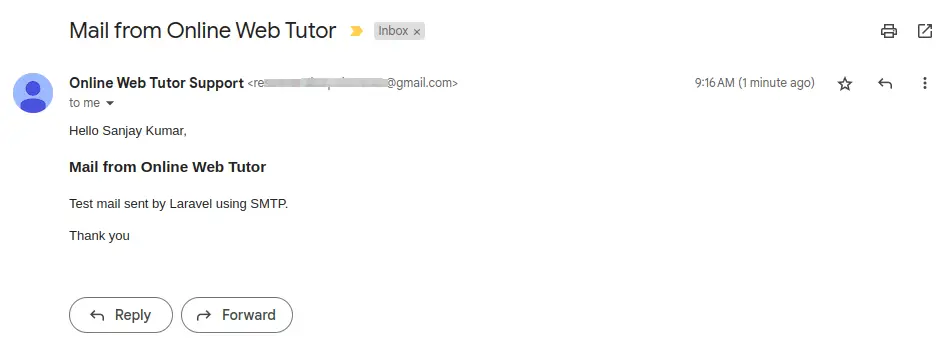
Application Testing
Run this command into project terminal to start development server,
php artisan serveURL: http://127.0.0.1:8000/send-mail

We hope this article helped you to learn about How To Send Email in Laravel 10 Using Gmail SMTP Tutorial in a very detailed way.
Read More: Eloquent Many-to-Many Relationship in Laravel 10 Tutorial
If you liked this article, then please subscribe to our YouTube Channel for PHP & it’s framework, WordPress, Node Js video tutorials. You can also find us on Twitter and Facebook.
Read more