Laravel 10 has a robust debugging and profiling tool called “Telescope” which provides developers with unprecedented insight into the performance, queries, and other aspects of their application. Telescope allows you to delve deep into the inner workings of your Laravel application, discovering bottlenecks, tracking requests, and acquiring a thorough insight of its behaviour.
This tutorial will walk you through the process of working with Telescope in Laravel 10. We’ll lead you through installing Telescope, examining its features, and utilising its capabilities to optimise and troubleshoot your application.
Read More: Laravel 10 Handle Session Timeout in Application
Let’s get started.
Laravel Installation
Open terminal and run this command to create a laravel project.
composer create-project laravel/laravel myblogIt will create a project folder with name myblog inside your local system.
To start the development server of laravel –
php artisan serveURL: http://127.0.0.1:8000
Assuming laravel already installed inside your system.
Create Database & Connect
To create a database, either we can create via Manual tool of PhpMyadmin or by means of a mysql command.
CREATE DATABASE laravel_app;
To connect database with application, Open .env file from application root. Search for DB_ and update your details.
DB_CONNECTION=mysql
DB_HOST=127.0.0.1
DB_PORT=3306
DB_DATABASE=laravel_app
DB_USERNAME=root
DB_PASSWORD=root
What is Laravel Telescope?
Laravel Telescope is a powerful debugging and introspection tool for Laravel apps. Telescope, which was created by the Laravel community, gives developers real-time visibility into the performance, behaviour, and interactions of their applications.
It has a number of features that make it easier to find and diagnose problems, optimise performance, and obtain a better understanding of how the application works.
Read More: Laravel 10 Working with MySQL Joins Example
Telescope provides insight into the requests coming into your application, exceptions, log entries, database queries, queued jobs, mail, notifications, cache operations, scheduled tasks, variable dumps and more.
Key Features of Laravel Telescope
Real-Time Monitoring:
Telescope has a live dashboard that displays real-time information about the application’s HTTP requests, queries, jobs, events, and more. Developers may keep track of what’s going on within the programme as it happens.
Database Queries:
Telescope captures and shows all database queries that are executed, allowing developers to identify inefficient queries, analyse query performance, and optimise database interactions.
HTTP Requests:
It records information about incoming HTTP requests, such as route information, request and response data, headers, and more. This is useful for troubleshooting routing and request handling issues.
Scheduled Tasks and Jobs:
Telescope gives insights into scheduled tasks and background jobs, assisting developers in tracking their execution status, parameters, and runtime performance.
Notification and Events:
Developers can keep track of the alerts and events that occur within the programme. Telescope displays information about events that have been dispatched, event listeners, and notification content.
Read More: Laravel 10 Seed Database Using Faker Library Tutorial
Redis Operations:
Telescope captures Redis commands and actions, making it easier to troubleshoot caching, session management, and data storage issues.
Artisan Commands:
Telescope logs information about Artisan commands that are executed within the programme, assisting developers in tracking command execution, input, output, and runtime.
User Interface:
User design: The Telescope dashboard includes a user-friendly design that allows developers to easily move through the gathered data, allowing for more effective debugging and analysis.
Customizing and Filtering:
Developers can customise and filter what Telescope catches and displays. This is handy for focusing on specific areas of the application or disabling monitoring of sensitive data.
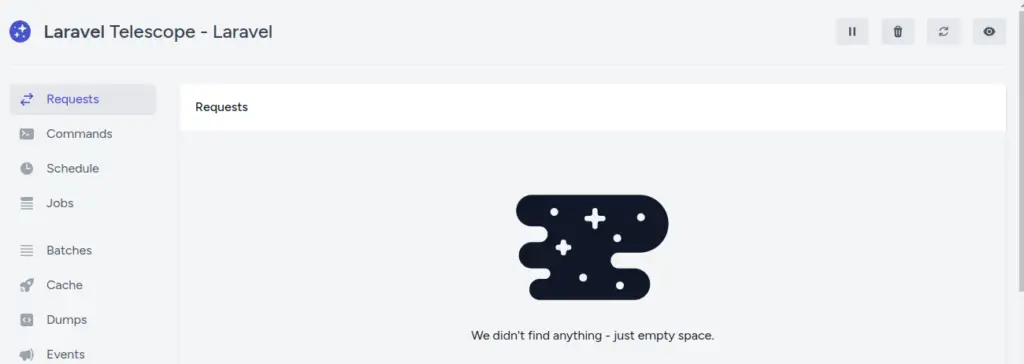
Telescope Features List
These are the features of Telescope which used to monitor application stats,
- Requests
- Commands
- Schedule
- Jobs
- Batches
- Cache
- Dumps
- Events
- Exceptions
- Gates
- Logs
- Models
- Notifications
- Queries
- Redis
- Views
Laravel Telescope Installation (Package)
Laravel telescope is a composer package which is developed to use it for laravel applications. It is used to keep track of laravel requests, commands, exceptions, gates, etc.
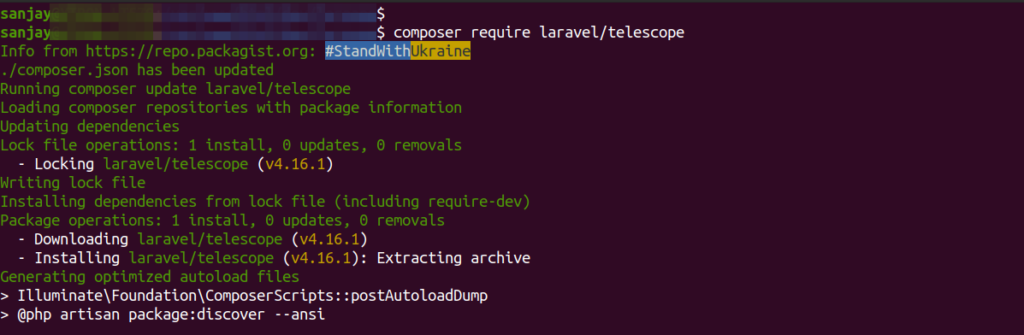
Open project into terminal and run this command.
$ composer require laravel/telescopeYou can also install for local environment:
$ composer require laravel/telescope --devInstallation screen image,
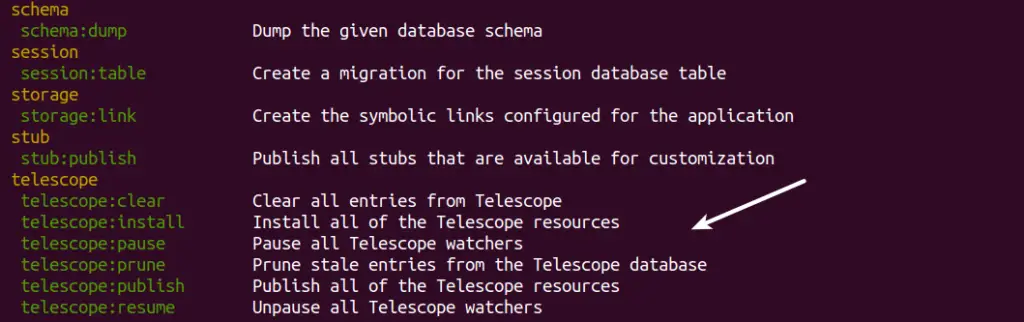
Once it will be installed, you can see “commands of Telescope” into artisan command list.
Publish Telescope: Generate Scaffolding Files
It will generate Telescope associated service provider, assets, configuration etc.
$ php artisan telescope:installRead More: Laravel 10 How To Setup Ajax Request Tutorial
It generates all needed files.
Publishing Telescope Service Provider...
Publishing Telescope Assets...
Publishing Telescope Configuration...
Telescope scaffolding installed successfully.
Migrate Telescope Migration
$ php artisan migrateAll we done! No more settings required.
Laravel Telescope Routes
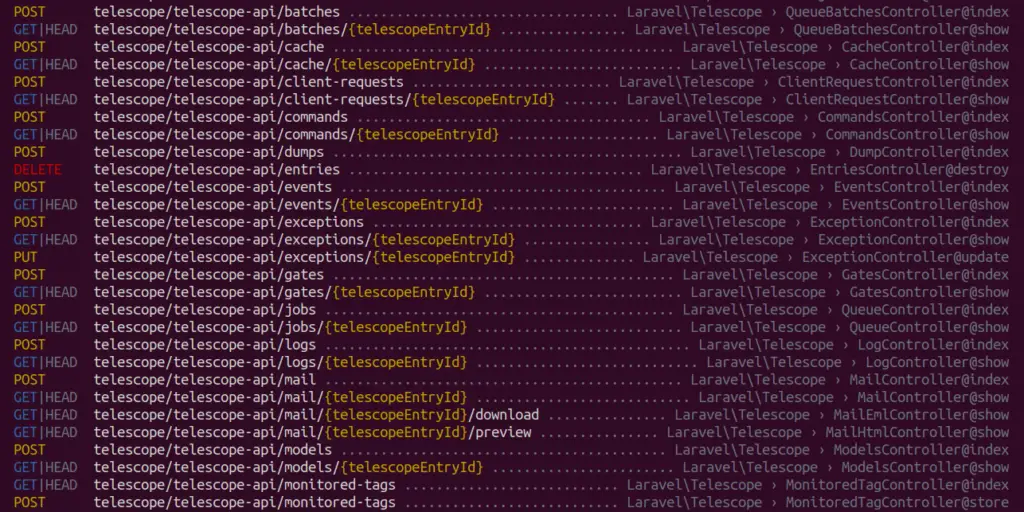
If everything will be done in proper way to install laravel telescope, then you must see a bunch of telescope routes into application’s routes list.
Routes image,
Application Testing
Run this command into project terminal to start development server,
php artisan serveURL: http://localhost:8000/telescope/requests
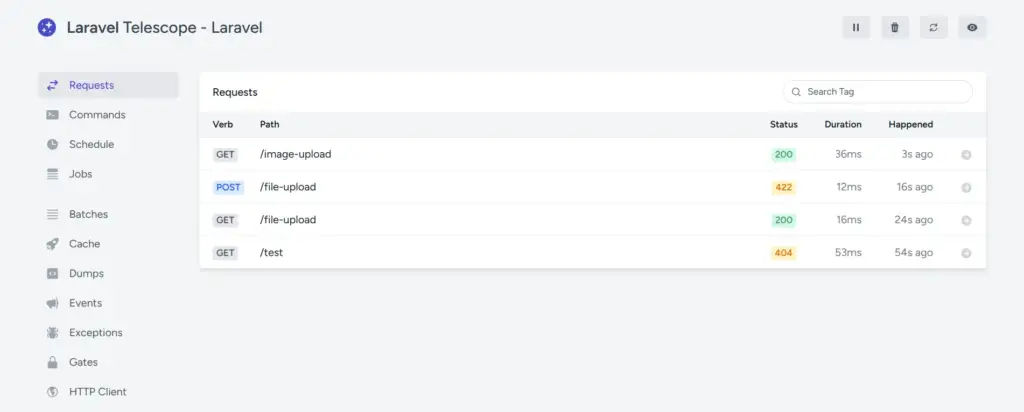
Monitor Requests
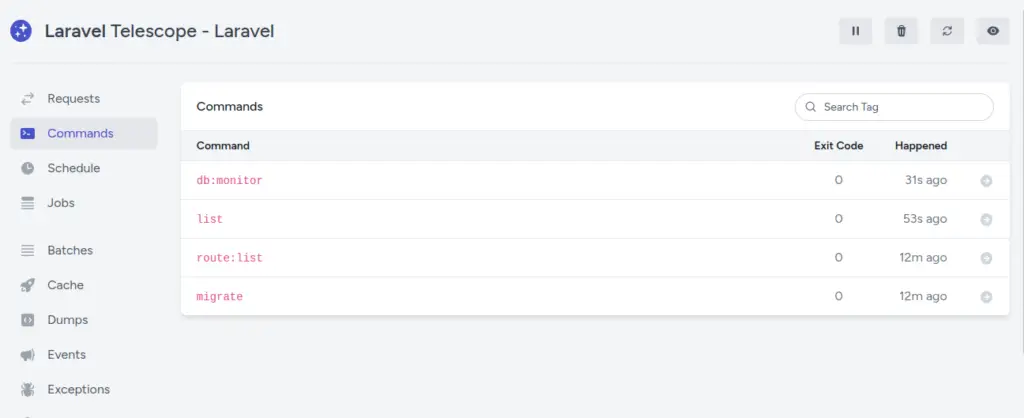
Monitor Commands
Read More: Laravel 10 Read JSON File Example Tutorial
Telescope Package Files
You can find the installed package files into this location
vendor/laravel/telescopeWe hope this article helped you to learn about Laravel 10 Telescope: Debugging and Monitoring Tool in a very detailed way.
If you liked this article, then please subscribe to our YouTube Channel for PHP & it’s framework, WordPress, Node Js video tutorials. You can also find us on Twitter and Facebook.
Read more