Sending notification either on mobile apps or at web is always quite interesting. Inside this article we will see complete guide to send Laravel 8 Firebase Push Notification for Web through FCM i.e Firebase Cloud messaging service by google.
This will be complete guide which covers laravel 8 application setup, Firebase console to see Server Key, File configuration and many more. By the help of this step by step you are going to integrate Web Push notification in any Laravel application.
Let’s get started implementing Laravel 8 Firebase Notification via FCM.
Laravel Installation
We will create laravel project using composer. So, please make sure your system should have composer installed. If not, may be this article will help you to Install composer in system.
Here is the command to create a laravel project-
composer create-project --prefer-dist laravel/laravel blog
To start the development server of Laravel –
php artisan serve
URL: http://127.0.0.1:8000
Assuming laravel already installed inside your system.
Database also configured with application.
Create Firebase Project and App
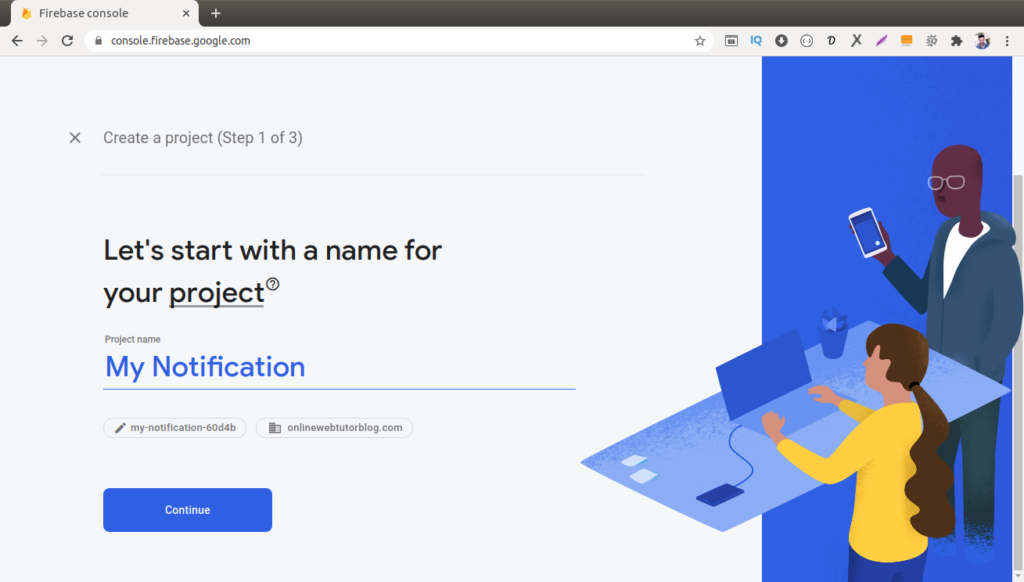
First we need to create a project in Firebase console for web application notification. To create project Click here to go to console.
Creating a Firebase Project at Firebase console.
Step #1
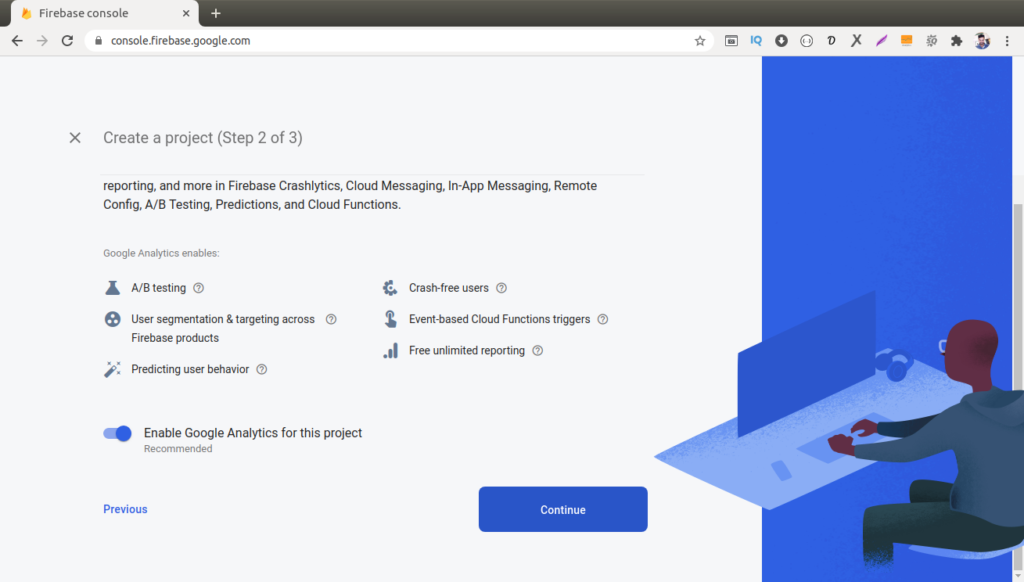
Step #2
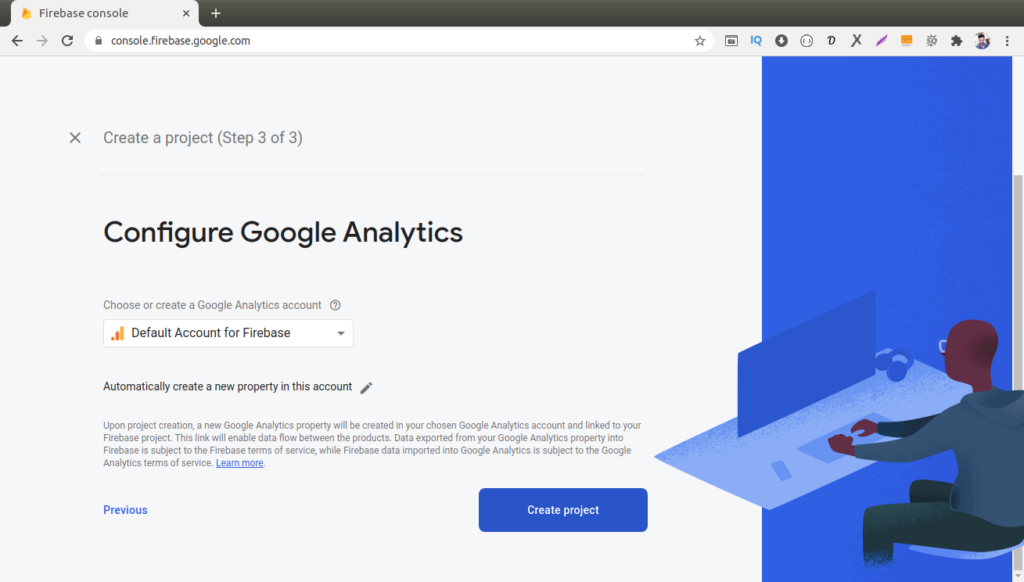
Step #3
Step #4
Back to Firebase Console dashboard panel. We can see we will have a setup icon for web as you can see in this given image. Simply click on that Icon and then the process of Setting up the registration of App will start.
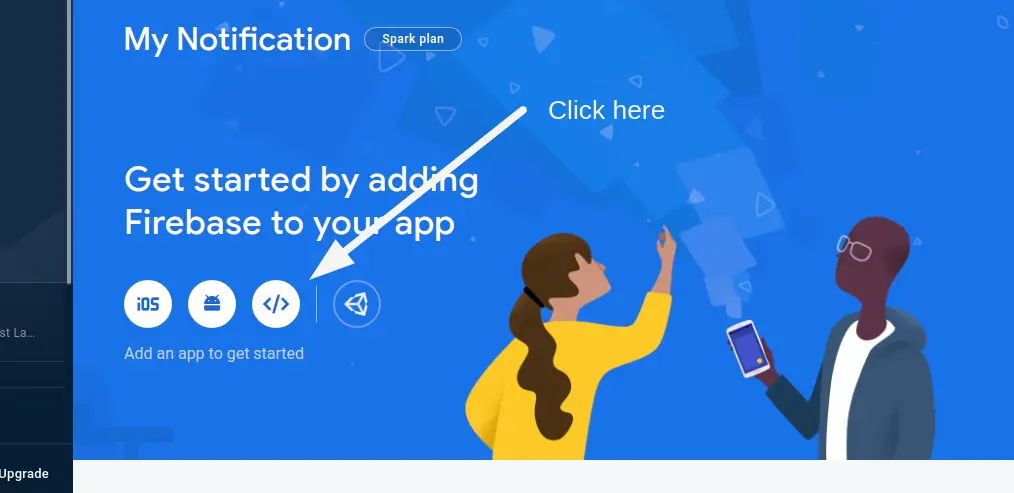
Register a Web App into Firebase Project.
Step #1

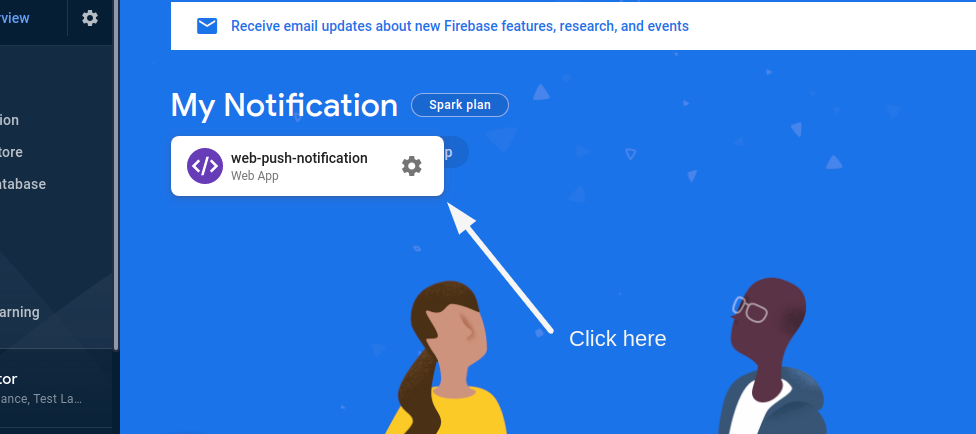
Next, we need to go again to Firebase Project panel, there we will see the App that we have created here. Click into that gear icon.
Step #2
Find the Server API key here, copy and paste for settings into web.
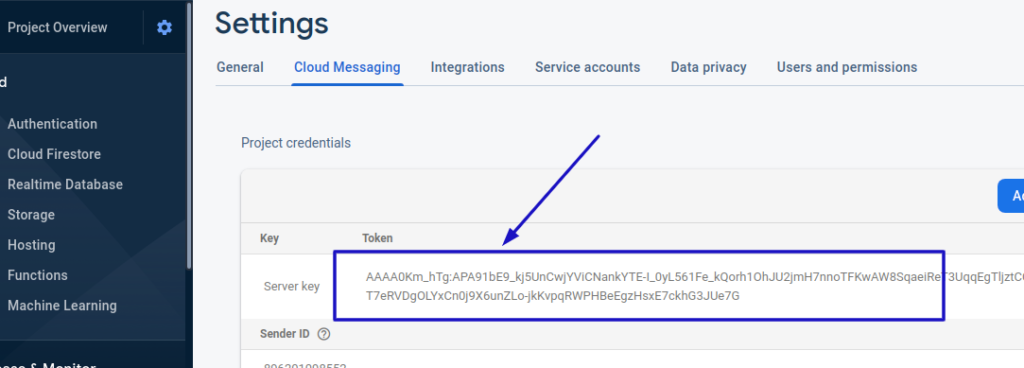
Successfully, we have now completed the whole process of Creating Firebase Project > Register Web App > Copy & Paste Server API Key.
Migrate Laravel Application Files
When you install laravel setup, you will get few migration files at this /database/migrations path. Now we need to migrate these files into database.
Assuming you have already connected database with your application project. Open terminal and run this command.
$ php artisan migrate
Create Migration and Update Model
We are going to add a new column to users table into the database. Column name something device_token. To add column, we need to create a migration file, copy this command and execute.
$ php artisan make:migration add_column_device_token
Migrate Laravel Application Files
When you install laravel setup, you will get few migration files at this /database/migrations path. Now we need to migrate these files into database.
Assuming you have already connected database with your application project. Open terminal and run this command.
$ php artisan migrate
After running this command, a file will be created at /database/migrations/2021_01_01_143644_add_column_device_token.php
Open up the file and paste the given code.
<?php

use Illuminate\Database\Migrations\Migration;
use Illuminate\Database\Schema\Blueprint;
use Illuminate\Support\Facades\Schema;

class AddColumnDeviceToken extends Migration
{
    /**
     * Run the migrations.
     *
     * @return void
     */
    public function up()
    {
        Schema::table('users', function (Blueprint $table) {
            $table->string('device_token')->nullable();
        });
    }

    /**
     * Reverse the migrations.
     *
     * @return void
     */
    public function down()
    {

    }
}
Next, we need to update User Model. This model you can find at /app/Models/User.php. Open this file and write this code
<?php

namespace App\Models;

use Illuminate\Contracts\Auth\MustVerifyEmail;
use Illuminate\Database\Eloquent\Factories\HasFactory;
use Illuminate\Foundation\Auth\User as Authenticatable;
use Illuminate\Notifications\Notifiable;

class User extends Authenticatable
{
    use HasFactory, Notifiable;

    /**
     * The attributes that are mass assignable.
     *
     * @var array
     */
    protected $fillable = [
        'name',
        'email',
        'password',
        'device_token'
    ];

    /**
     * The attributes that should be hidden for arrays.
     *
     * @var array
     */
    protected $hidden = [
        'password',
        'remember_token',
    ];

    /**
     * The attributes that should be cast to native types.
     *
     * @var array
     */
    protected $casts = [
        'email_verified_at' => 'datetime',
    ];
}
Create Routes
To configure application routes, open up the file web.php at /routes/web.php. Paste the given code into that file.
//.. Other routes
Route::get('/notification', [App\Http\Controllers\NotificationController::class, 'index'])->name('home');
Route::post('/save-token', [App\Http\Controllers\NotificationController::class, 'saveToken'])->name('save-token');
Route::post('/send-notification', [App\Http\Controllers\NotificationController::class, 'sendNotification'])->name('send.notification');
Create Controller & Add Methods
Let’s create a notification controller into application. So to create need to run this artisan command.
$ php artisan make:controller NotificationController
After running this command, you will find a controller created /app/Http/Controllers/NotificationController.php
Open up the file and paste the give code.
<?php

namespace App\Http\Controllers;

use Illuminate\Http\Request;
use App\Models\User;

class NotificationController extends Controller
{
    /**
     * Create a new controller instance.
     *
     * @return void
     */
    public function __construct()
    {
        $this->middleware('auth');
    }

    /**
     * Show the application dashboard.
     *
     * @return \Illuminate\Contracts\Support\Renderable
     */
    public function index()
    {
        return view('notification');
    }

    /**
     * Write code on Method
     *
     * @return response()
     */
    public function saveToken(Request $request)
    {
        auth()->user()->update(['device_token'=>$request->token]);
        return response()->json(['token saved successfully.']);
    }

    /**
     * Write code on Method
     *
     * @return response()
     */
    public function sendNotification(Request $request)
    {
        $firebaseToken = User::whereNotNull('device_token')->pluck('device_token')->all();

        $SERVER_API_KEY = '<YOUR-SERVER-API-KEY>';

        $data = [
            "registration_ids" => $firebaseToken,
            "notification" => [
                "title" => $request->title,
                "body" => $request->body,
            ]
        ];
        $dataString = json_encode($data);

        $headers = [
            'Authorization: key=' . $SERVER_API_KEY,
            'Content-Type: application/json',
        ];

        $ch = curl_init();

        curl_setopt($ch, CURLOPT_URL, 'https://fcm.googleapis.com/fcm/send');
        curl_setopt($ch, CURLOPT_POST, true);
        curl_setopt($ch, CURLOPT_HTTPHEADER, $headers);
        curl_setopt($ch, CURLOPT_SSL_VERIFYPEER, false);
        curl_setopt($ch, CURLOPT_RETURNTRANSFER, true);
        curl_setopt($ch, CURLOPT_POSTFIELDS, $dataString);

        $response = curl_exec($ch);

        curl_close($ch);

        dd($response);
    }
}
Create Blade File
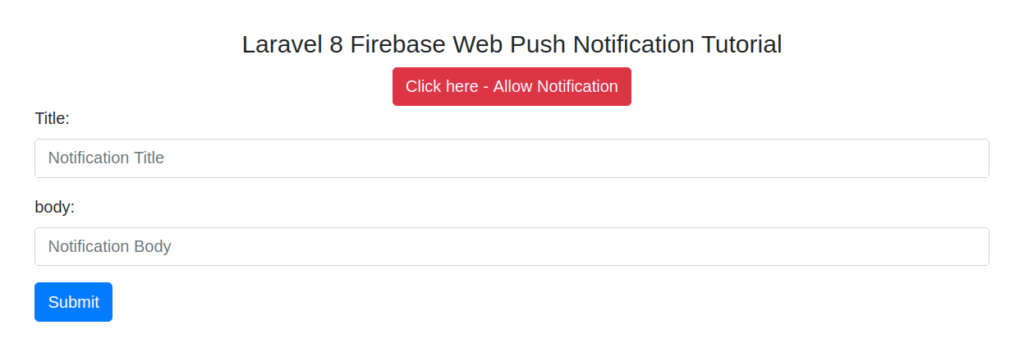
Next, we need to create a blade template file called notification.blade.php at /resources/views
Open up the file and write this given code.
<!DOCTYPE html>
<html lang="en">

<head>
    <title>Laravel 8 Firebase Web Push Notification Tutorial</title>
    <meta charset="utf-8">
    <meta name="viewport" content="width=device-width, initial-scale=1">
    <link rel="stylesheet" href="https://maxcdn.bootstrapcdn.com/bootstrap/4.5.2/css/bootstrap.min.css">
    <script src="https://ajax.googleapis.com/ajax/libs/jquery/3.5.1/jquery.min.js"></script>
    <script src="https://cdnjs.cloudflare.com/ajax/libs/popper.js/1.16.0/umd/popper.min.js"></script>
    <script src="https://maxcdn.bootstrapcdn.com/bootstrap/4.5.2/js/bootstrap.min.js"></script>
</head>

<body>

    <div class="container" style="margin-top:50px;">

        <div style="text-align: center;">

            <h4>Laravel 8 Firebase Web Push Notification Tutorial</h4>

            <button id="btn-nft-enable" onclick="initFirebaseMessagingRegistration()"
                class="btn btn-danger btn-xs btn-flat">Click here - Allow Notification</button>
        </div>

        <form action="{{ route('send.notification') }}" method="post">
            @csrf

            <div class="form-group">
                <label for="title">Title:</label>
                <input type="text" class="form-control" id="title" placeholder="Notification Title" name="title">
            </div>
            <div class="form-group">
                <label for="body">body:</label>
                <input type="text" class="form-control" id="body" placeholder="Notification Body" name="body">
            </div>

            <button type="submit" class="btn btn-primary">Submit</button>
        </form>
    </div>


    <script src="https://ajax.googleapis.com/ajax/libs/jquery/3.5.1/jquery.min.js"></script>
    <script src="https://www.gstatic.com/firebasejs/7.23.0/firebase.js"></script>
    <script>
    var firebaseConfig = {
        apiKey: "<YOUR-FIREBASE-SDK-API-CODE>",
        authDomain: "my-web-38f69.firebaseapp.com",
        projectId: "my-web-38f69",
        storageBucket: "my-web-38f69.appspot.com",
        messagingSenderId: "7745444130",
        appId: "1:7745444130:web:a2705a978b744c2cb12d7b",
        measurementId: "G-3YNBERNJYC"
    };

    firebase.initializeApp(firebaseConfig);
    const messaging = firebase.messaging();

    function initFirebaseMessagingRegistration() {
        messaging
            .requestPermission()
            .then(function() {
                return messaging.getToken()
            })
            .then(function(token) {
                console.log(token);

                $.ajaxSetup({
                    headers: {
                        'X-CSRF-TOKEN': "{{ csrf_token() }}"
                    }
                });

                $.ajax({
                    url: '{{ route("save-token") }}',
                    type: 'POST',
                    data: {
                        token: token
                    },
                    dataType: 'JSON',
                    success: function(response) {
                        alert('Token saved successfully.');
                    },
                    error: function(err) {
                        console.log('User Chat Token Error' + err);
                    },
                });

            }).catch(function(err) {
                console.log('User Chat Token Error' + err);
            });
    }

    messaging.onMessage(function(payload) {
        const noteTitle = payload.notification.title;
        const noteOptions = {
            body: payload.notification.body,
            icon: payload.notification.icon,
        };
        new Notification(noteTitle, noteOptions);
    });
    </script>
</body>

</html>
When we run this whole application to browser, we will get an error missing of firebase-messaging-sw.js at console tab of browser. While sending push notification firebase checks this file. So we need to create this.
To create this file, go to /public/firebase-messaging-sw.js and create it.
/*
Give the service worker access to Firebase Messaging.
Note that you can only use Firebase Messaging here, other Firebase libraries are not available in the service worker.
*/
importScripts('https://www.gstatic.com/firebasejs/7.23.0/firebase-app.js');
importScripts('https://www.gstatic.com/firebasejs/7.23.0/firebase-messaging.js');

/*
Initialize the Firebase app in the service worker by passing in the messagingSenderId.
* New configuration for app@pulseservice.com
*/
firebase.initializeApp({
    apiKey: "<YOUR-FIREBASE-SDK-API-CODE>",
    authDomain: "my-web-38f69.firebaseapp.com",
    projectId: "my-web-38f69",
    storageBucket: "my-web-38f69.appspot.com",
    messagingSenderId: "7745444130",
    appId: "1:7745444130:web:a2705a978b744c2cb12d7b",
    measurementId: "G-3YNBERNJYC"
    });

/*
Retrieve an instance of Firebase Messaging so that it can handle background messages.
*/
const messaging = firebase.messaging();
messaging.setBackgroundMessageHandler(function(payload) {
    console.log(
        "[firebase-messaging-sw.js] Received background message ",
        payload,
    );
    /* Customize notification here */
    const notificationTitle = "Background Message Title";
    const notificationOptions = {
        body: "Background Message body.",
        icon: "/itwonders-web-logo.png",
    };

    return self.registration.showNotification(
        notificationTitle,
        notificationOptions,
    );
});
Application Testing
Run this command into project terminal to start development server,
php artisan serveURL- 127.0.0.1:8000/notification
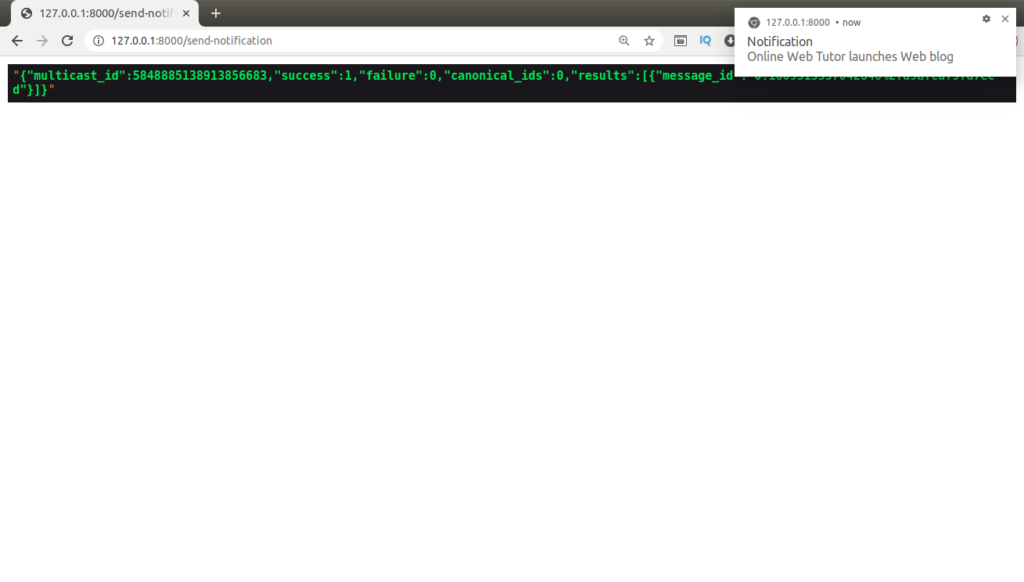
First Click on Allow Notification to give permission to browser to allow notification from this URL. Also when we click on this, it will generate token and save into database users table.
Next, put value for title and body and hit submit button
We hope this article helped you to learn about Laravel 8 Firebase Push Notification Tutorial in a very detailed way.
If you liked this article, then please subscribe to our YouTube Channel for PHP & it’s framework, WordPress, Node Js video tutorials. You can also find us on Twitter and Facebook.
Read more