Inside this article we will see the concept i.e Laravel 9 Livewire DataTable Pagination Using Package Tutorial. Article contains the classified information about livewire datatable pagination tutorial. We will list database rows using a livewire datatable.
Livewire is a full-stack framework for Laravel that makes building dynamic interfaces simple, without leaving the comfort of Laravel. It is available in form of a laravel 9 composer package.
Livewire datatable is a composer package which provides the features of pagination, sorting, export buttons, etc.
Learn More –
- Laravel 9 Work With Livewire Form Submit Tutorial
- Laravel 9 How To Save Array Data in Database Table
- How To Print Iframe Content Using jQuery Tutorial
- Laravel 9 How To Work With Livewire Pagination Example
Let’s get started.
Laravel Installation
Open terminal and run this command to create a laravel project.
composer create-project laravel/laravel myblogIt will create a project folder with name myblog inside your local system.
To start the development server of laravel –
php artisan serveURL: http://127.0.0.1:8000
Assuming laravel already installed inside your system.
Create Database & Connect
To create a database, either we can create via Manual tool of PhpMyadmin or by means of a mysql command.
CREATE DATABASE laravel_app;
To connect database with application, Open .env file from application root. Search for DB_ and update your details.
DB_CONNECTION=mysql
DB_HOST=127.0.0.1
DB_PORT=3306
DB_DATABASE=laravel_app
DB_USERNAME=root
DB_PASSWORD=root
Generate Fake Data Using Factory
As you install laravel 9 setup, you should see these files –
- User.php a model file inside /app/Models folder.
- UserFactory.php a factory file inside /database/factories folder.
We will use concept of factory to seed dummy data to this application. But first you need to migrate your application and create users table into your database.
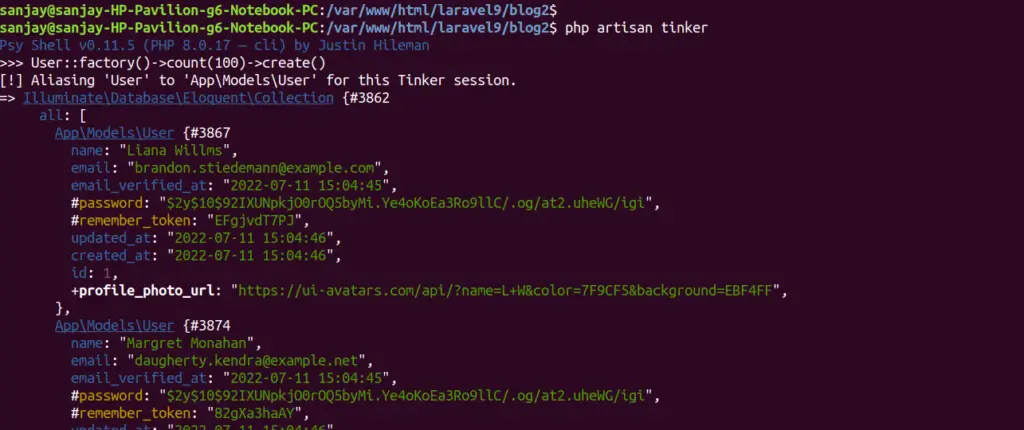
$ php artisan tinkerIt will open tinker shell to execute commands. Copy and paste this command and execute to create test data.
>>> User::factory()->count(100)->create()It will generate 100 fake rows of users into table.
Install Livewire – A Composer Package
Back to project terminal and run this command to install livewire inside this laravel application.
$ composer require livewire/livewireYou should see like this –
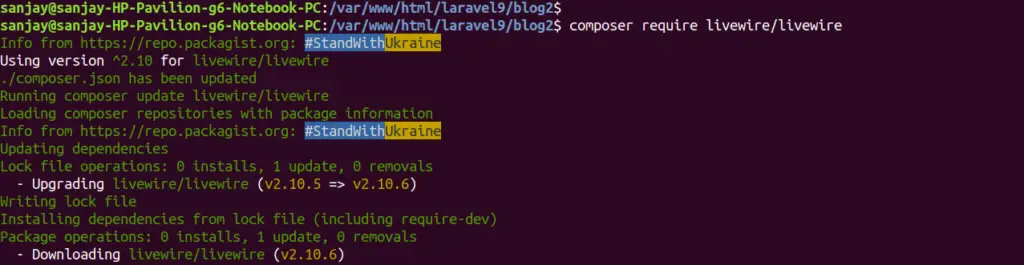
Now, we are able to use the features and functions of livewire.
Install Livewire DataTable Package
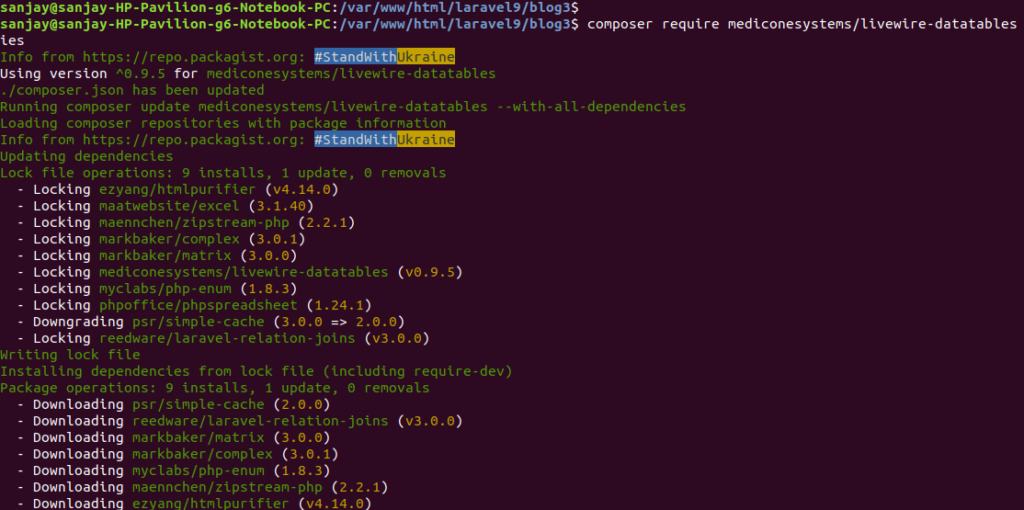
Back to project terminal and run this command to install livewire datatable package:
$ composer require mediconesystems/livewire-datatablesIn case if you get any error then needs to run this command:
$ composer require mediconesystems/livewire-datatables --with-all-dependenciesYou will see this screen –
Generate Livewire Scaffolding
Again,
Back to terminal and run this command to create livewire folder & files.
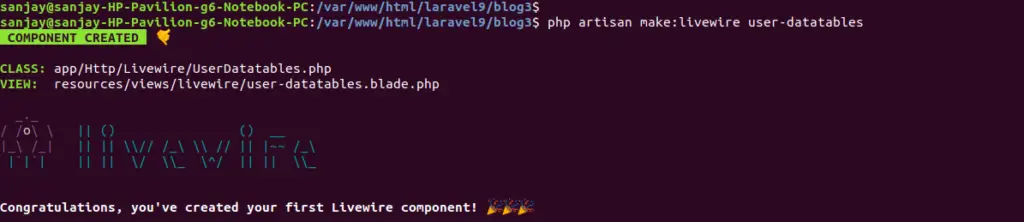
$ php artisan make:livewire user-datatablesAbove command will create these files –
- UserDatatables.php file inside /app/Http/Livewire folder.
- user-datatables.blade.php file inside /resources/views/livewire
Livewire Datatable Settings
Open UserDatatables.php and write this following code into it.
<?php

namespace App\Http\Livewire;

use Livewire\Component;
use App\Models\User;
use Illuminate\Support\Str;
use Mediconesystems\LivewireDatatables\Column;
use Mediconesystems\LivewireDatatables\NumberColumn;
use Mediconesystems\LivewireDatatables\DateColumn;
use Mediconesystems\LivewireDatatables\Http\Livewire\LivewireDatatable;

class UserDatatables extends LivewireDatatable
{
    public $model = User::class;

    /**
     * Write code on Method
     *
     * @return response()
     */
    public function columns()
    {
        return [
            NumberColumn::name('id')
                ->label('ID')
                ->sortBy('id'),

            Column::name('name')
                ->label('Name'),

            Column::name('email'),

            DateColumn::name('created_at')
                ->label('Creation Date')
        ];
    }
}
Create Blade Template File
Create a blade template file default.blade.php inside /resources/views folder.
Open default.blade.php and write this following code into it.
<!DOCTYPE html>
<html>

<head>
    <title>Laravel 9 Livewire Data Pagination Tutorial</title>
    @livewireStyles
    <link rel="stylesheet" href="https://cdnjs.cloudflare.com/ajax/libs/twitter-bootstrap/4.5.0/css/bootstrap.min.css"/>
    <link rel="stylesheet" href="https://cdnjs.cloudflare.com/ajax/libs/tailwindcss/1.9.2/tailwind.min.css" />
</head>

<body>

    <div class="container">

        <div class="card">
            <div class="card-header bg-primary text-white">
                Laravel 9 Livewire Data Pagination Tutorial
            </div>
            <div class="card-body">
                <livewire:user-datatables searchable="name, email" exportable />
            </div>
        </div>

    </div>

</body>

@livewireScripts

</html>
Add Route
Open web.php file from /routes folder. Add this route into it.
//...

Route::get('user-datatables', function () {
    return view('default');
});
Application Testing
Run this command into project terminal to start development server,
php artisan serveURL: http://127.0.0.1:8000/user-datatables
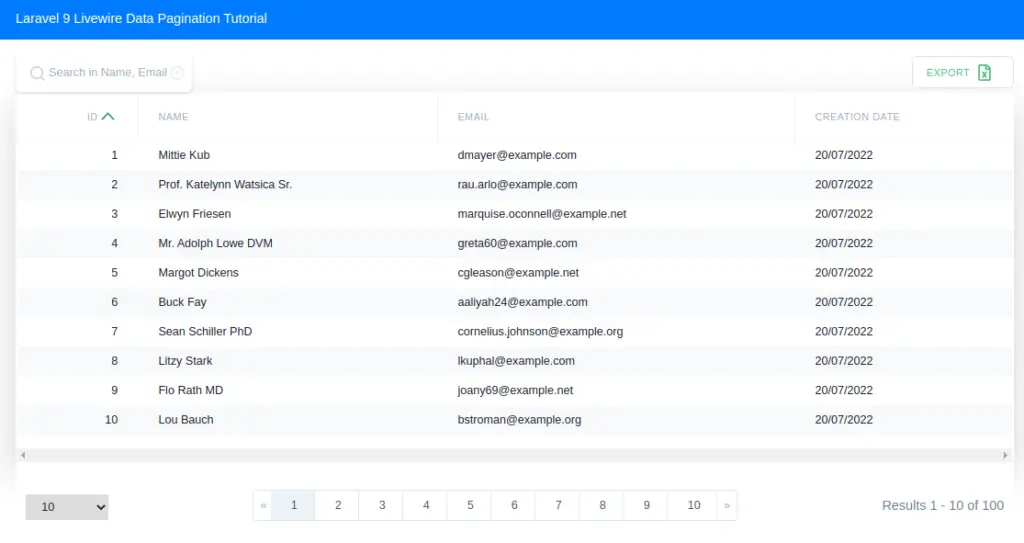
You can see, we have used the concept of livewire data pagination to the list of Test users.
We hope this article helped you to learn Laravel 9 Livewire DataTable Pagination Example Tutorial in a very detailed way.
If you liked this article, then please subscribe to our YouTube Channel for PHP & it’s framework, WordPress, Node Js video tutorials. You can also find us on Twitter and Facebook.
Read more