Inside this article we will see a complete laravel admin panel development with user roles and permissions. Super easy step by step tutorial to create roles and permission based admin panel.
If you are looking to create an admin panel in laravel with application user roles and their permissions then this tutorial is best for you.
This is a laravel Admin Panel, based on Rappasoft Laravel Boilerplate, with enhancemenets and many modules pre-made. It gives the ability to create a module using a sweet GUI, where you put in the Module Name and it will generate all the necessary files for you, like Model, Traits, Relationship, Migration, Controllers, Views and routes.
Features of Admin Panel
- Built-in Laravel Boilerplate Module Generator,
- Dynamic Menu/Sidebar Builder
- Pages Module
- Blog Module
- FAQ Module
- API Boilerplate
- Mailables
- Responses
- Vue Components
- Laravel Mix
- Object based javascript Implementation
Learn More –
- Create Custom 404 Page in Laravel 8 | Page Not Found
- Create Custom Facade Class in Laravel 8 Tutorial
- Create Signature Pad & Save Using jQuery in Laravel 8
- Crop Image Before Upload Using Croppie.js in Laravel 8
Let’s get started.
Admin Panel Project Installation
Open terminal and run this git command to clone admin panel from github repository.
$ git clone https://github.com/viralsolani/laravel-adminpanel.git
It will install a project i.e laravel admin panel with folder name laravel-adminpanel

Next, go to your project folder.
$ cd laravel-adminpanel
Project .env Setup & Connect Database
Create a database with name laraveladminpanel.
We need to rename .env.example into .env file from project folder.
Either we can rename directly from folder or we can do via terminal command.
$ cp .env.example .env
It will create a copy of .env.example with name .env
Open .env and connect your database with application.
 DB_CONNECTION=mysql
 DB_HOST=127.0.0.1
 DB_PORT=3306
 DB_DATABASE=laraveladminpanel
 DB_USERNAME=admin
 DB_PASSWORD=Admin@123
Composer & Node Dependencies Installation
Go to project terminal and run these commands.
$ composer install
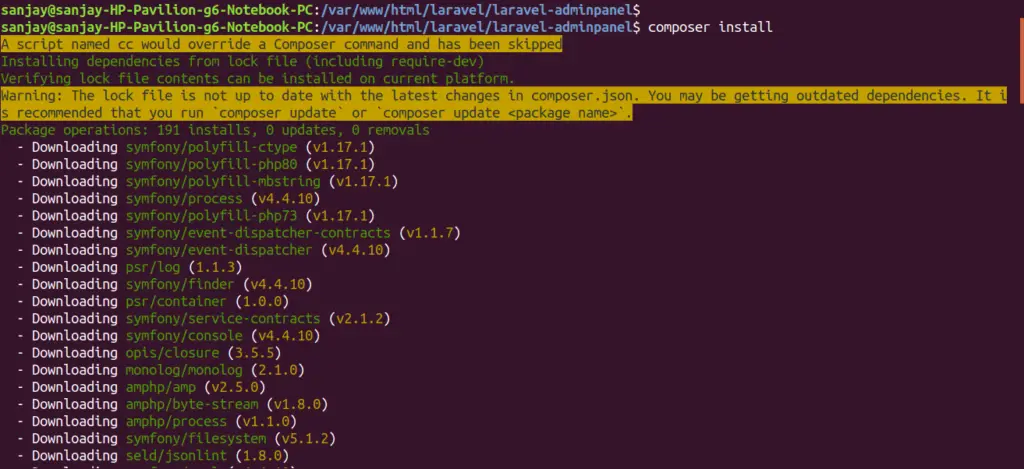
The above command will install all php dependencies to application.
Next,
$ npm install && npm run development
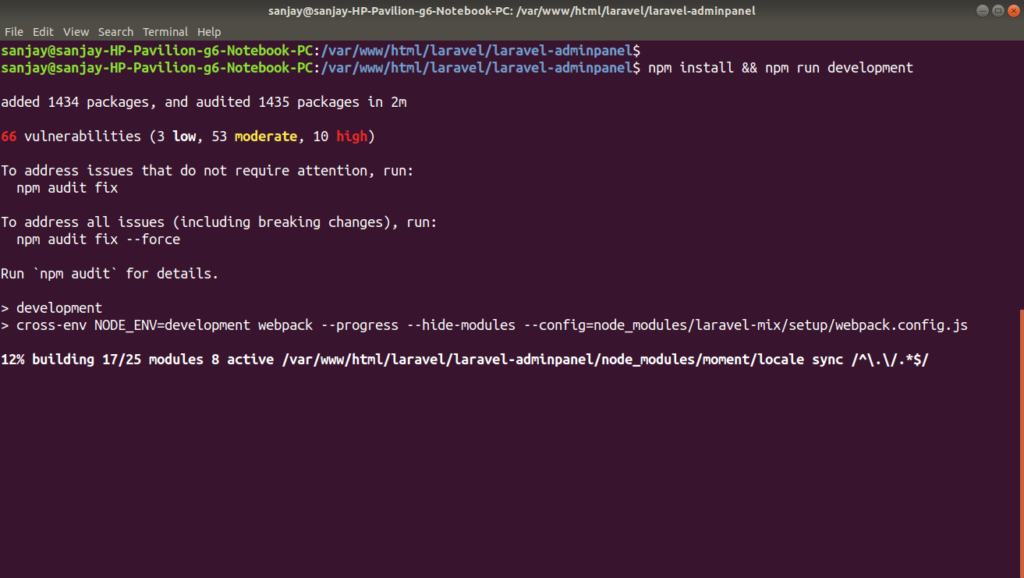
It will install node packages to application and also it compiles application.
Generate a new application key
$ php artisan key:generate
Linking Storage Folder
Run this command to link storage folder to public.
$ php artisan storage:link
Migrate Tables & Database Seeding
Back to project terminal and run these command.
Migrate
$ php artisan migrate
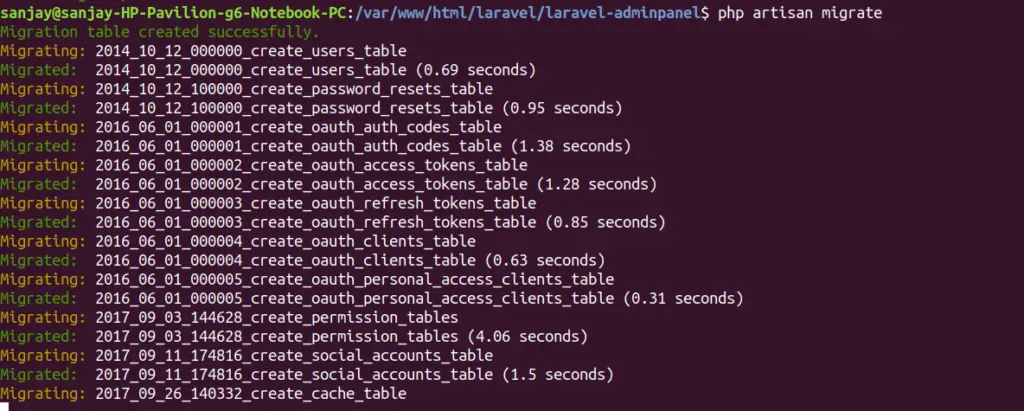
Above command will create application tables in database.
Database Seeding
$ php artisan db:seed

Above command will dump test data in application database.
Passport Installation
Open terminal and run this command.
$ php artisan passport:install

Project Vendor Publish
Back to terminal and run this command.
For generating the files of unisharp file manager
$ php artisan vendor:publish --tag=lfm_public
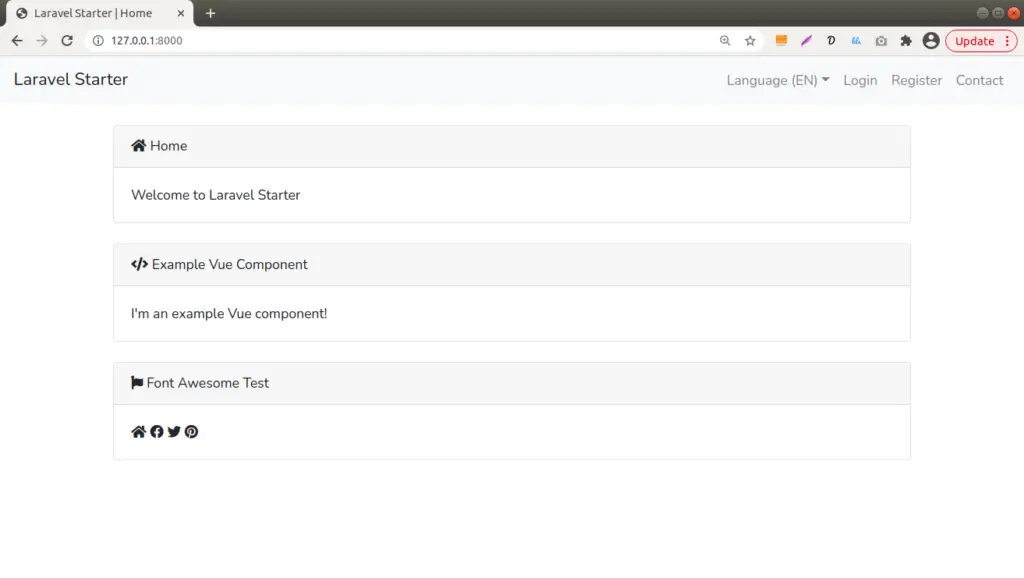
Application Testing
Run this command into project terminal to start development server,
php artisan serveURL – http://127.0.0.1:8000/
Login Details
- Administrator:
<strong>admin@admin.com</strong> - Backend User:
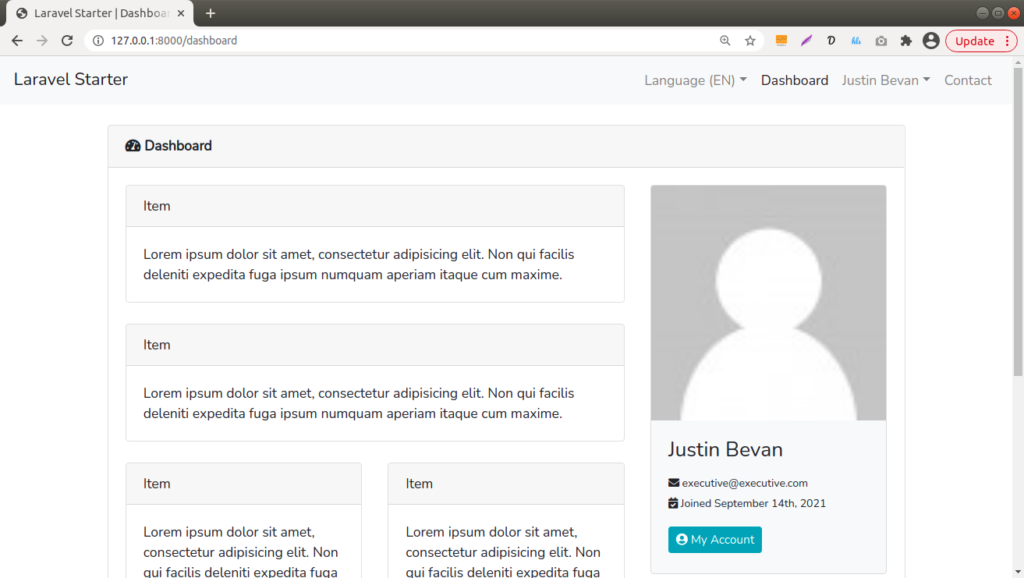
<strong>executive@executive.com</strong> - Default User:
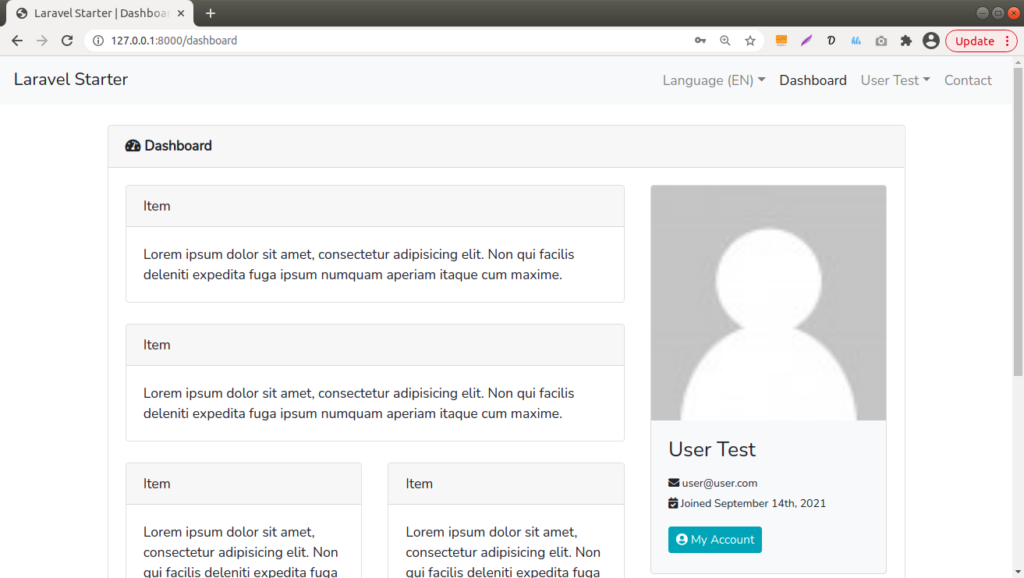
<strong>user@user.com</strong>
Password: 1234

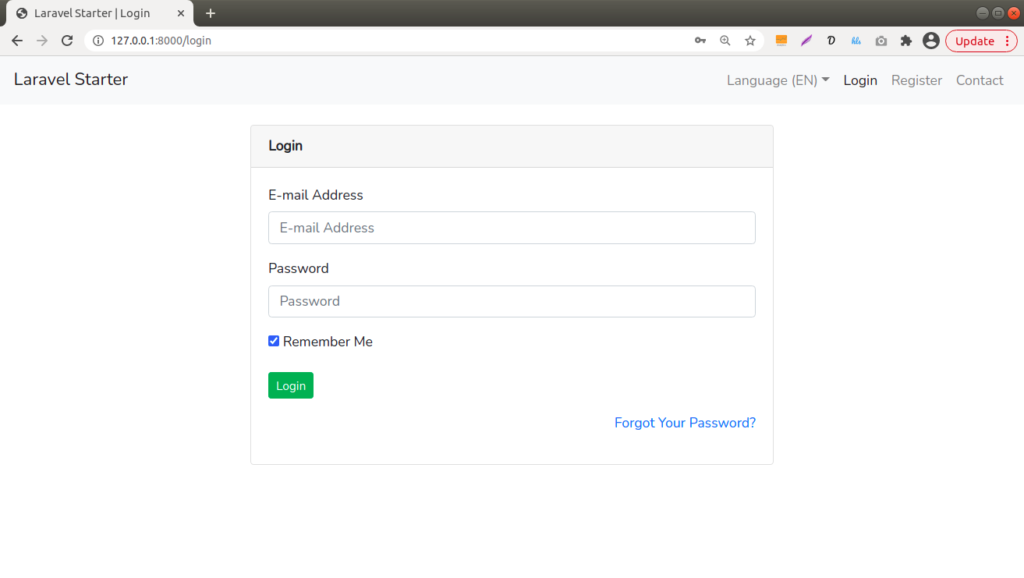
Login Page
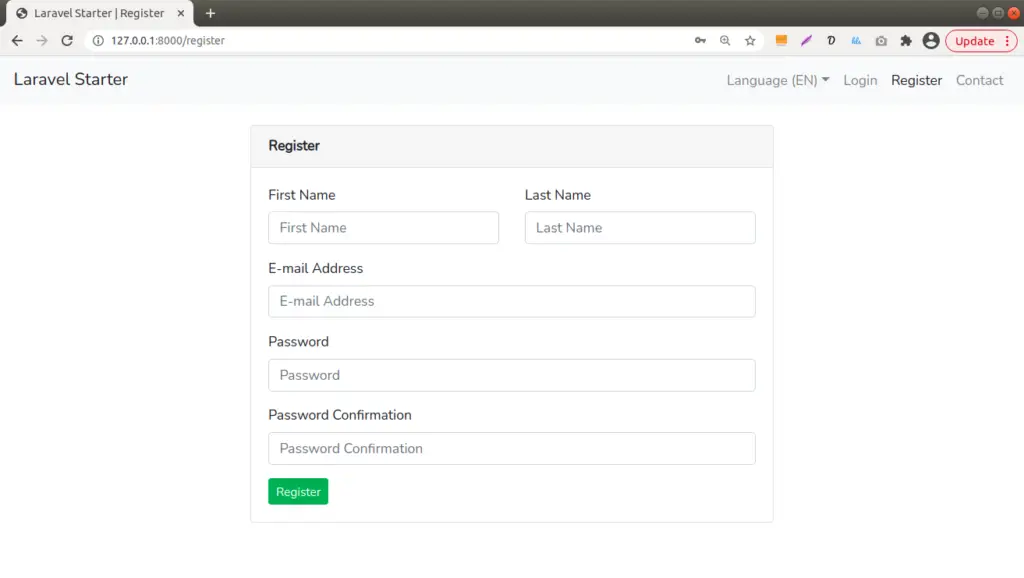
Register Page
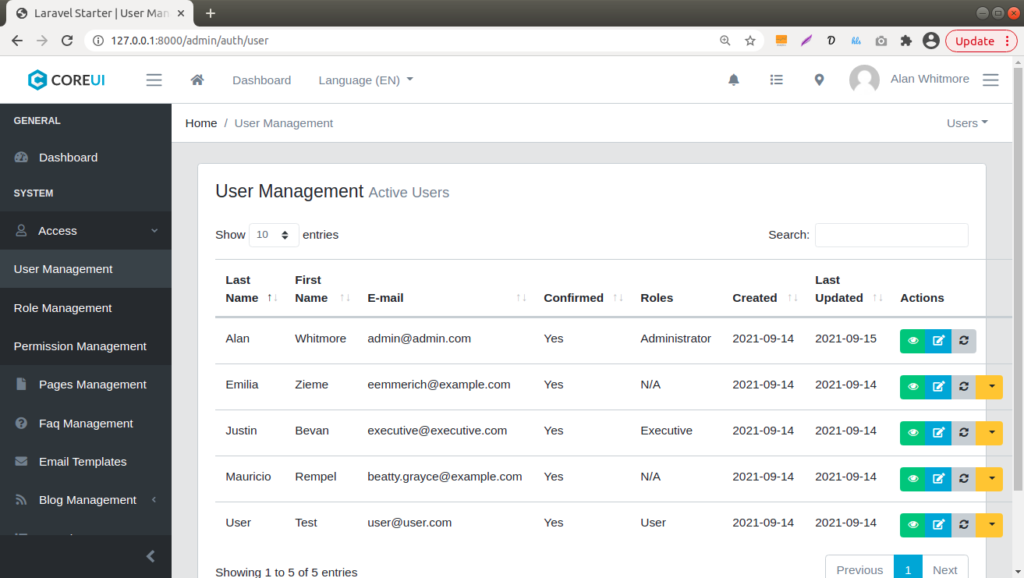
Login as Admin

Login as Backend User
Login as User
We hope this article helped you to learn Laravel Admin Panel Development – User Roles & Permissions Tutorial in a very detailed way.
[do_widget “buy me a coffee”]
If you liked this article, then please subscribe to our YouTube Channel for PHP & it’s framework, WordPress, Node Js video tutorials. You can also find us on Twitter and Facebook.
Read more