Inside this article we will see a composer package which is very much beneficial to create a log viewer. We can easily track errors on files after looking over log viewer dashboard.
LogViewer is a composer package. There are few steps to install it. It will create a dashboard by the help of which user can easily see application status without finding log files inside application.
This tutorial will help you to understand Views logs using logViewer package laravel 8 steps.
Learn More –
- Complete Laravel 8 CRUD Application Tutorial
- Complete Laravel 8 Vue JS CRUD Tutorial
- Concept of Global Middleware in Laravel 8 Tutorial
Let’s get started.
Laravel Installation
We will create laravel project using composer. So, please make sure your system should have composer installed. If not, may be this article will help you to Install composer in system.
Here is the command to create a laravel project-
composer create-project --prefer-dist laravel/laravel blog
To start the development server of Laravel –
php artisan serve
URL: http://127.0.0.1:8000
Assuming laravel already installed inside your system.
Installation Of LogViewer Package
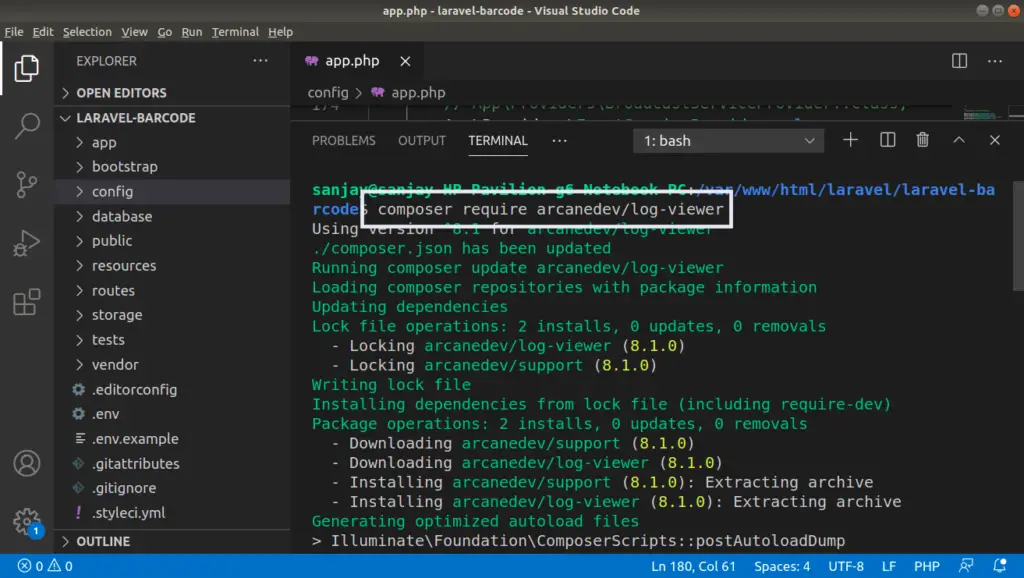
Open project into terminal and run this composer command to install LogViewer package.
$ composer require arcanedev/log-viewer
It will install package into application.
LogViewer Package Configuration
Open app.php file from /config folder.
Search for providers array, Add this line into it.
'providers' => [

       //...

       Arcanedev\LogViewer\LogViewerServiceProvider::class,
]
Open .env file and this line into it.
LOG_CHANNEL=daily
Generate LogViewer Scaffolding Files
LogViewer composer package generates layout file, css file, config file etc. These all are the scaffolding files to make it working with great UI.
Open terminal and run this command.
Publish the Config and Translations Files
$ php artisan log-viewer:publish
If you are not able to publish files, you can publish it forcefully.
$ php artisan log-viewer:publish --force
Publishing the config only
$ php artisan log-viewer:publish --tag=config
Application requirements & log files check
$ php artisan log-viewer:check
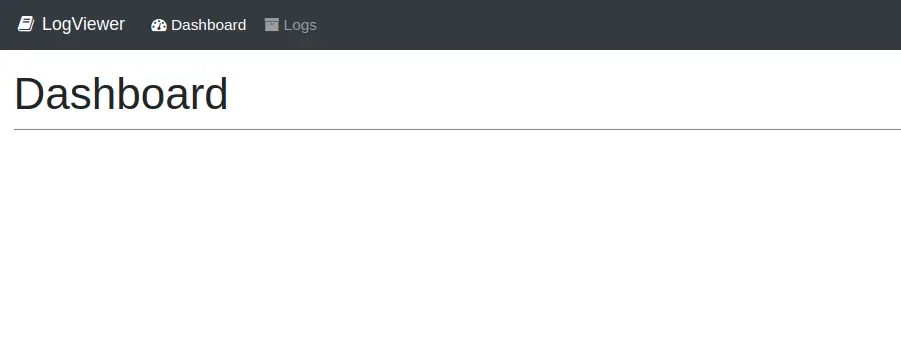
LogViewer When No Log Available
We will see when there is no log available then how log viewer will looks like. Open terminal and start development server.
$ php artisan serve
URL – http://127.0.0.1:8000/log-viewer
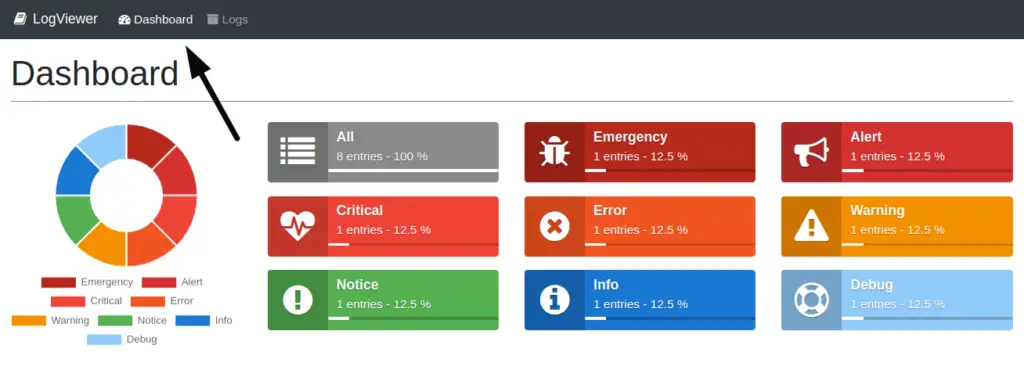
Dashboard Tab
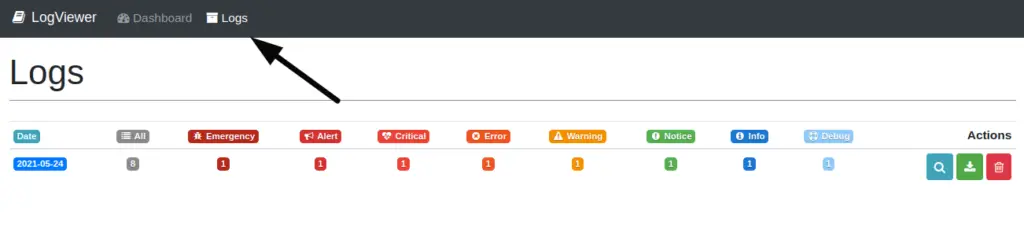
Logs Tab
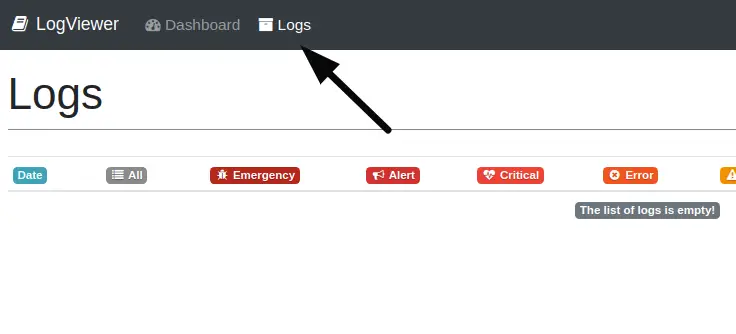
There is no data available as we can see. Let’s create a Test log.
Create Sample Logs
Open web.php file from /routes folder. Add these code into it.
# Add this to header
use Illuminate\Support\Facades\Log;

//...

Route::get("log-message", function () {

    $message = "This is a sample message for Test.";

    Log::emergency($message);
    Log::alert($message);
    Log::critical($message);
    Log::error($message);
    Log::warning($message);
    Log::notice($message);
    Log::info($message);
    Log::debug($message);
});

//...
Start development server and type
URL - http://127.0.0.1:8000/log-message
This will create a log file. Log file will be created inside /storage/logs with name like laravel-2021-05-24.log at root.
Inside log file, data will be like.
 [2021-05-24 16:50:04] local.EMERGENCY: This is a sample message for Test.
 [2021-05-24 16:50:04] local.ALERT: This is a sample message for Test.
 [2021-05-24 16:50:04] local.CRITICAL: This is a sample message for Test.
 [2021-05-24 16:50:04] local.ERROR: This is a sample message for Test.
 [2021-05-24 16:50:04] local.WARNING: This is a sample message for Test.
 [2021-05-24 16:50:04] local.NOTICE: This is a sample message for Test.
 [2021-05-24 16:50:04] local.INFO: This is a sample message for Test.
 [2021-05-24 16:50:04] local.DEBUG: This is a sample message for Test.
Application Testing
Run this command into project terminal to start development server,
php artisan serveURL – http://127.0.0.1:8000/log-viewer
Dashboard Tab
Logs Tab
Single Log Detail
When we click on any log, it will open a single log detail page.

We hope this article helped you to learn about View Logs Using LogViewer Package Laravel 8 Tutorial in a very detailed way.
If you liked this article, then please subscribe to our YouTube Channel for PHP & it’s framework, WordPress, Node Js video tutorials. You can also find us on Twitter and Facebook.
Read more