Inside this article we will learn to generate QR code in Laravel 8. There are very basics to create QR code in laravel 8. QR code generate with the help of composer package in Laravel 8.
A QR code is a type of matrix barcode invented in 1994 by the Japanese automotive company Denso Wave. A barcode is a machine-readable optical label that contains information about the item to which it is attached.
Learn More –
- Concept of Route Model Binding in Laravel 8 with Example
- Concept of Trait in Laravel 8 Tutorial with Example
- Create Custom 404 Page in Laravel 8 | Page Not Found
- Create Custom Facade Class in Laravel 8 Tutorial
Let’s get started.
Laravel Installation
We will create laravel project using composer. So, please make sure your system should have composer installed. If not, may be this article will help you to Install composer in system.
Here is the command to create a laravel project-
composer create-project --prefer-dist laravel/laravel blog
To start the development server of Laravel –
php artisan serve
URL: http://127.0.0.1:8000
Assuming laravel already installed inside your system.
Install simple-qrcode Package
There are several composer packages available which provides support for QR Code. So here by using simple-qrcode Package, we will see working with QR code in Laravel 8.
More about package, here is the link you can find Click here.
Go to your project terminal and install this package.
$ composer require simplesoftwareio/simple-qrcode
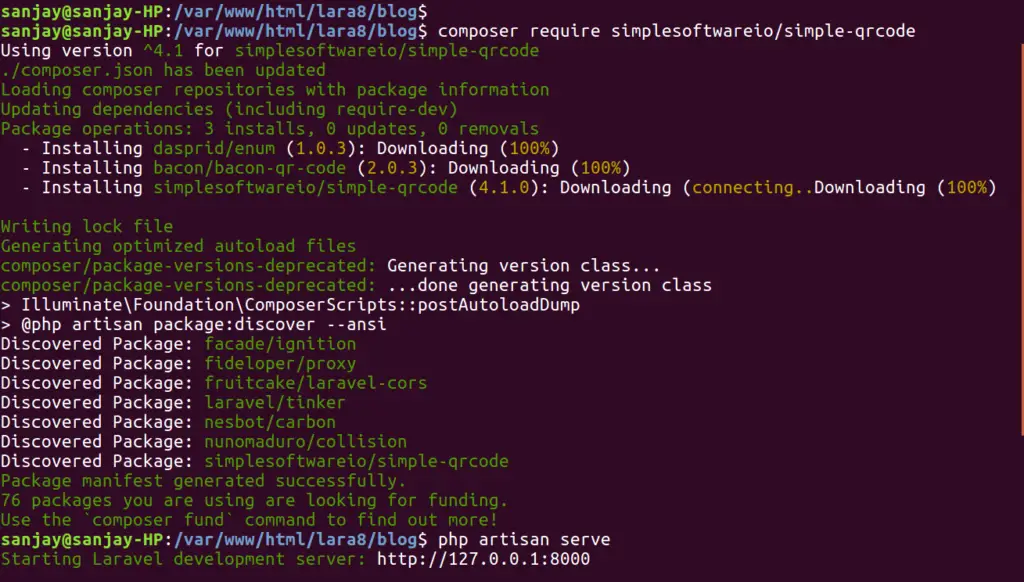
When you install this is the screen you should get.

Now open /config/app.php file and add service providers and aliases.
# Add this to providers array
'providers' => [
    ....
    SimpleSoftwareIO\QrCode\QrCodeServiceProvider::class

],

# Add this to aliases array
'aliases' => [
    ....
    'QrCode' => SimpleSoftwareIO\QrCode\Facades\QrCode::class
],
Configure Application Route
Let’s create a route.
Open up the file /routes/web.php
use SimpleSoftwareIO\QrCode\Facades\QrCode;

Route::get('generate-qr-code', function () {

    QrCode::size(500)
            ->format('png')
            ->generate('Online Web Tutor', public_path('images/owt.png'));

  return view('generate-qr-code');

});- Import this package to web.php file use SimpleSoftwareIO\QrCode\Facades\QrCode;
- Using QrCode Methods to generate QR code.
- Generated QR code code will be saved inside /public/images/ directory with the name owt.png.
Create Blade Template File
While creating route we have called generate-qr-code template. So we need to create generate-qr-code.blade.php file inside /resources/views
Open up the blade template file write this following piece of code.
<!DOCTYPE html>
<html>
<head>
    <title>How to Generate QR Code in Laravel 8 - Online Web Tutor</title>
    <style>
      .text-center{
          text-align: center;
      }
    </style>
</head>
<body>

<div class="visible-print text-center">
    <h1>Laravel 8 - QR Code Generator Example</h1>

    {!! QrCode::size(250)->generate('Online Web Tutor'); !!}

    <p>Simple Basic Example by onlinewebtutorblog.com</p>
</div>

</body>
</html>
Application Testing
Run this command into project terminal to start development server,
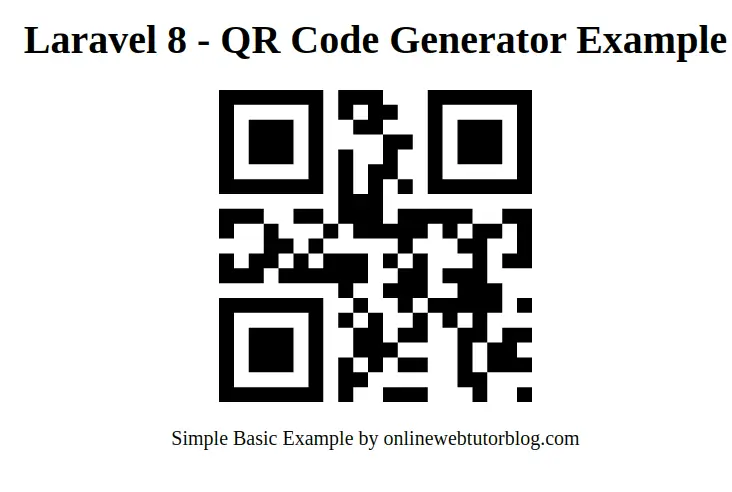
php artisan serveURL- http://127.0.0.1:8000/generate-qr-code

We hope this article helped you to learn about Generate QR Code Laravel 8 in a very detailed way.
If you liked this article, then please subscribe to our YouTube Channel for PHP & it’s framework, WordPress, Node Js video tutorials. You can also find us on Twitter and Facebook.

BaconQrCode\Exception\RuntimeException
You need to install the imagick extension to use this back end
Tanks for this tutorial.
How can i resolve?
Hi, you need to run these commands if you are a linux user –
1. Installation – sudo apt-get install php-imagick
2. Verification – php -m | grep imagick
3. Restart Apache – sudo service apache2 restart